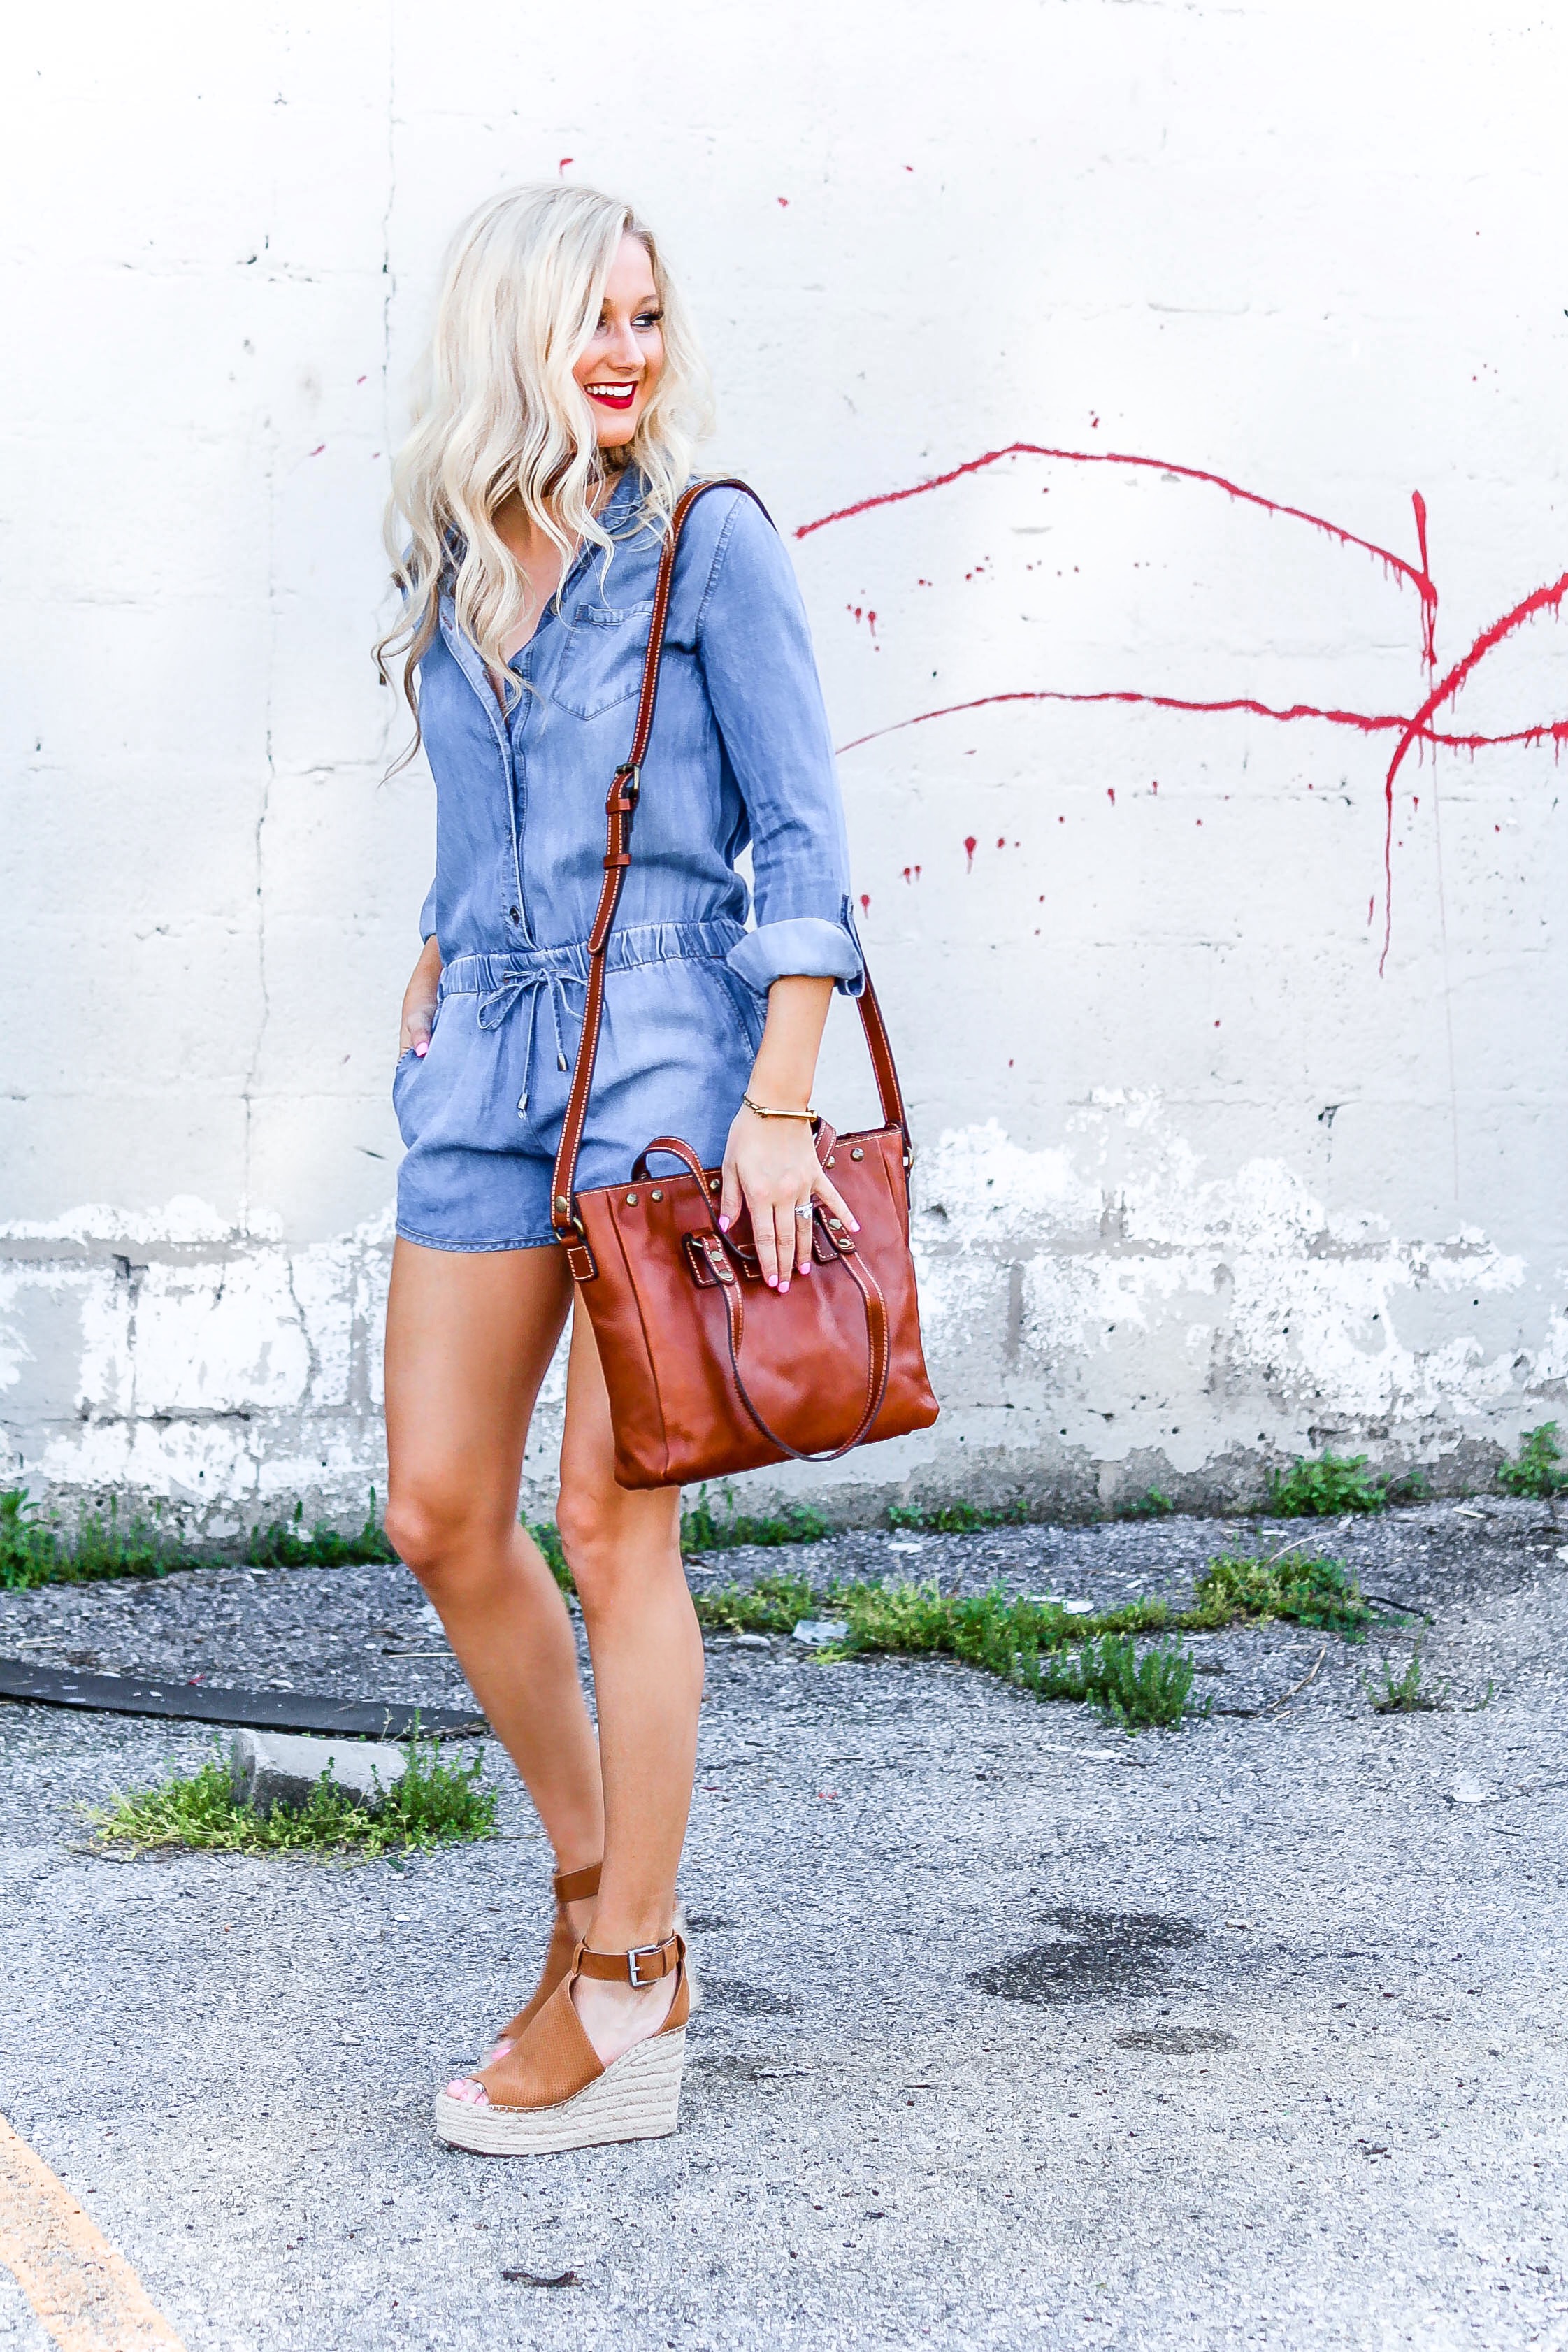
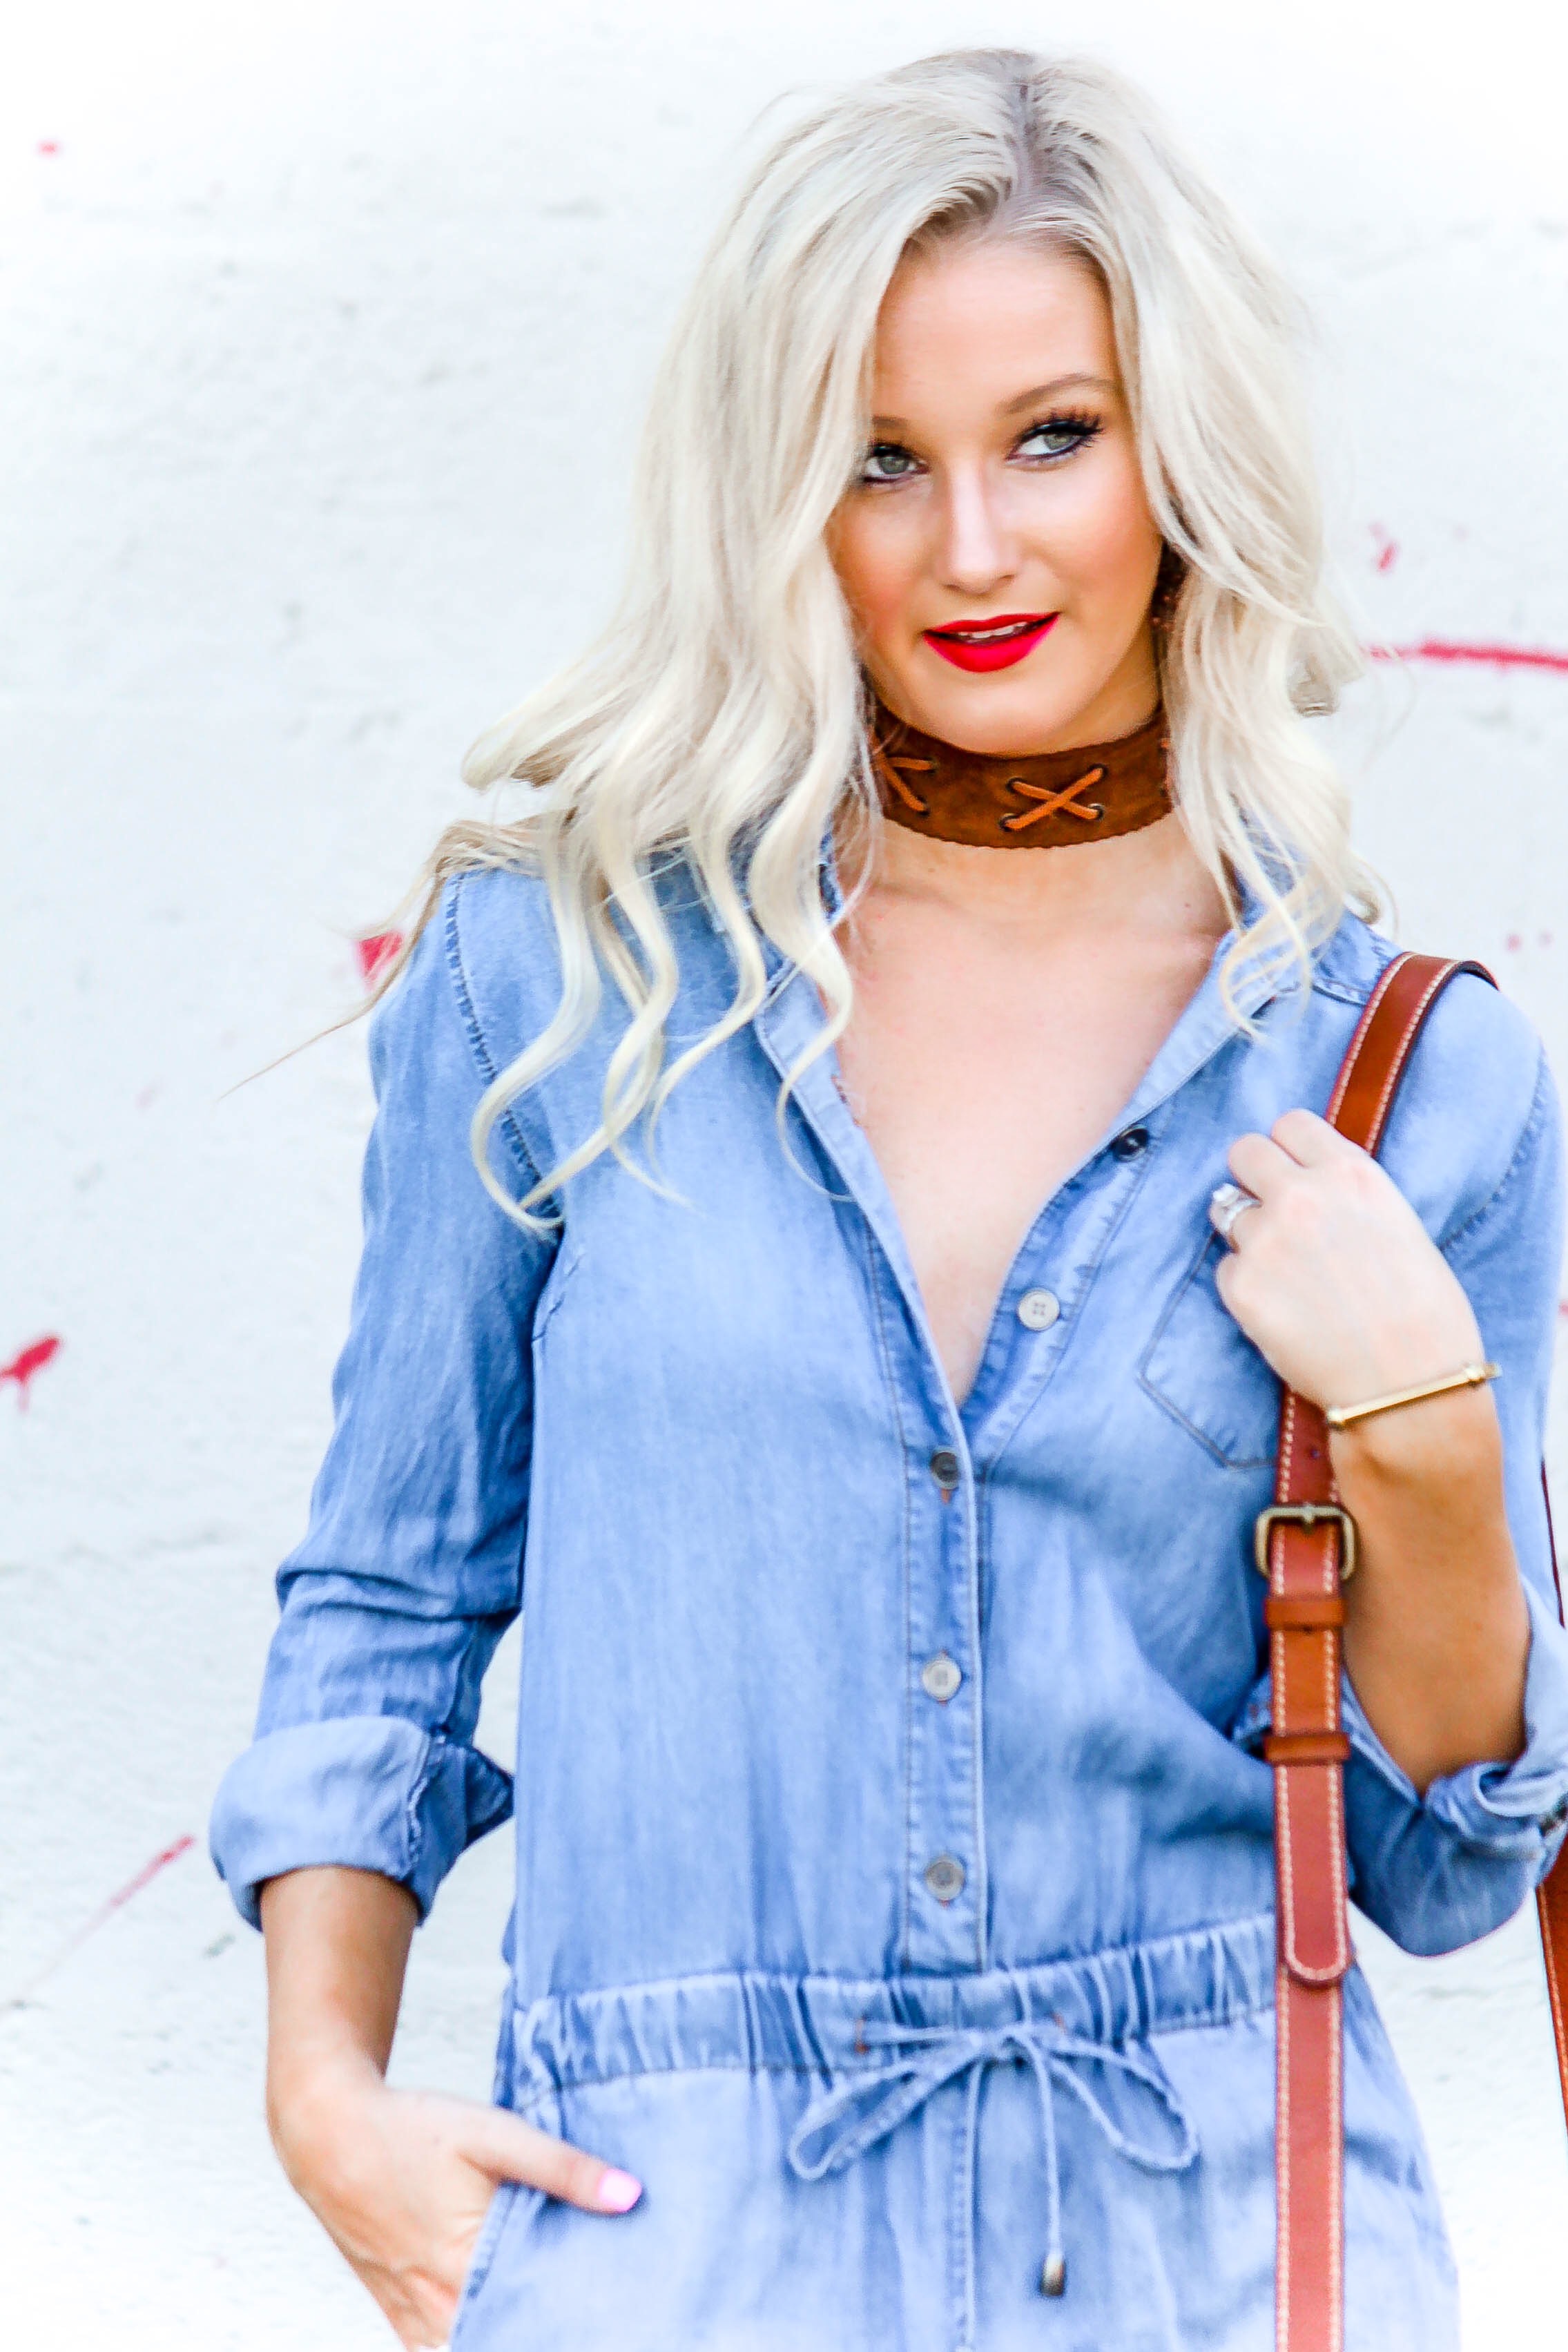
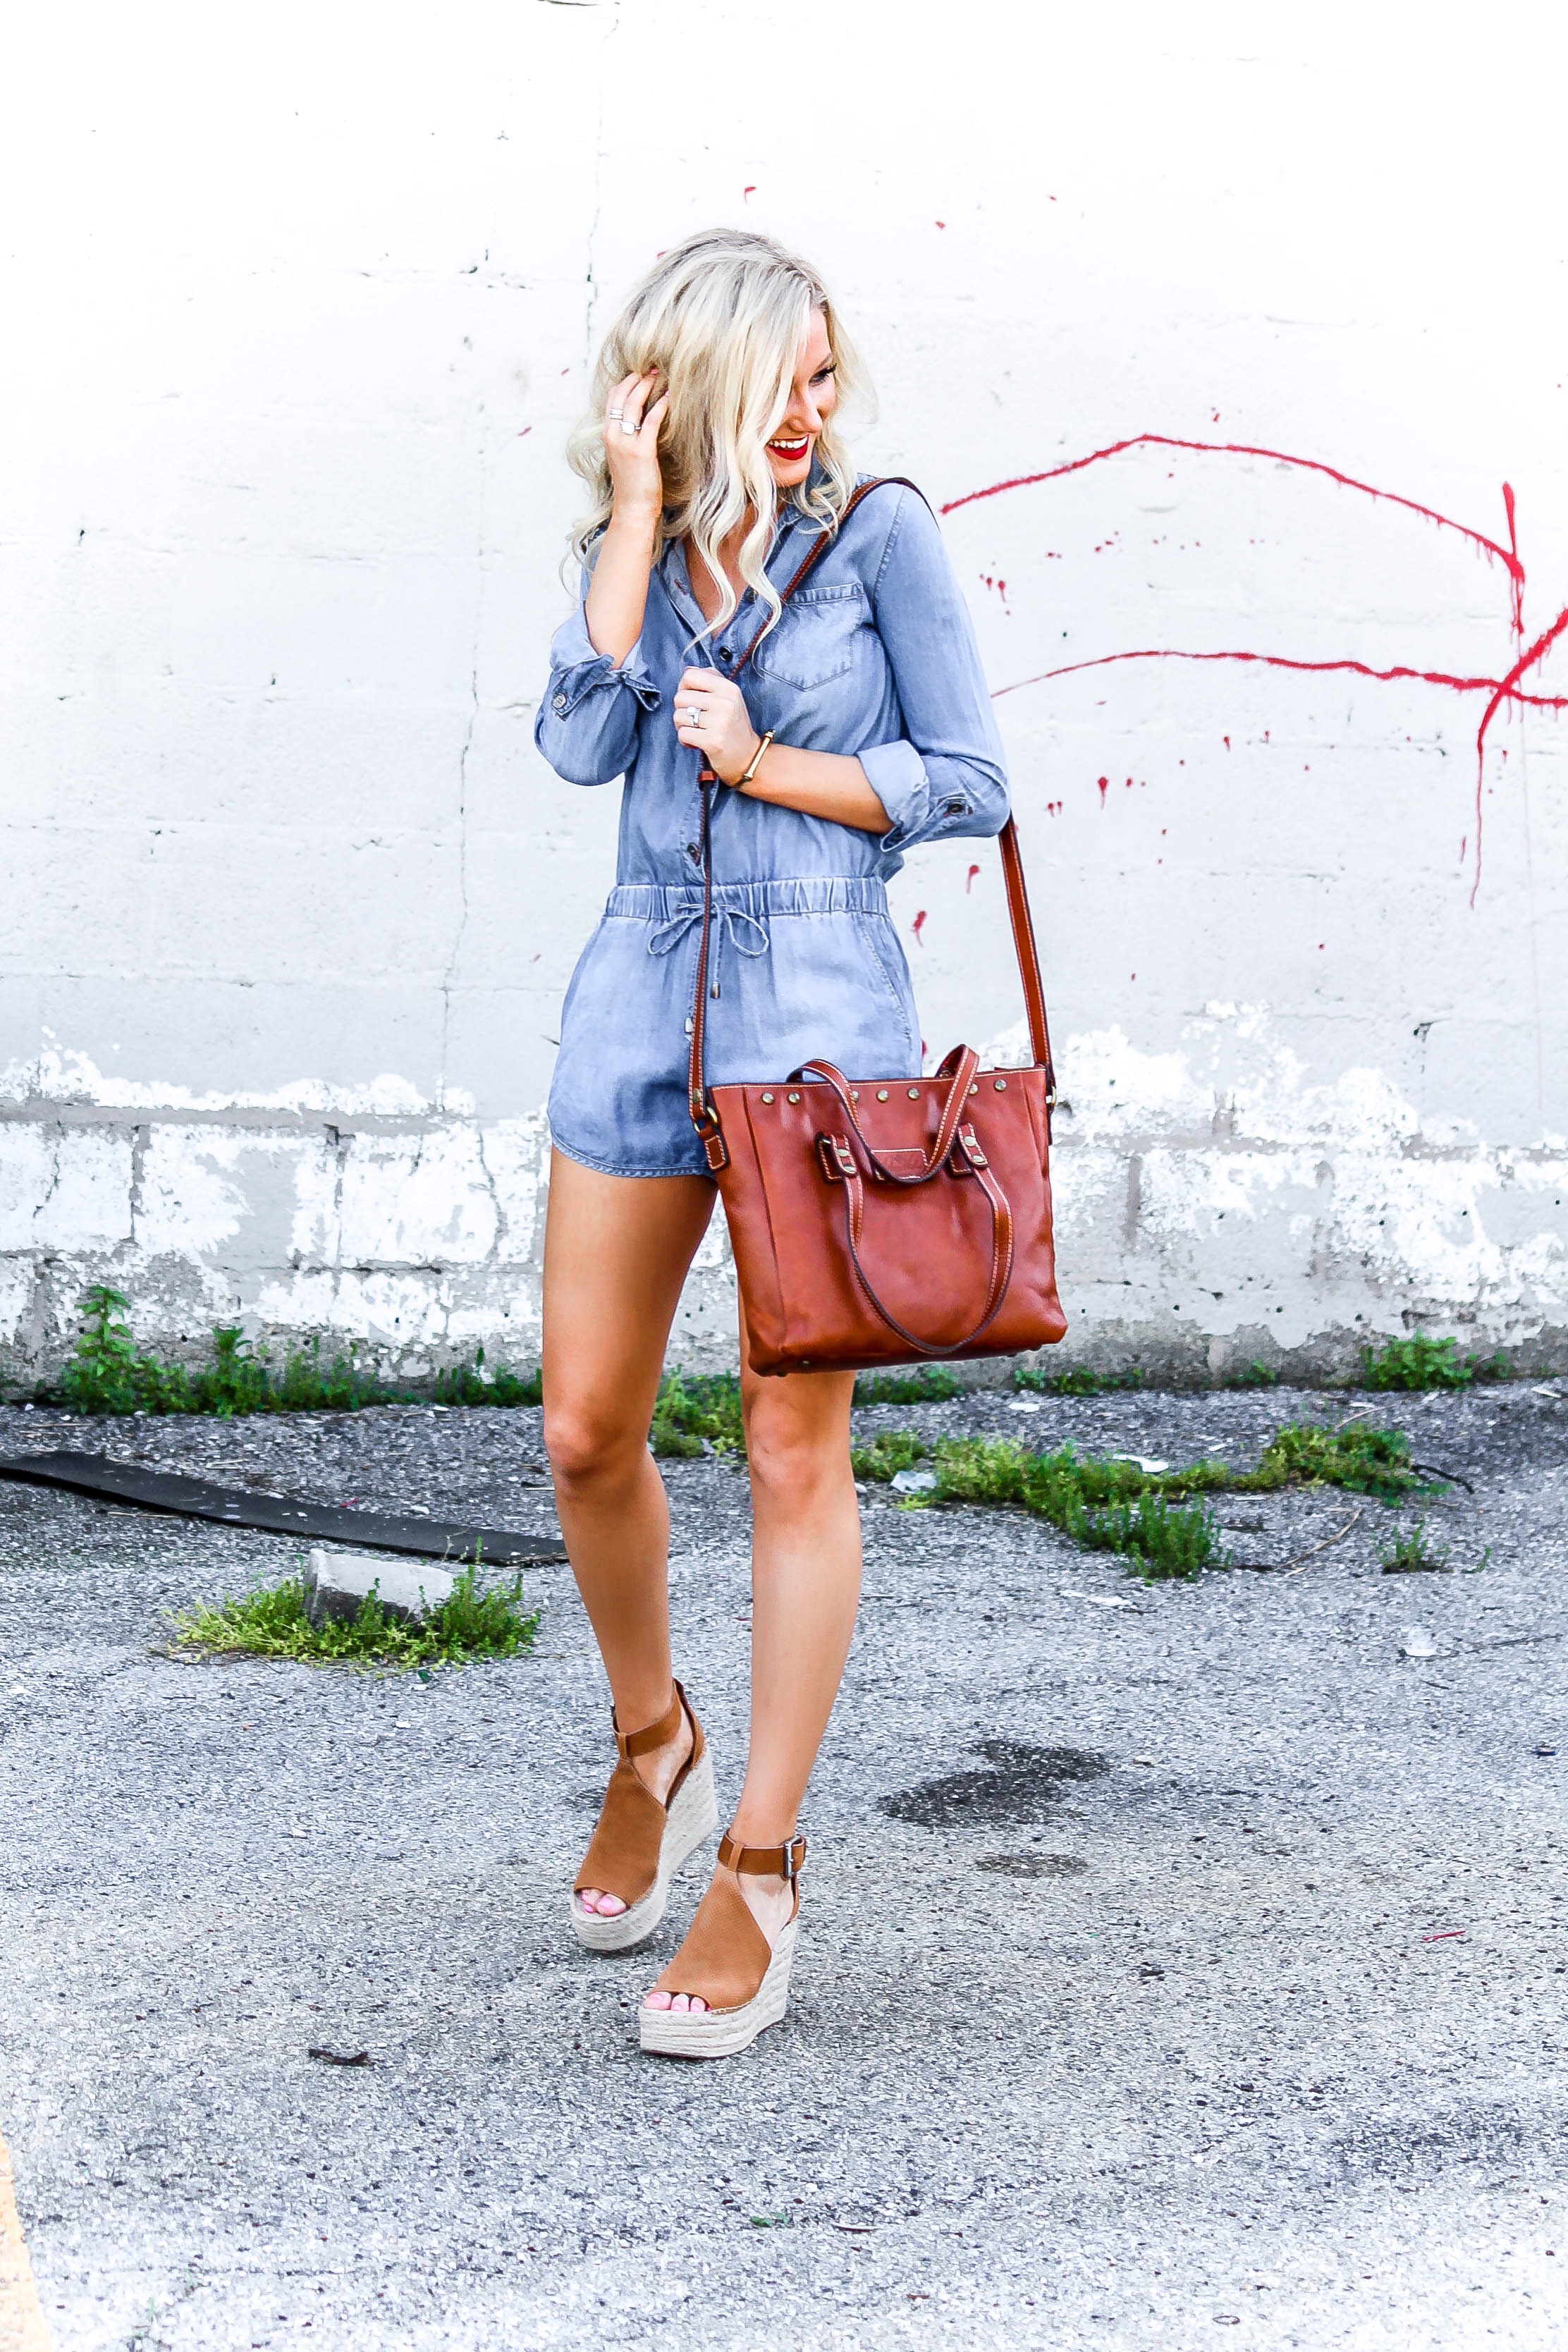
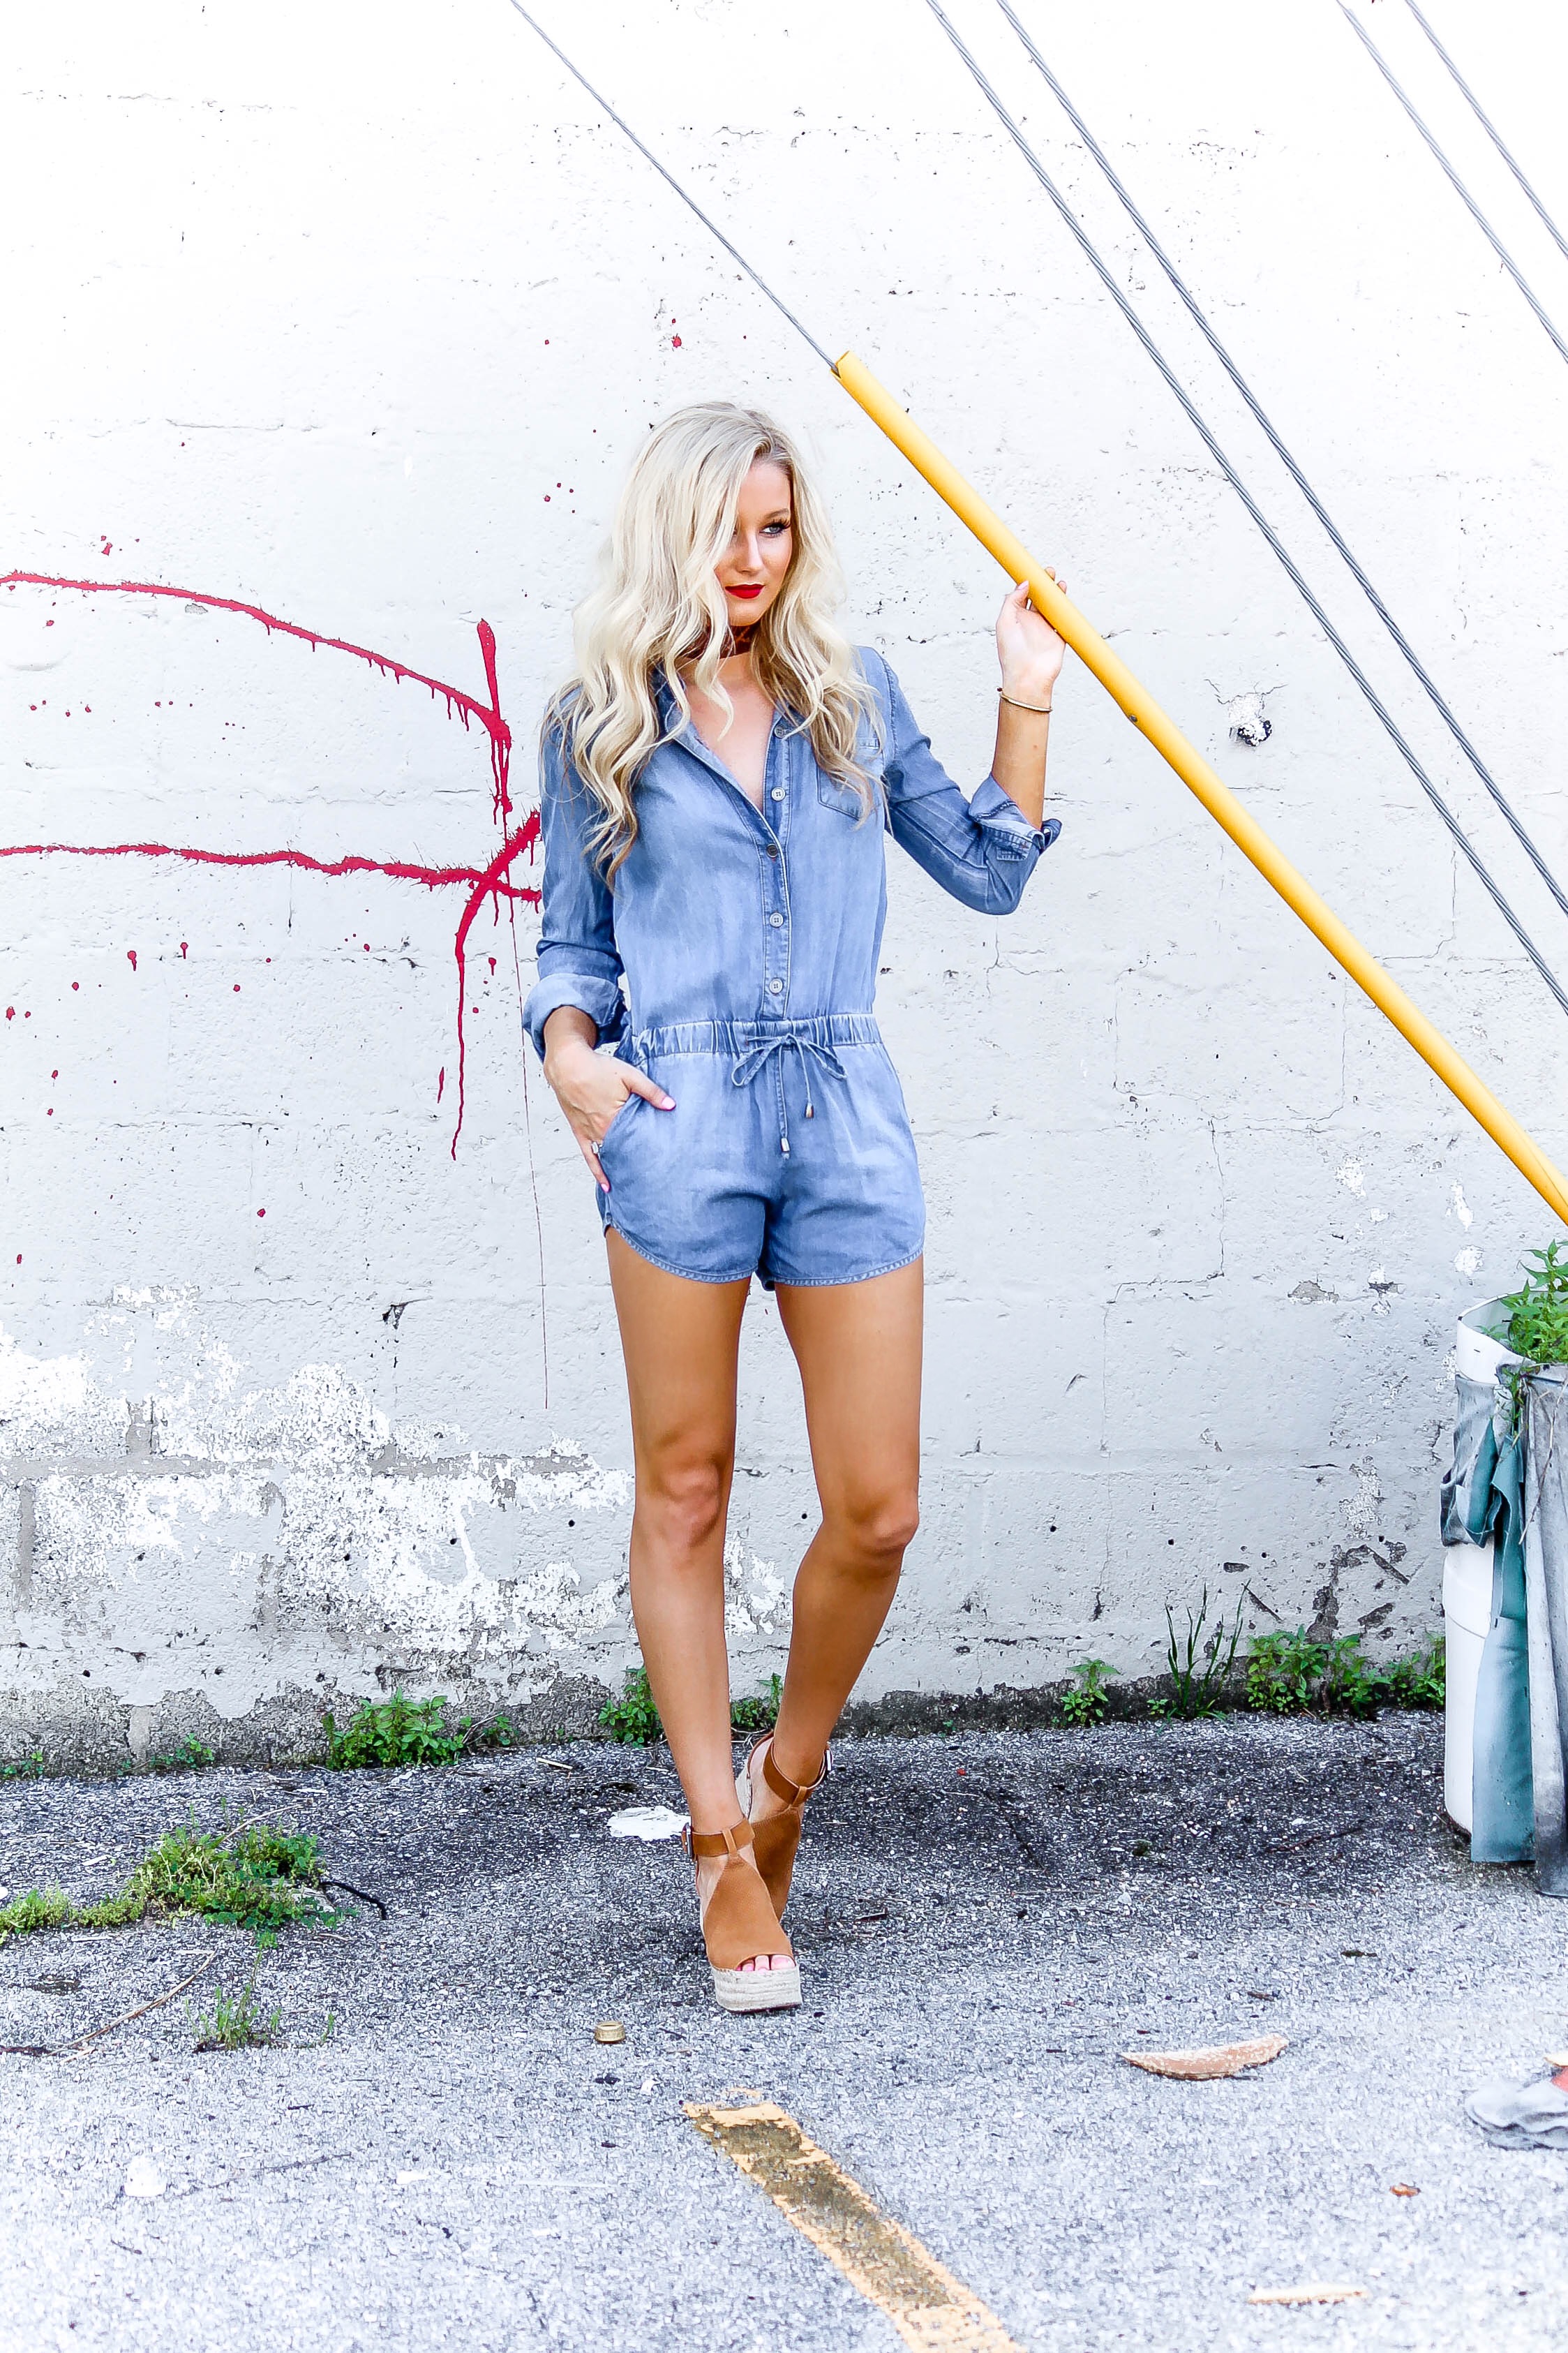
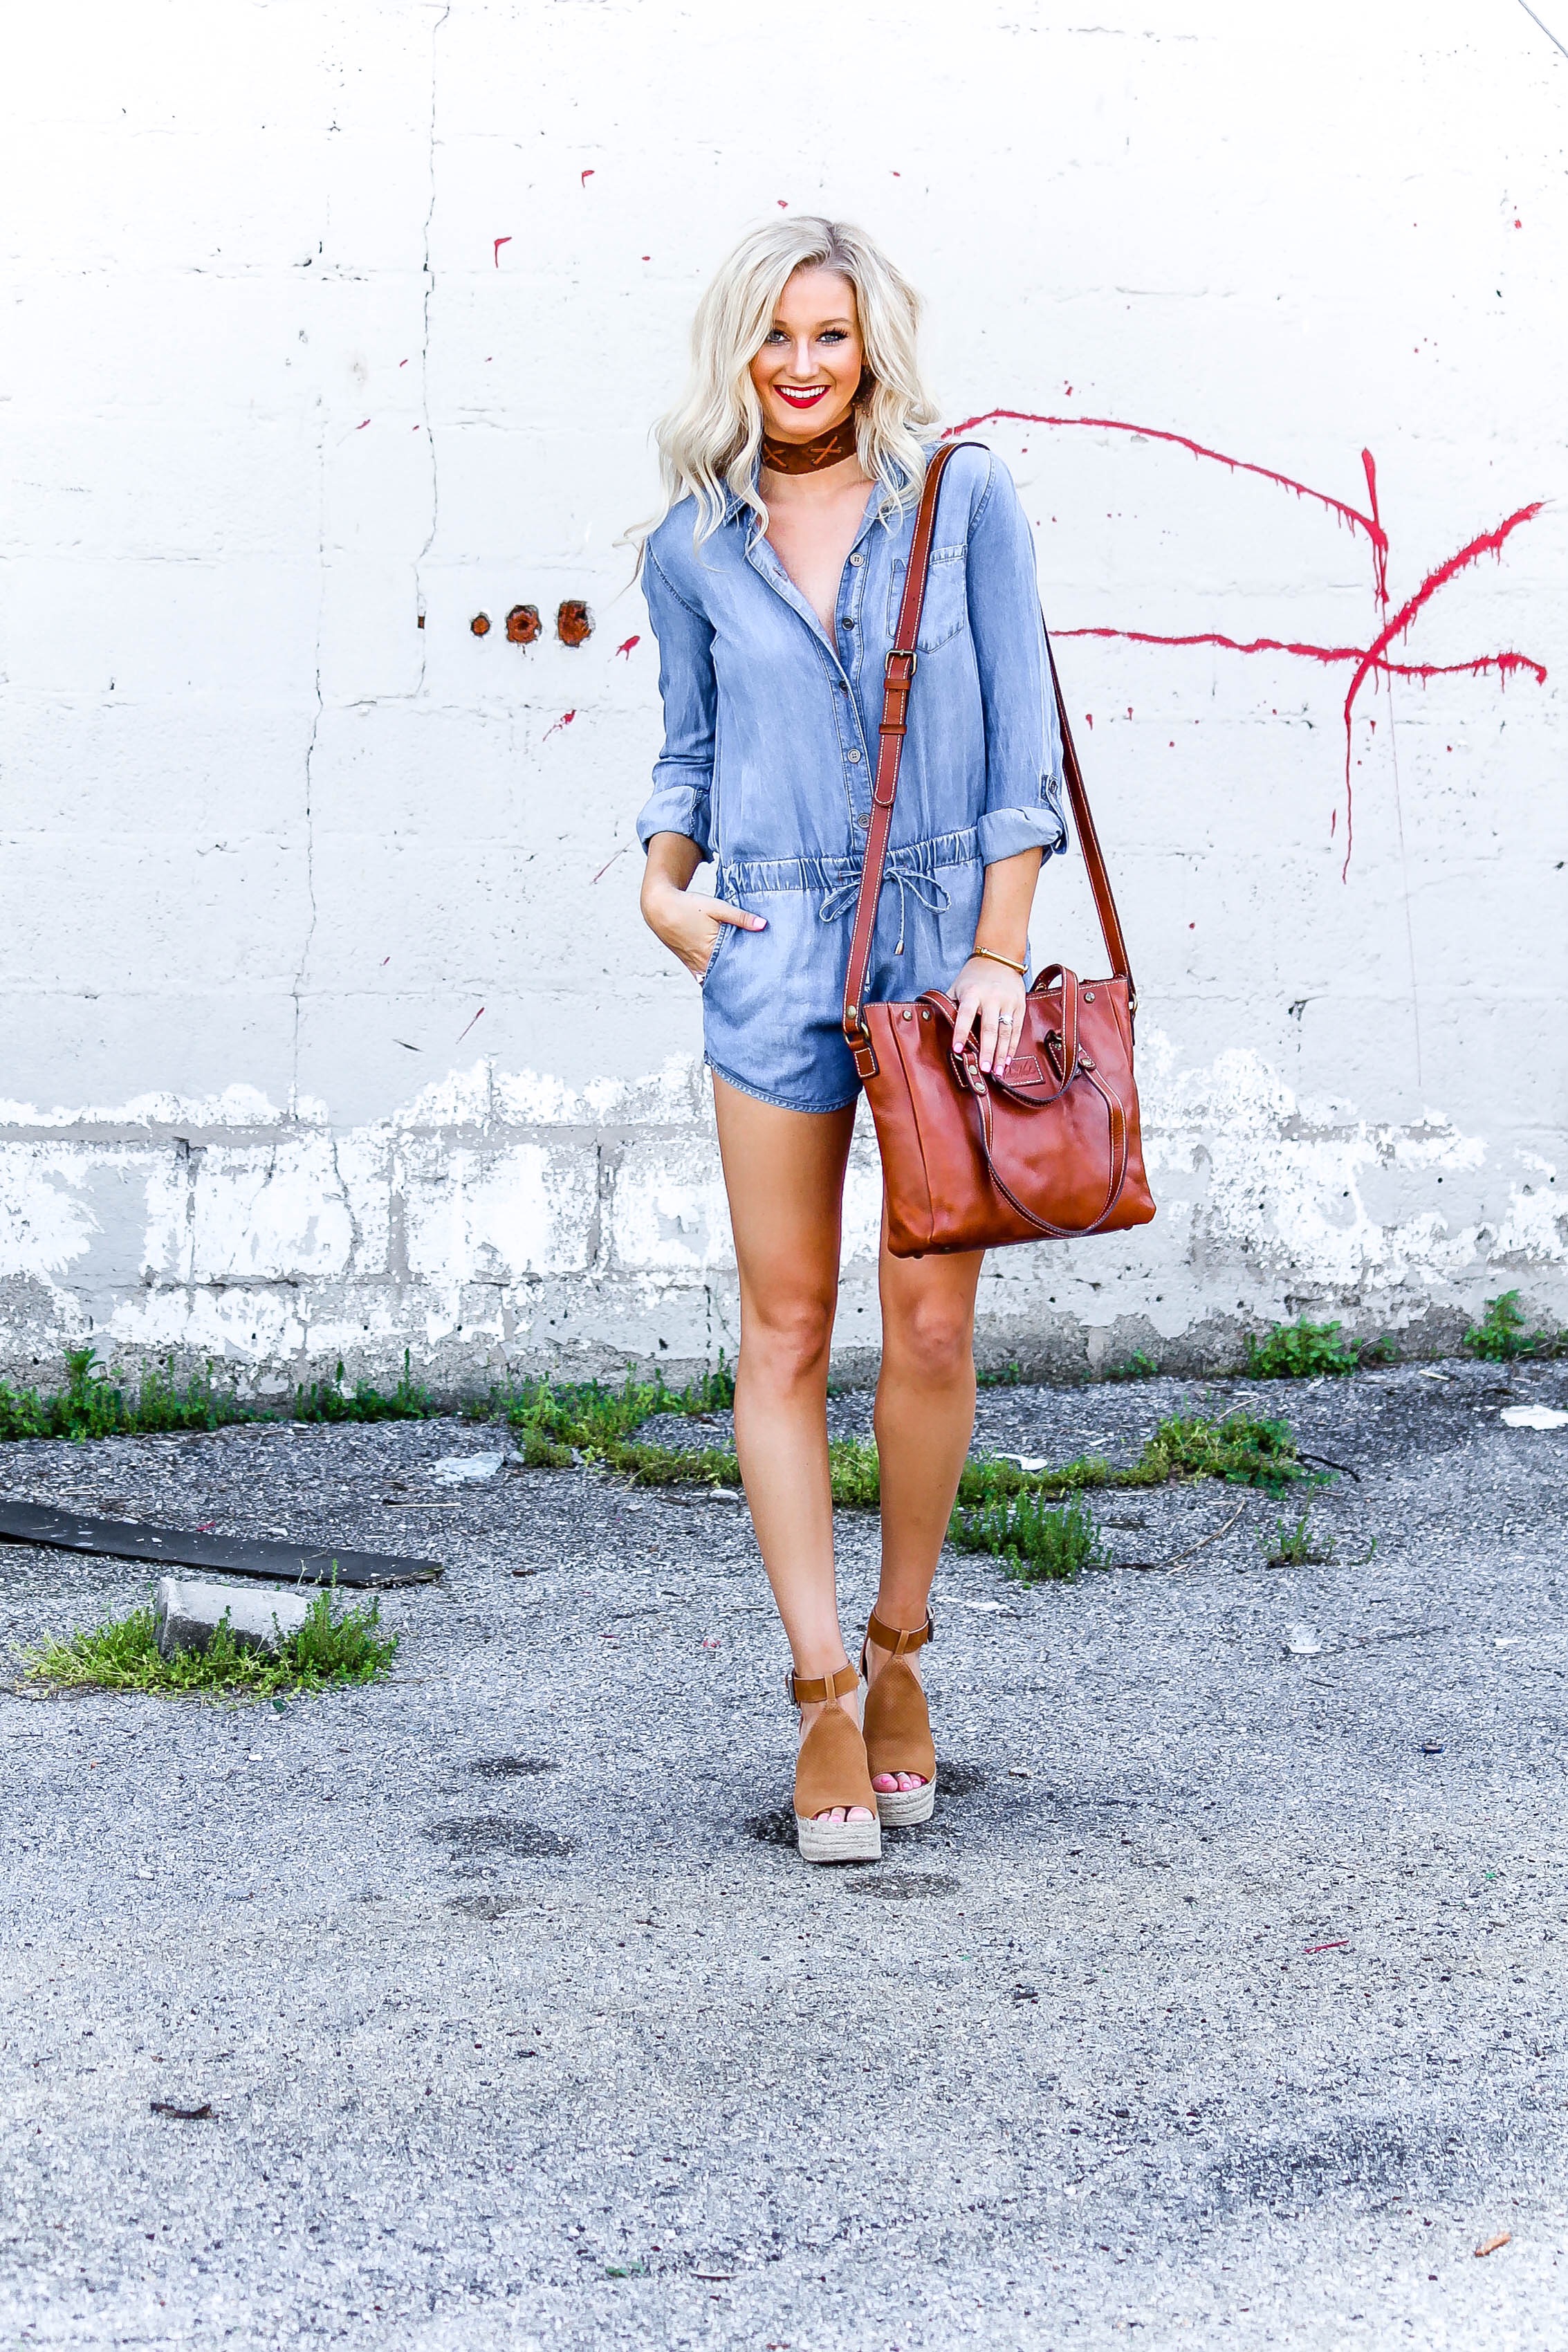
Shop My Look:
similar lightweight denim romper (UNDER $35) | tan espadrille wedges | tan leather crossbody bag (similar) | tan suede choker (on sale for $27 right now!) | gold bar bracelet
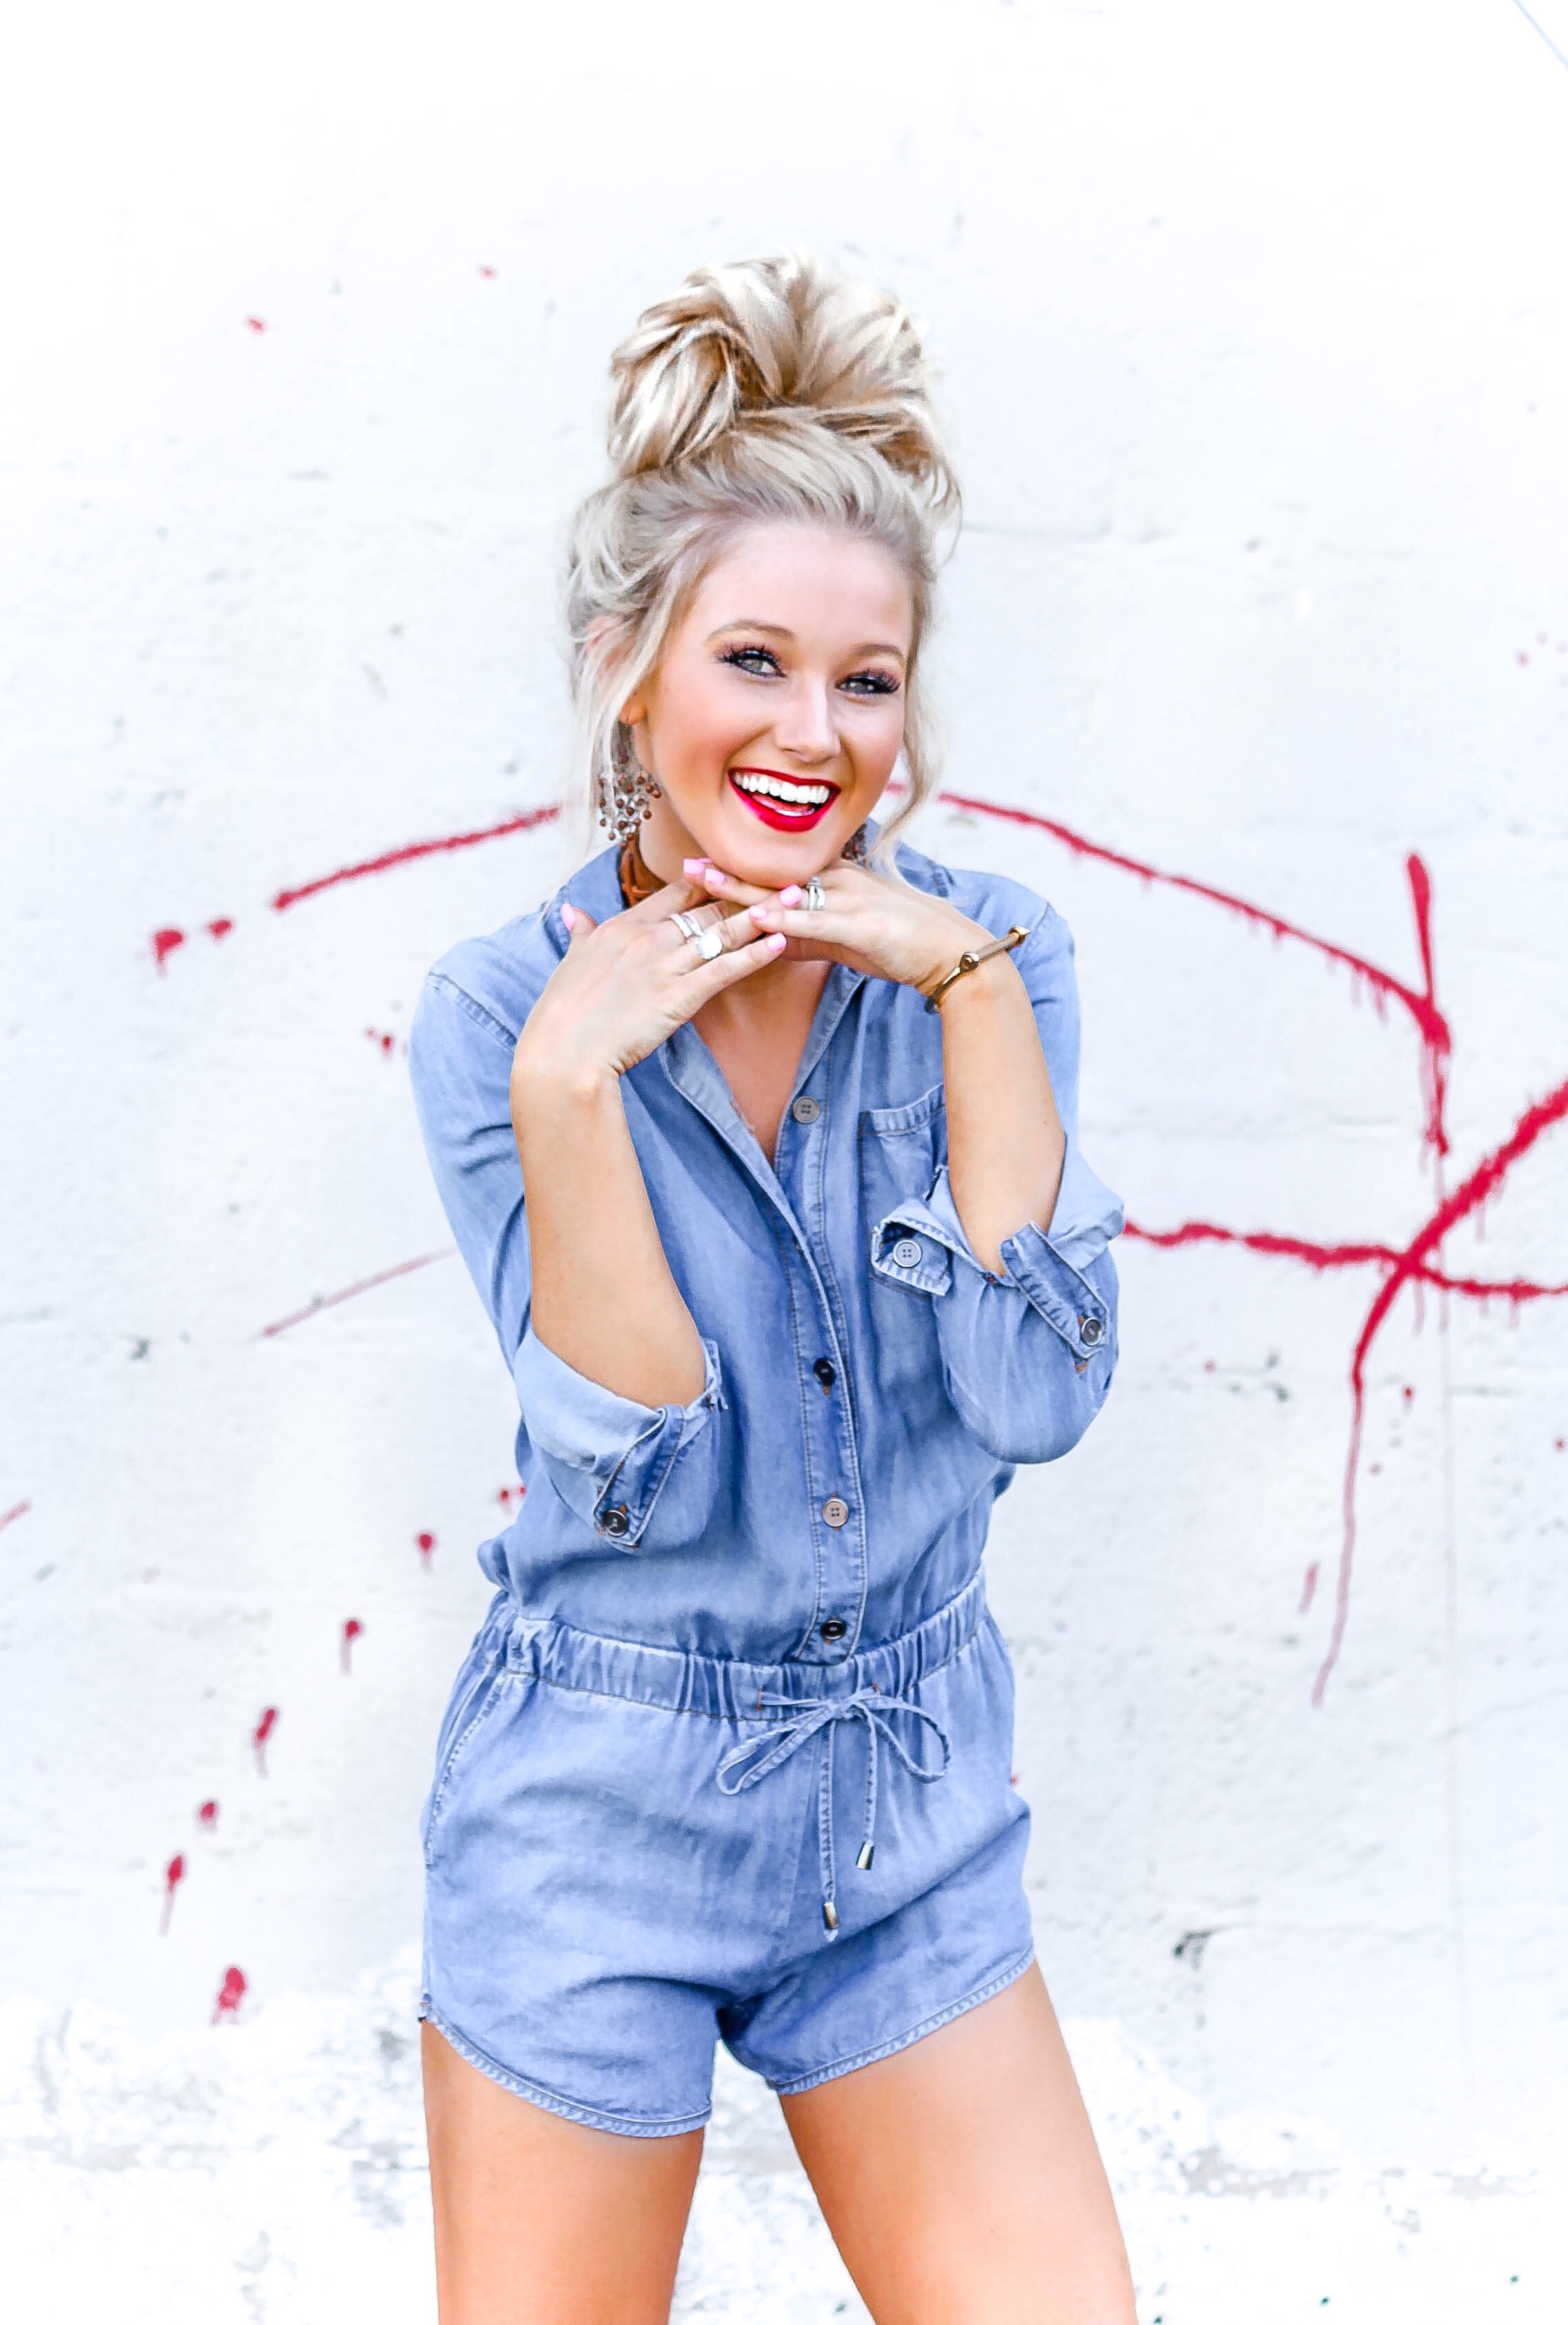
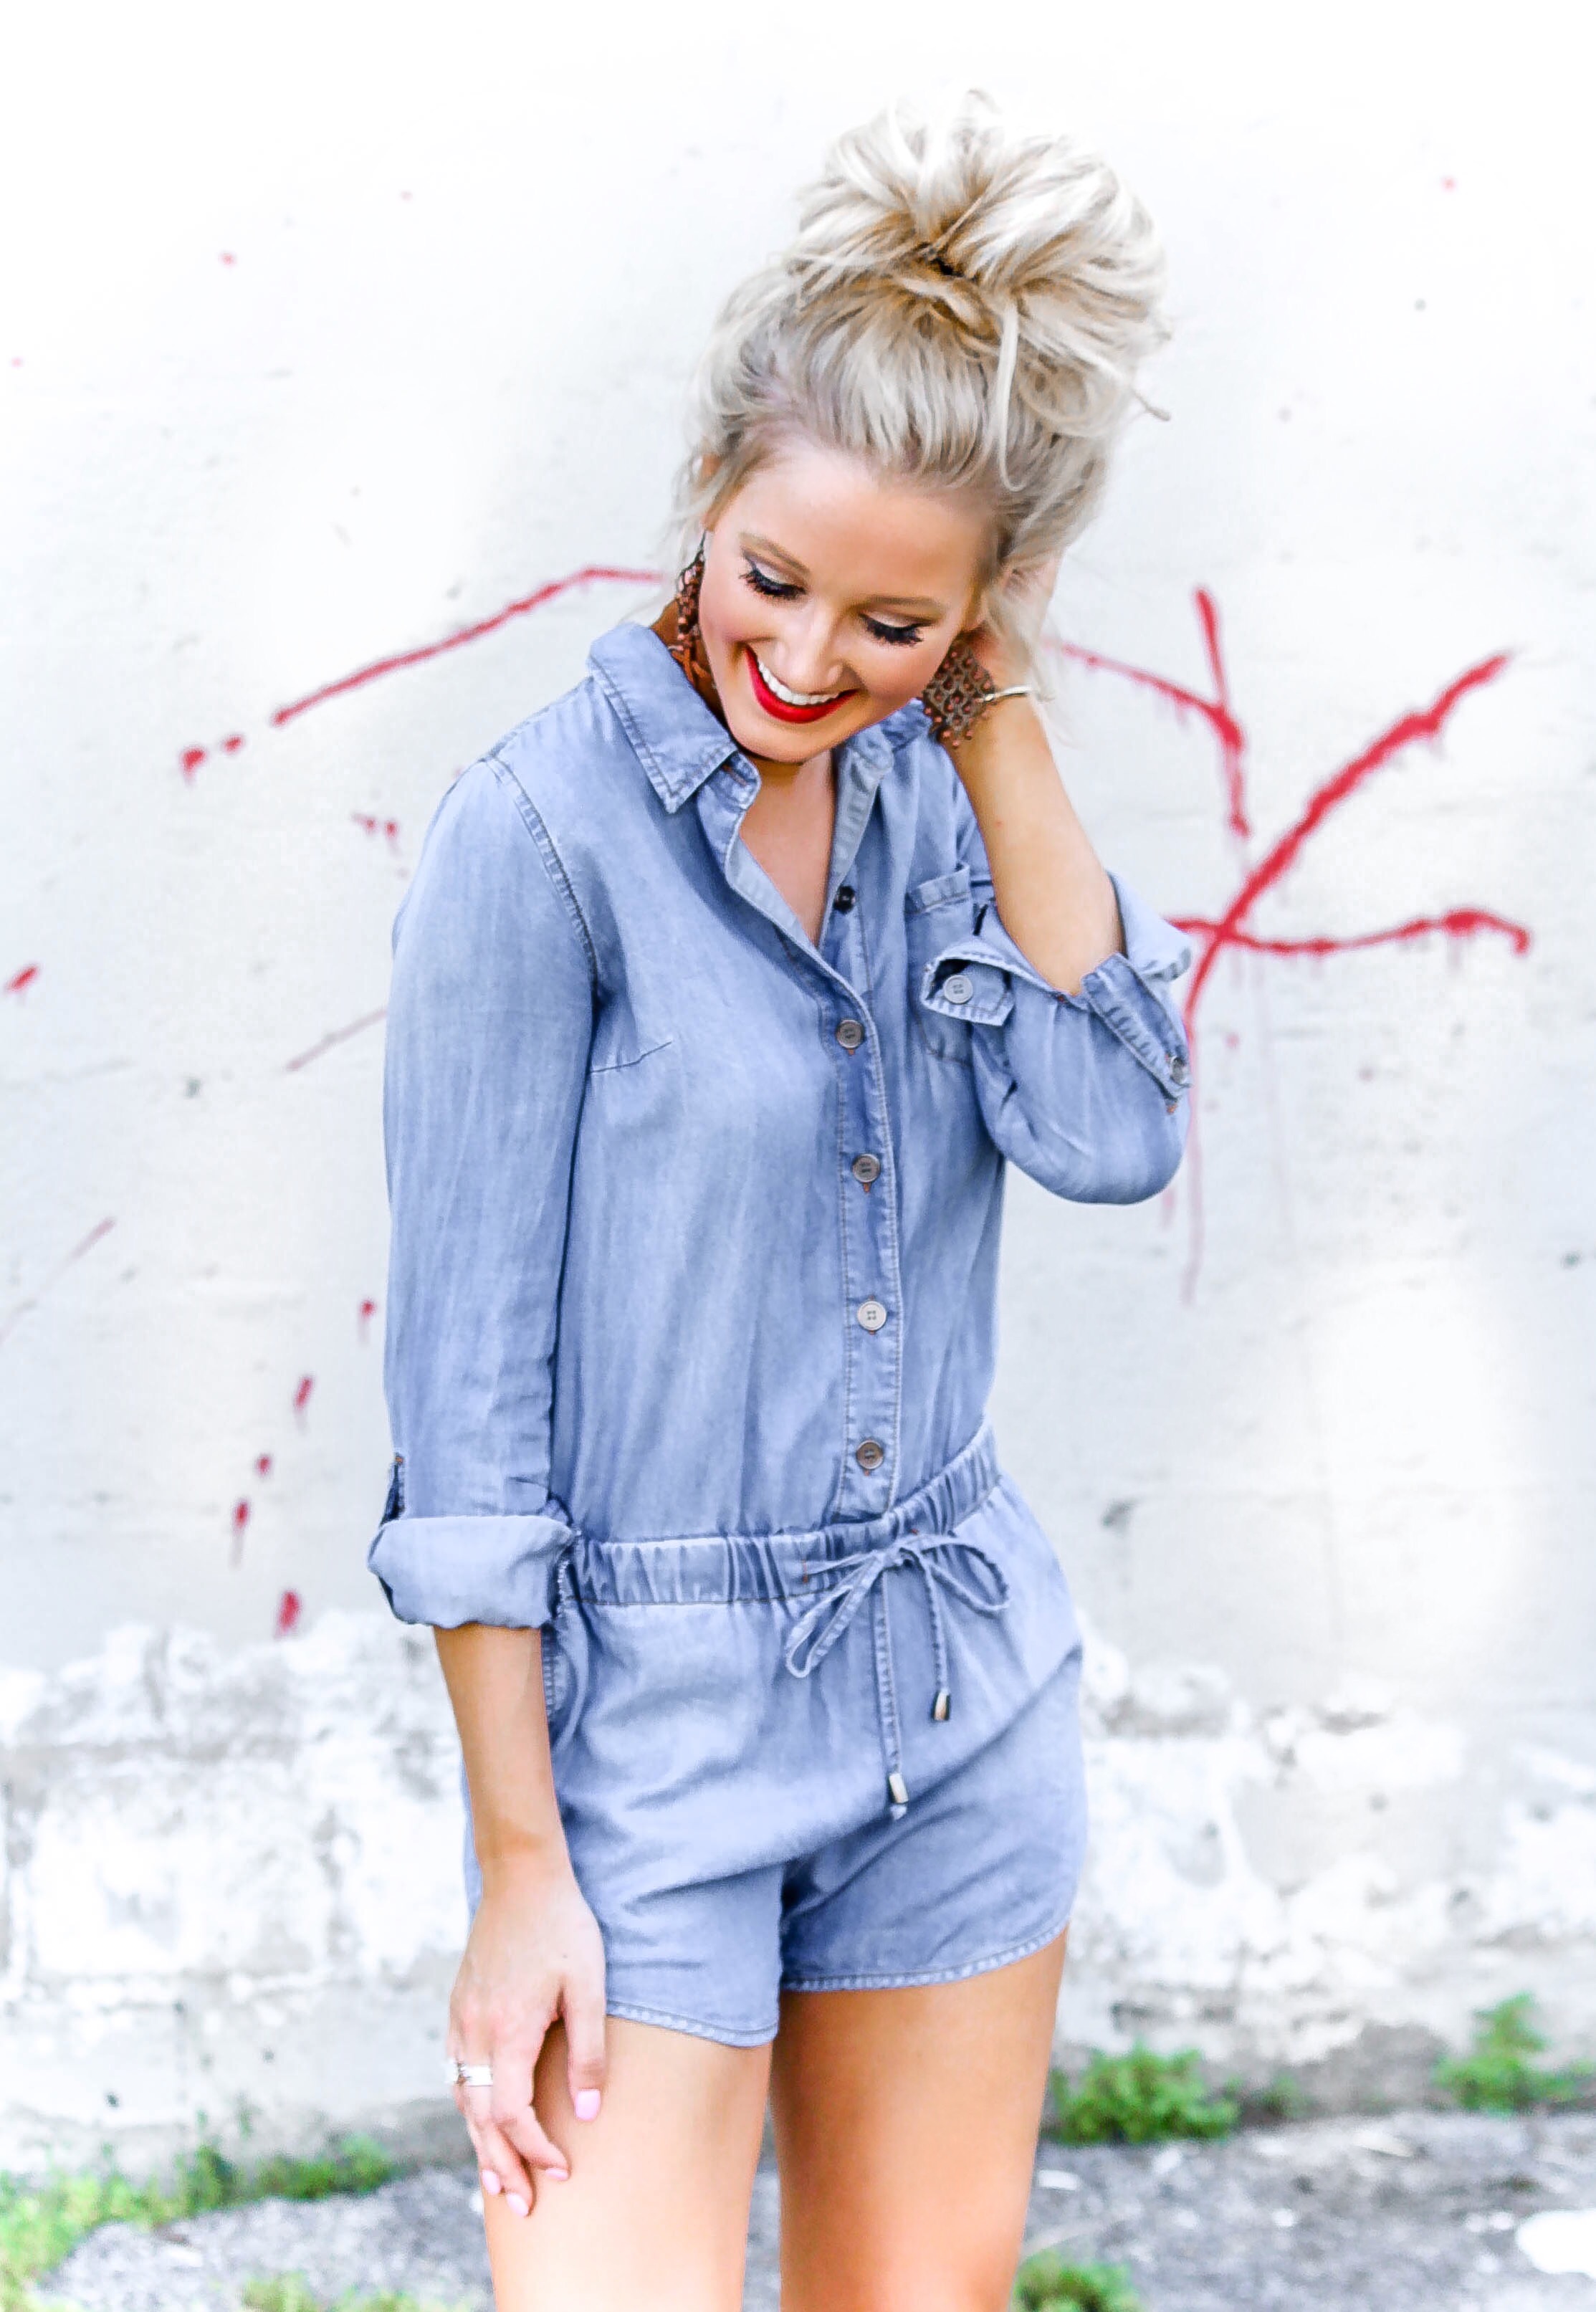
Not much of an overalls kinda girl? Me either. But we all still want to stay on-trend! This lightweight denim romper is the perfect alternative to the overall trend that is so hot and heavy right now. Not to mention, it’s one of the best pieces that you can add to your wardrobe this spring!
Rompers are a fave for almost every girl that I know, and during the spring months, it can sometimes be difficult to find the right jacket to layer with your sleeveless rompers. In many parts of the world, those super hot summer temps haven’t hit just yet, so an adorable long sleeve romper is the way to go – especially when the material is a lightweight denim. When I say lightweight, I mean that it’s not too bulky and thick. This material is so comfortable and practical for so many events because it’s flexible. It’s thin enough to where you won’t be uncomfortably hot, but also thick enough to hide the problem spots. Another thing I love about this piece is that there are so many ways to style it – gotta love versatility! I can go from day time and pair the romper with cute, flat sandals to night where I can pair it with these Marc Fisher wedges (which are my FAVE shoes right now!!) or a chunky heel. The exact romper that I have on in this post is officially sold out 🙁 but I have linked a ton of really similar ones below (including a couple tween and plus sizes)!
So, one of the most requested post ideas has been a messy bun tutorial — probably because I wear my hair in a messy bun a lot! Truth is, I love wearing my hair up whether its just in a ponytail or a bun of some sort, and they are especially nice on the days when you don’t have time to wash your hair LOL. Let’s just say dry shampoo is a girl’s best friend. I’m sure you already have some of it in your bathroom right now, amiright?! 😉
Let’s jump right in and I’ll explain to you all how I do my messy buns and the little tricks I have found over the years that work best!
**Disclaimer, I always try to have curls in my hair before I style a messy bun – they don’t have to be perfect curls. This just makes for a ‘prettier’ messy bun (if that’s even a thing haha). I also have naturally curly hair so sometimes when I’m wearing my hair natural, my messy buns may look like the ones in THIS POST. Either way, I follow the same steps every time no matter how my hair is that day!
- After my hair is curled to some degree, I start the process off with some dry shampoo. The KEY to a good messy bun is dry shampoo or texturizing spray. My favorite is THIS ONE from Tresemmé! I’ve been using it for years and I don’t think I’ll stray from it anytime soon. It smells clean and fresh, and if you are blonde like me … it’ll quickly become your best friend whenever your roots start growing out, haha! With that said though, if you are not blonde, be careful not to use too much of this product because it does spray on your hair pretty white/light. My friends who have dark hair use THIS dry shampoo instead because it doesn’t make your hair look lighter than your darker color. I’ve used that one before too and I like it as well, but being a blonde, the Tresemmé is still my all time fave! (Oh and did I mention it’s under $10??)
Flip your head upside down and spray the dry shampoo (or texturizing spray) throughout your hair. Run your fingers (or a brush) through your hair right after you spray it. This should volumize your hair and give it some texture which you will definitely need for the messy bun.
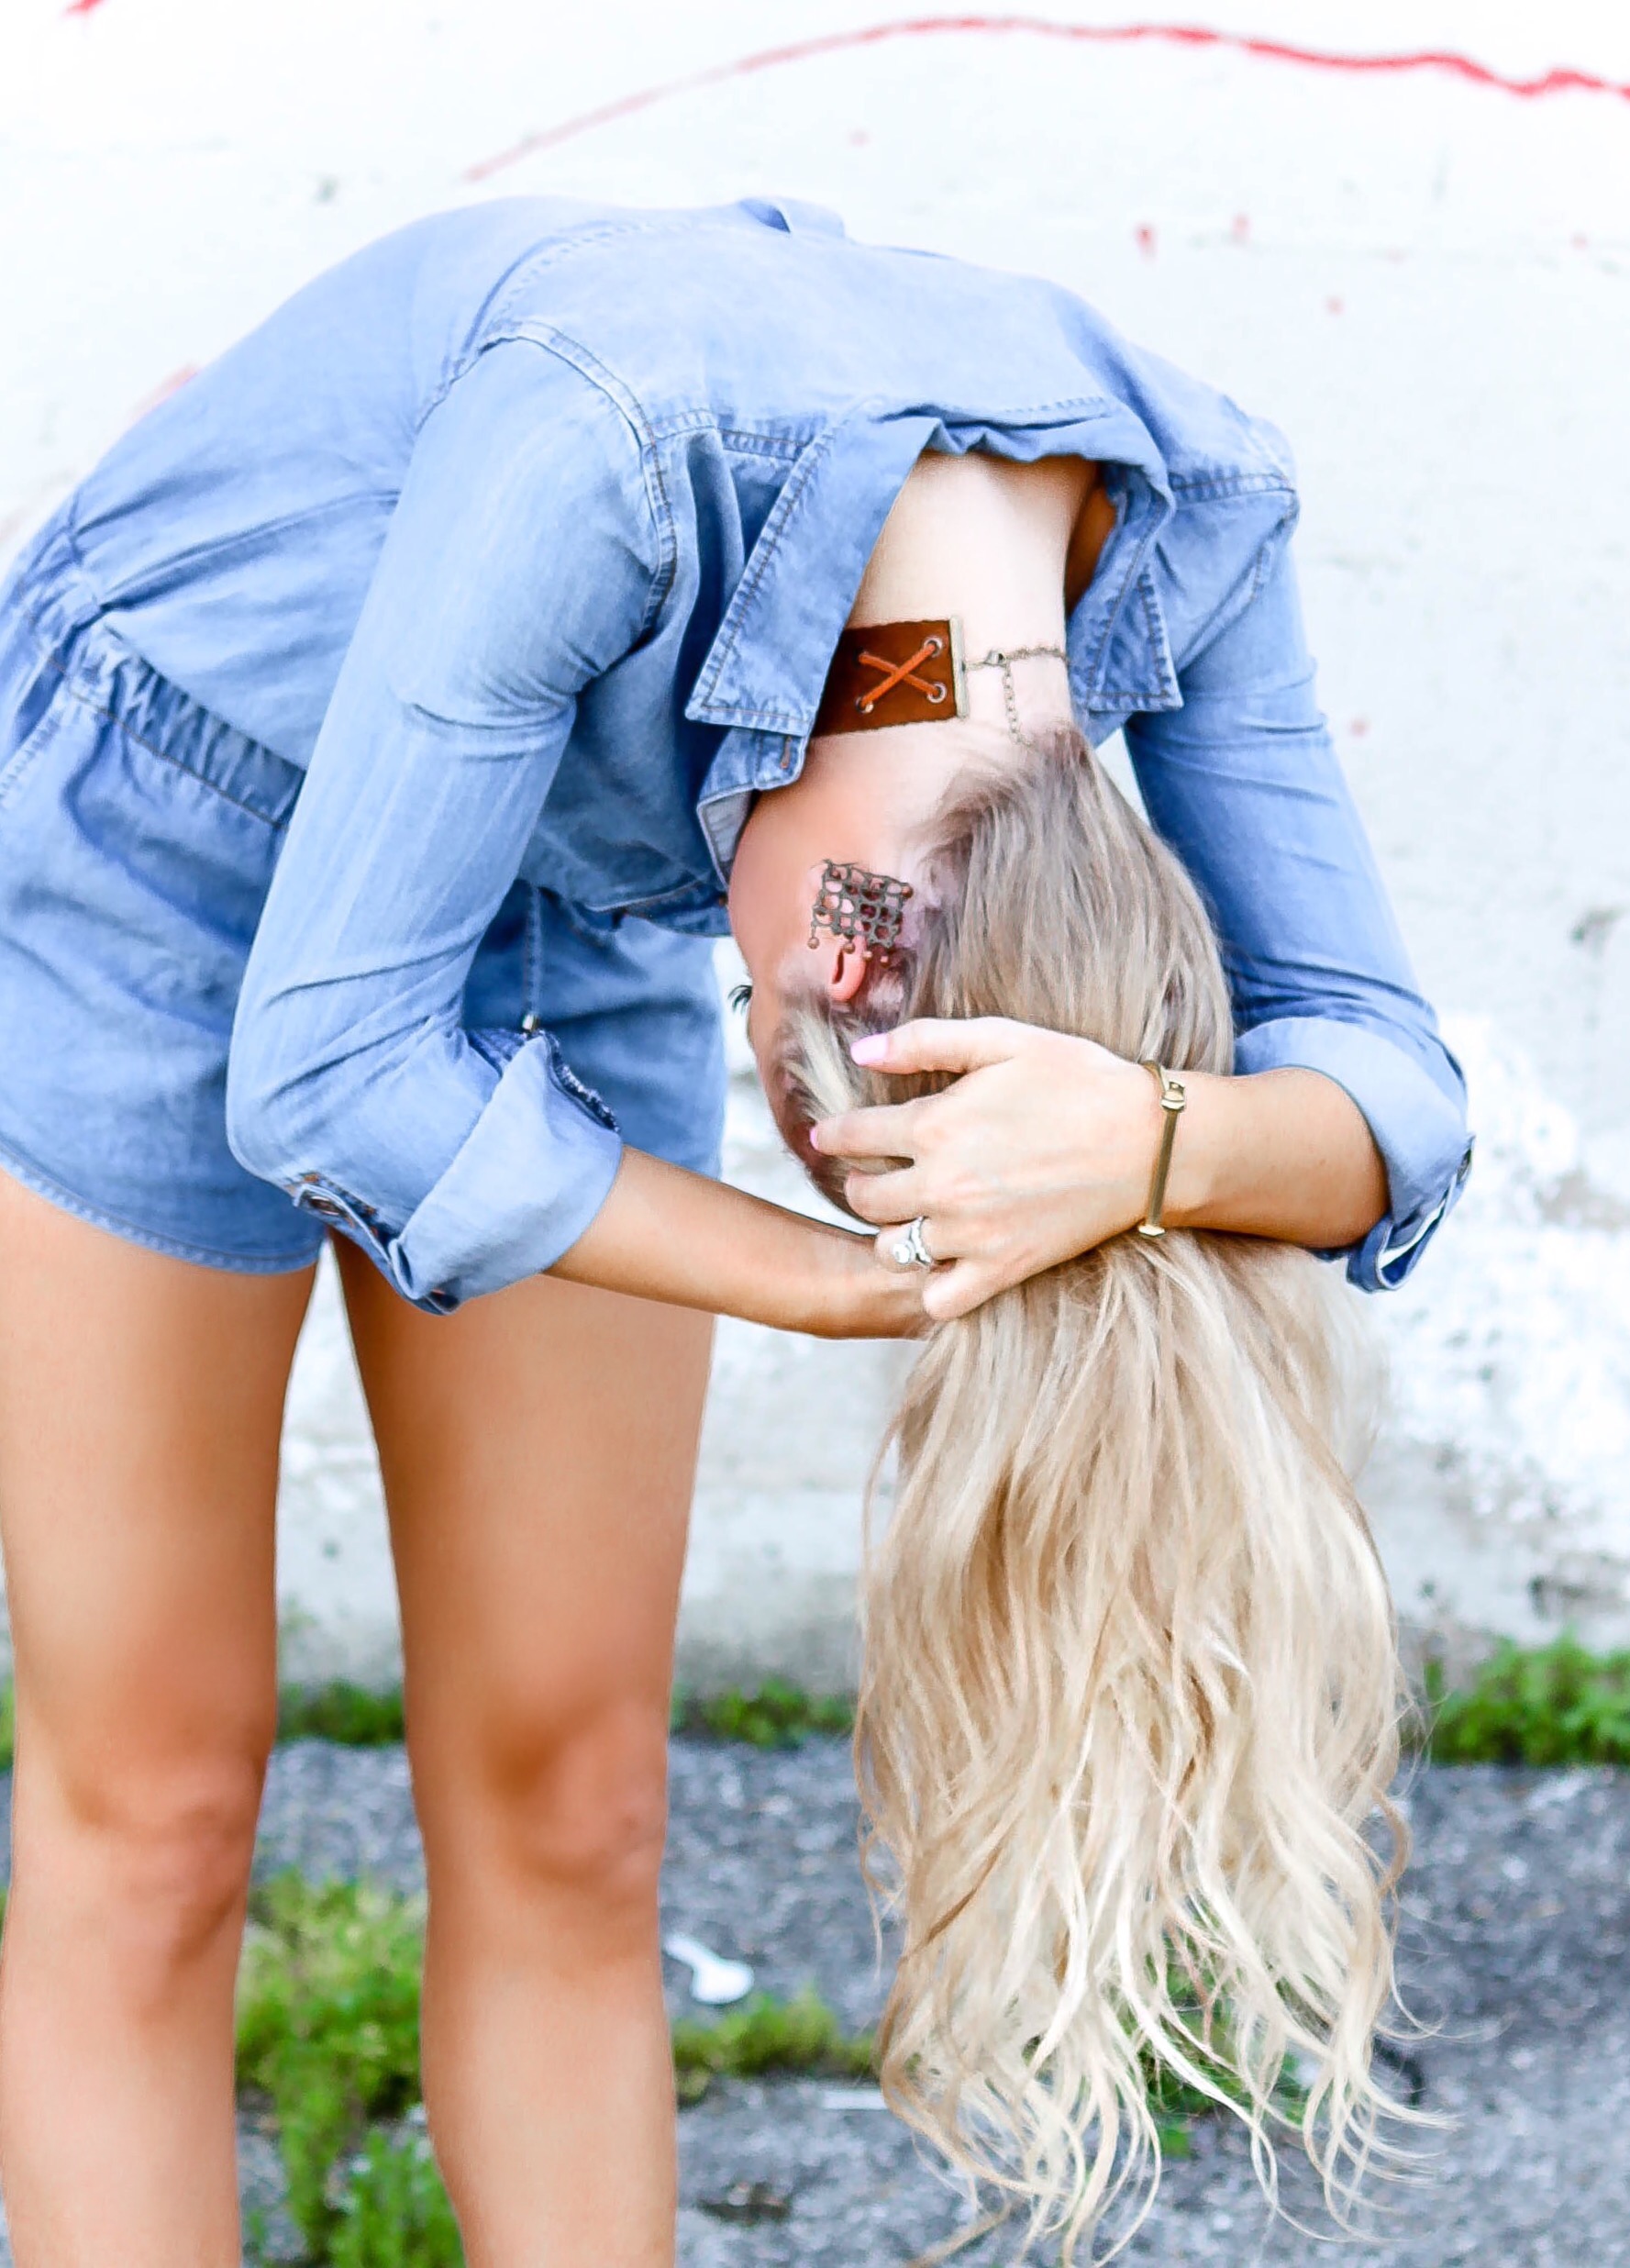
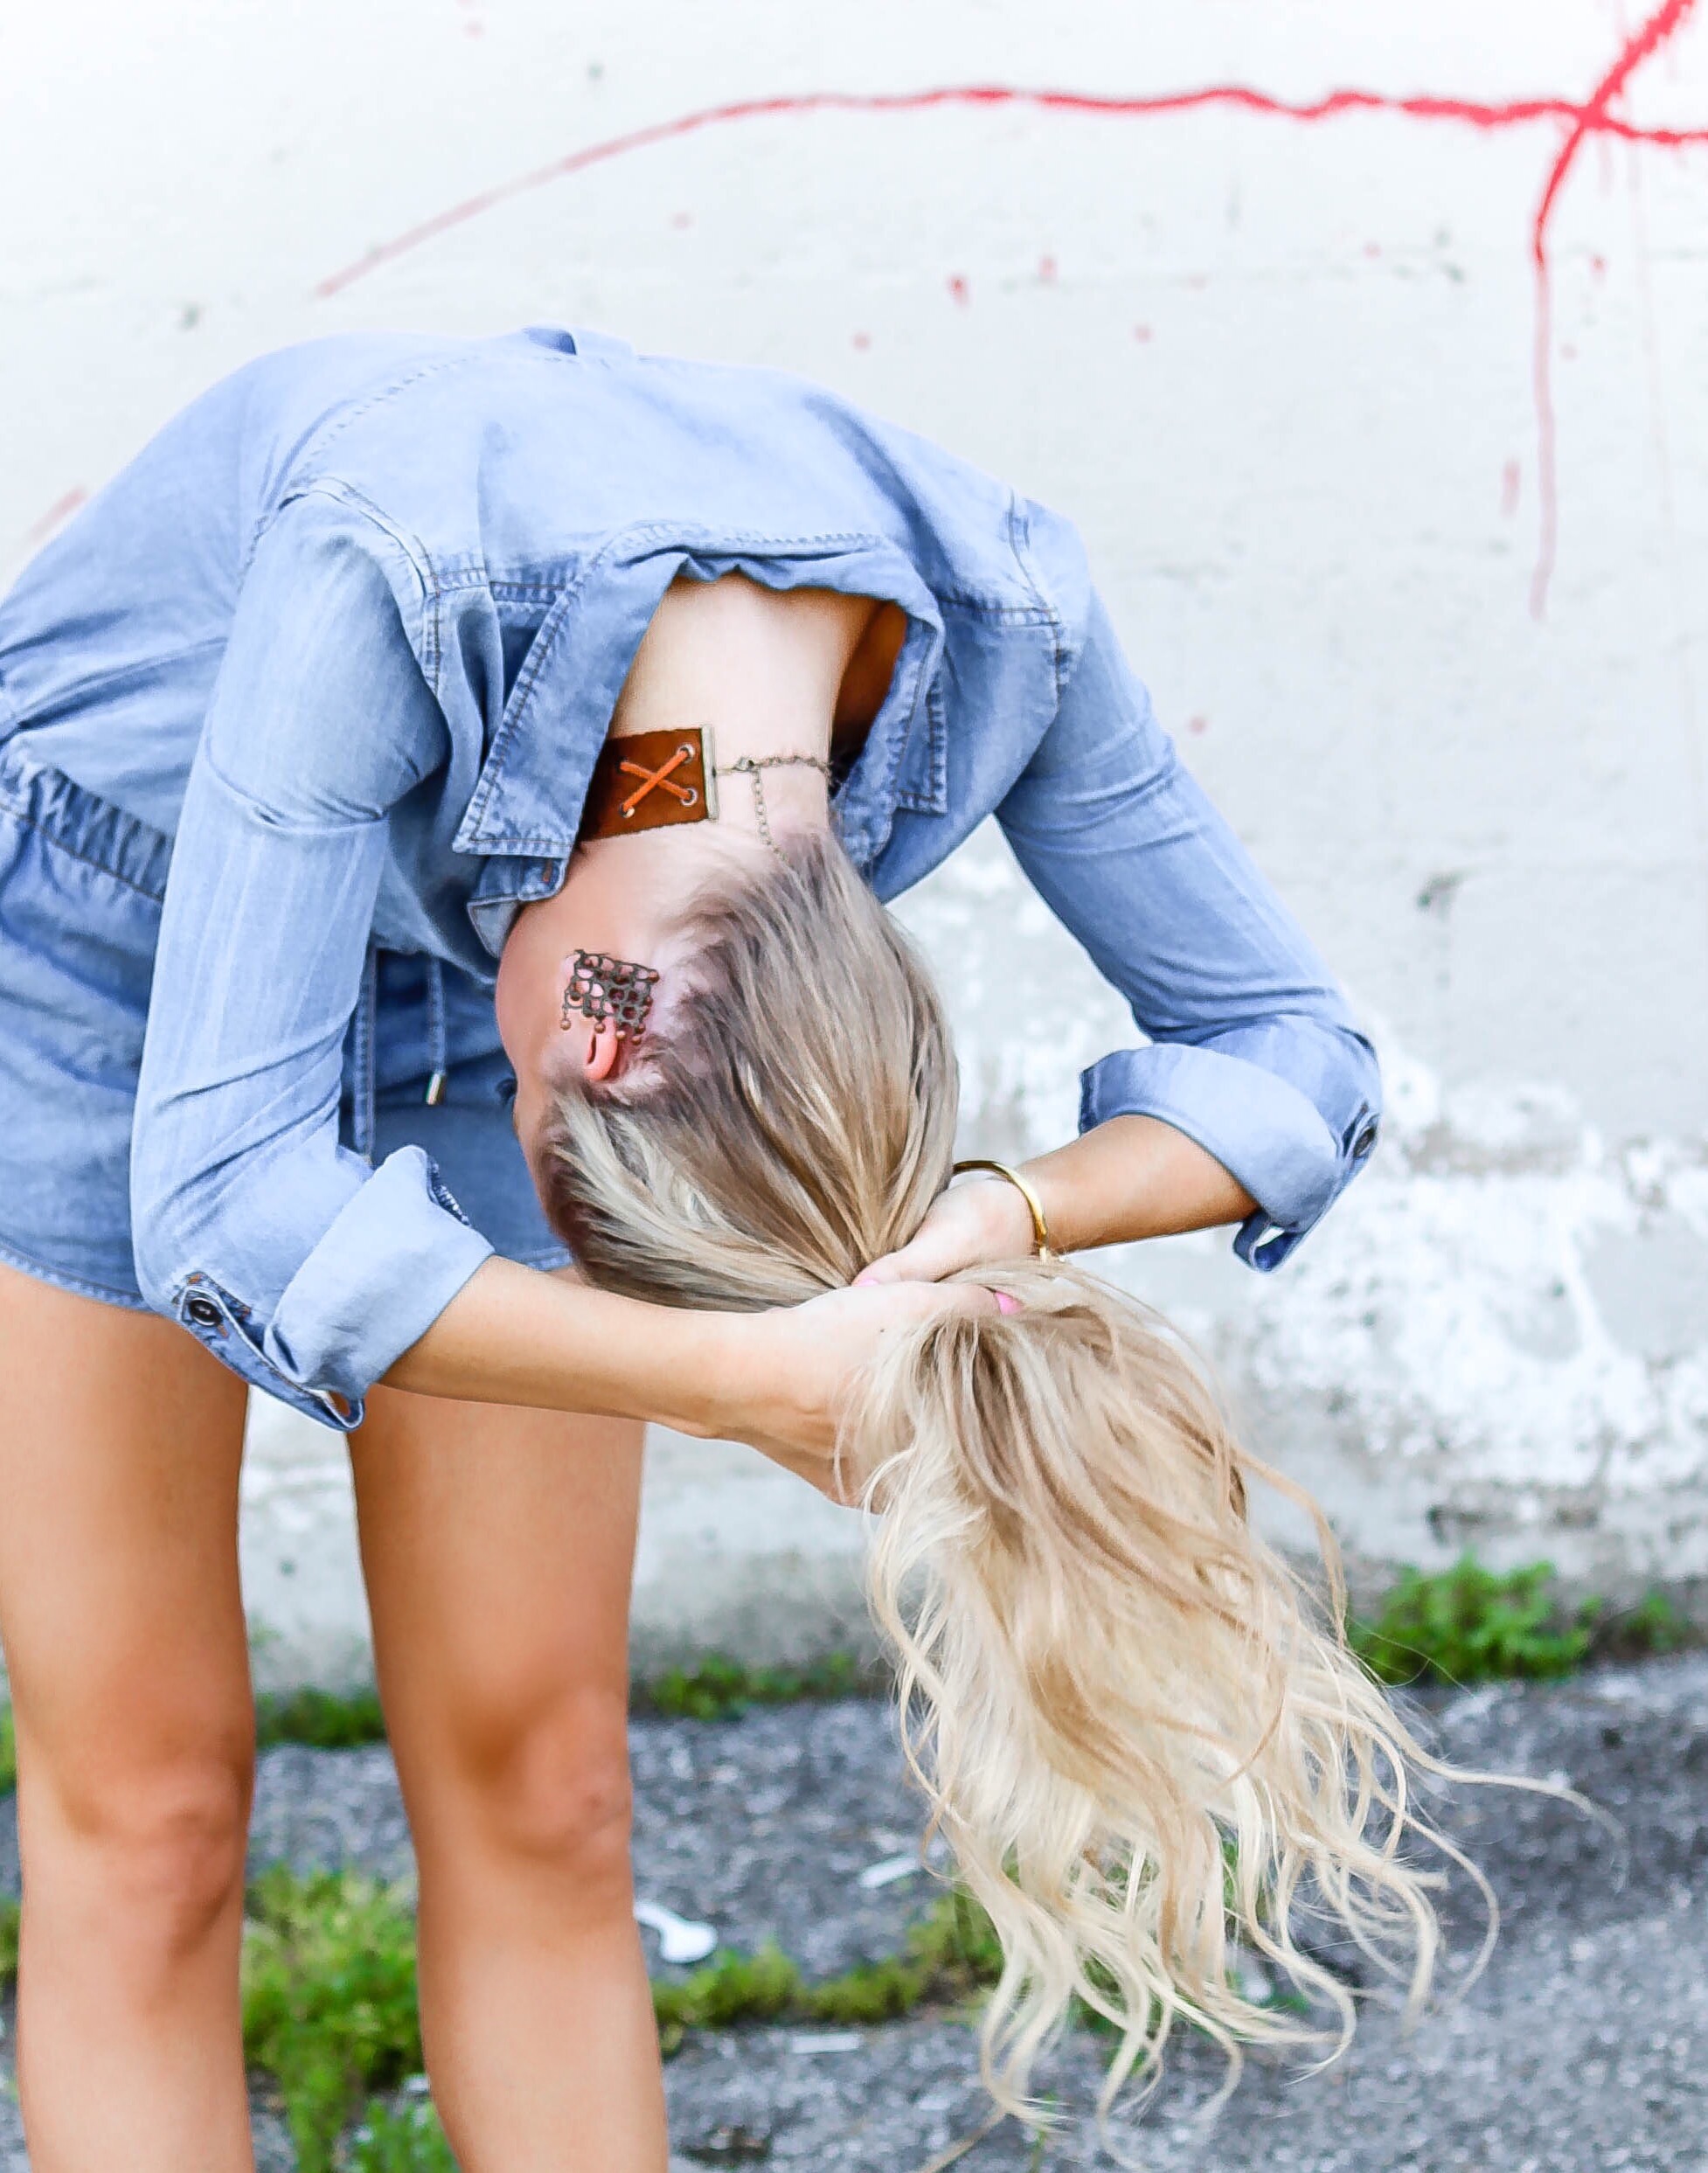
2. Next, leave your head turned upside down and gather all of your hair into your hands. I smooth it out a little bit on the top and bottom (just with my hands – not a brush), but don’t fret over bumps. Remember, it’s supposed to be ‘messy’.
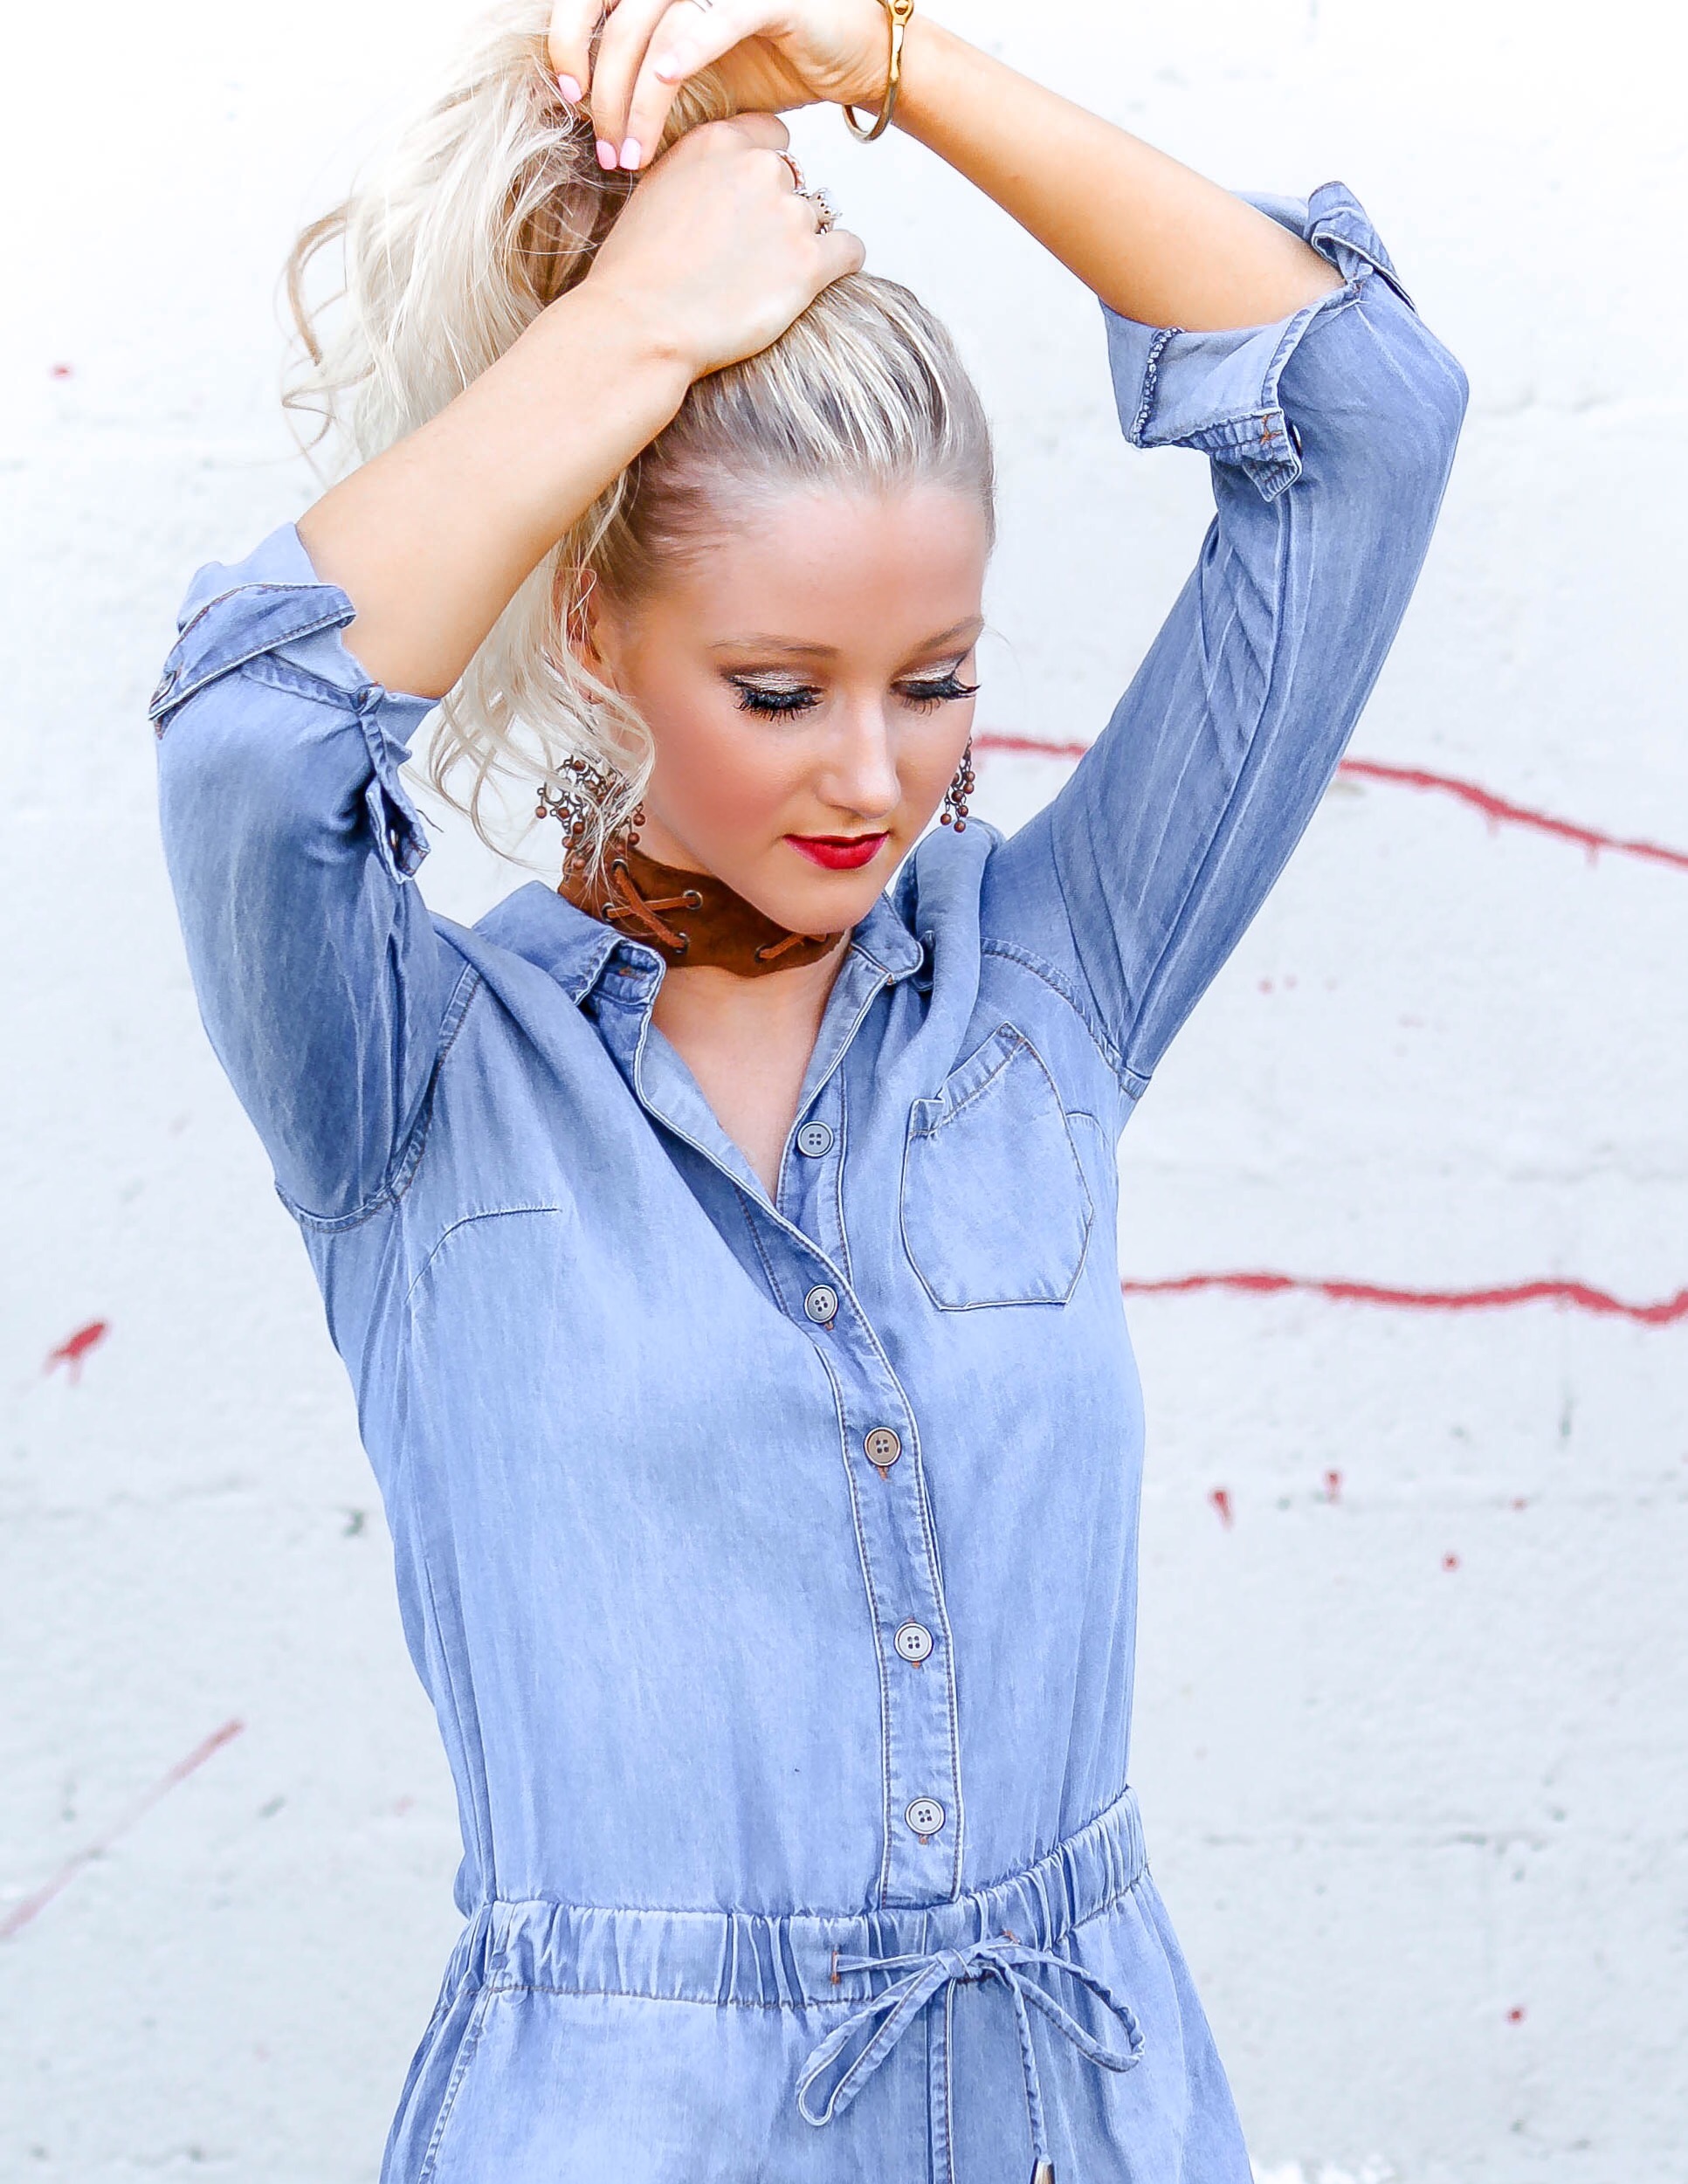
3. Then, while still holding all of the hair, you will flip your head up and place the hair that is gathered in your hands – aka your ponytail – on the upper part of your head. I like for my buns to be higher rather than lower, but you can decide which position works best for you.
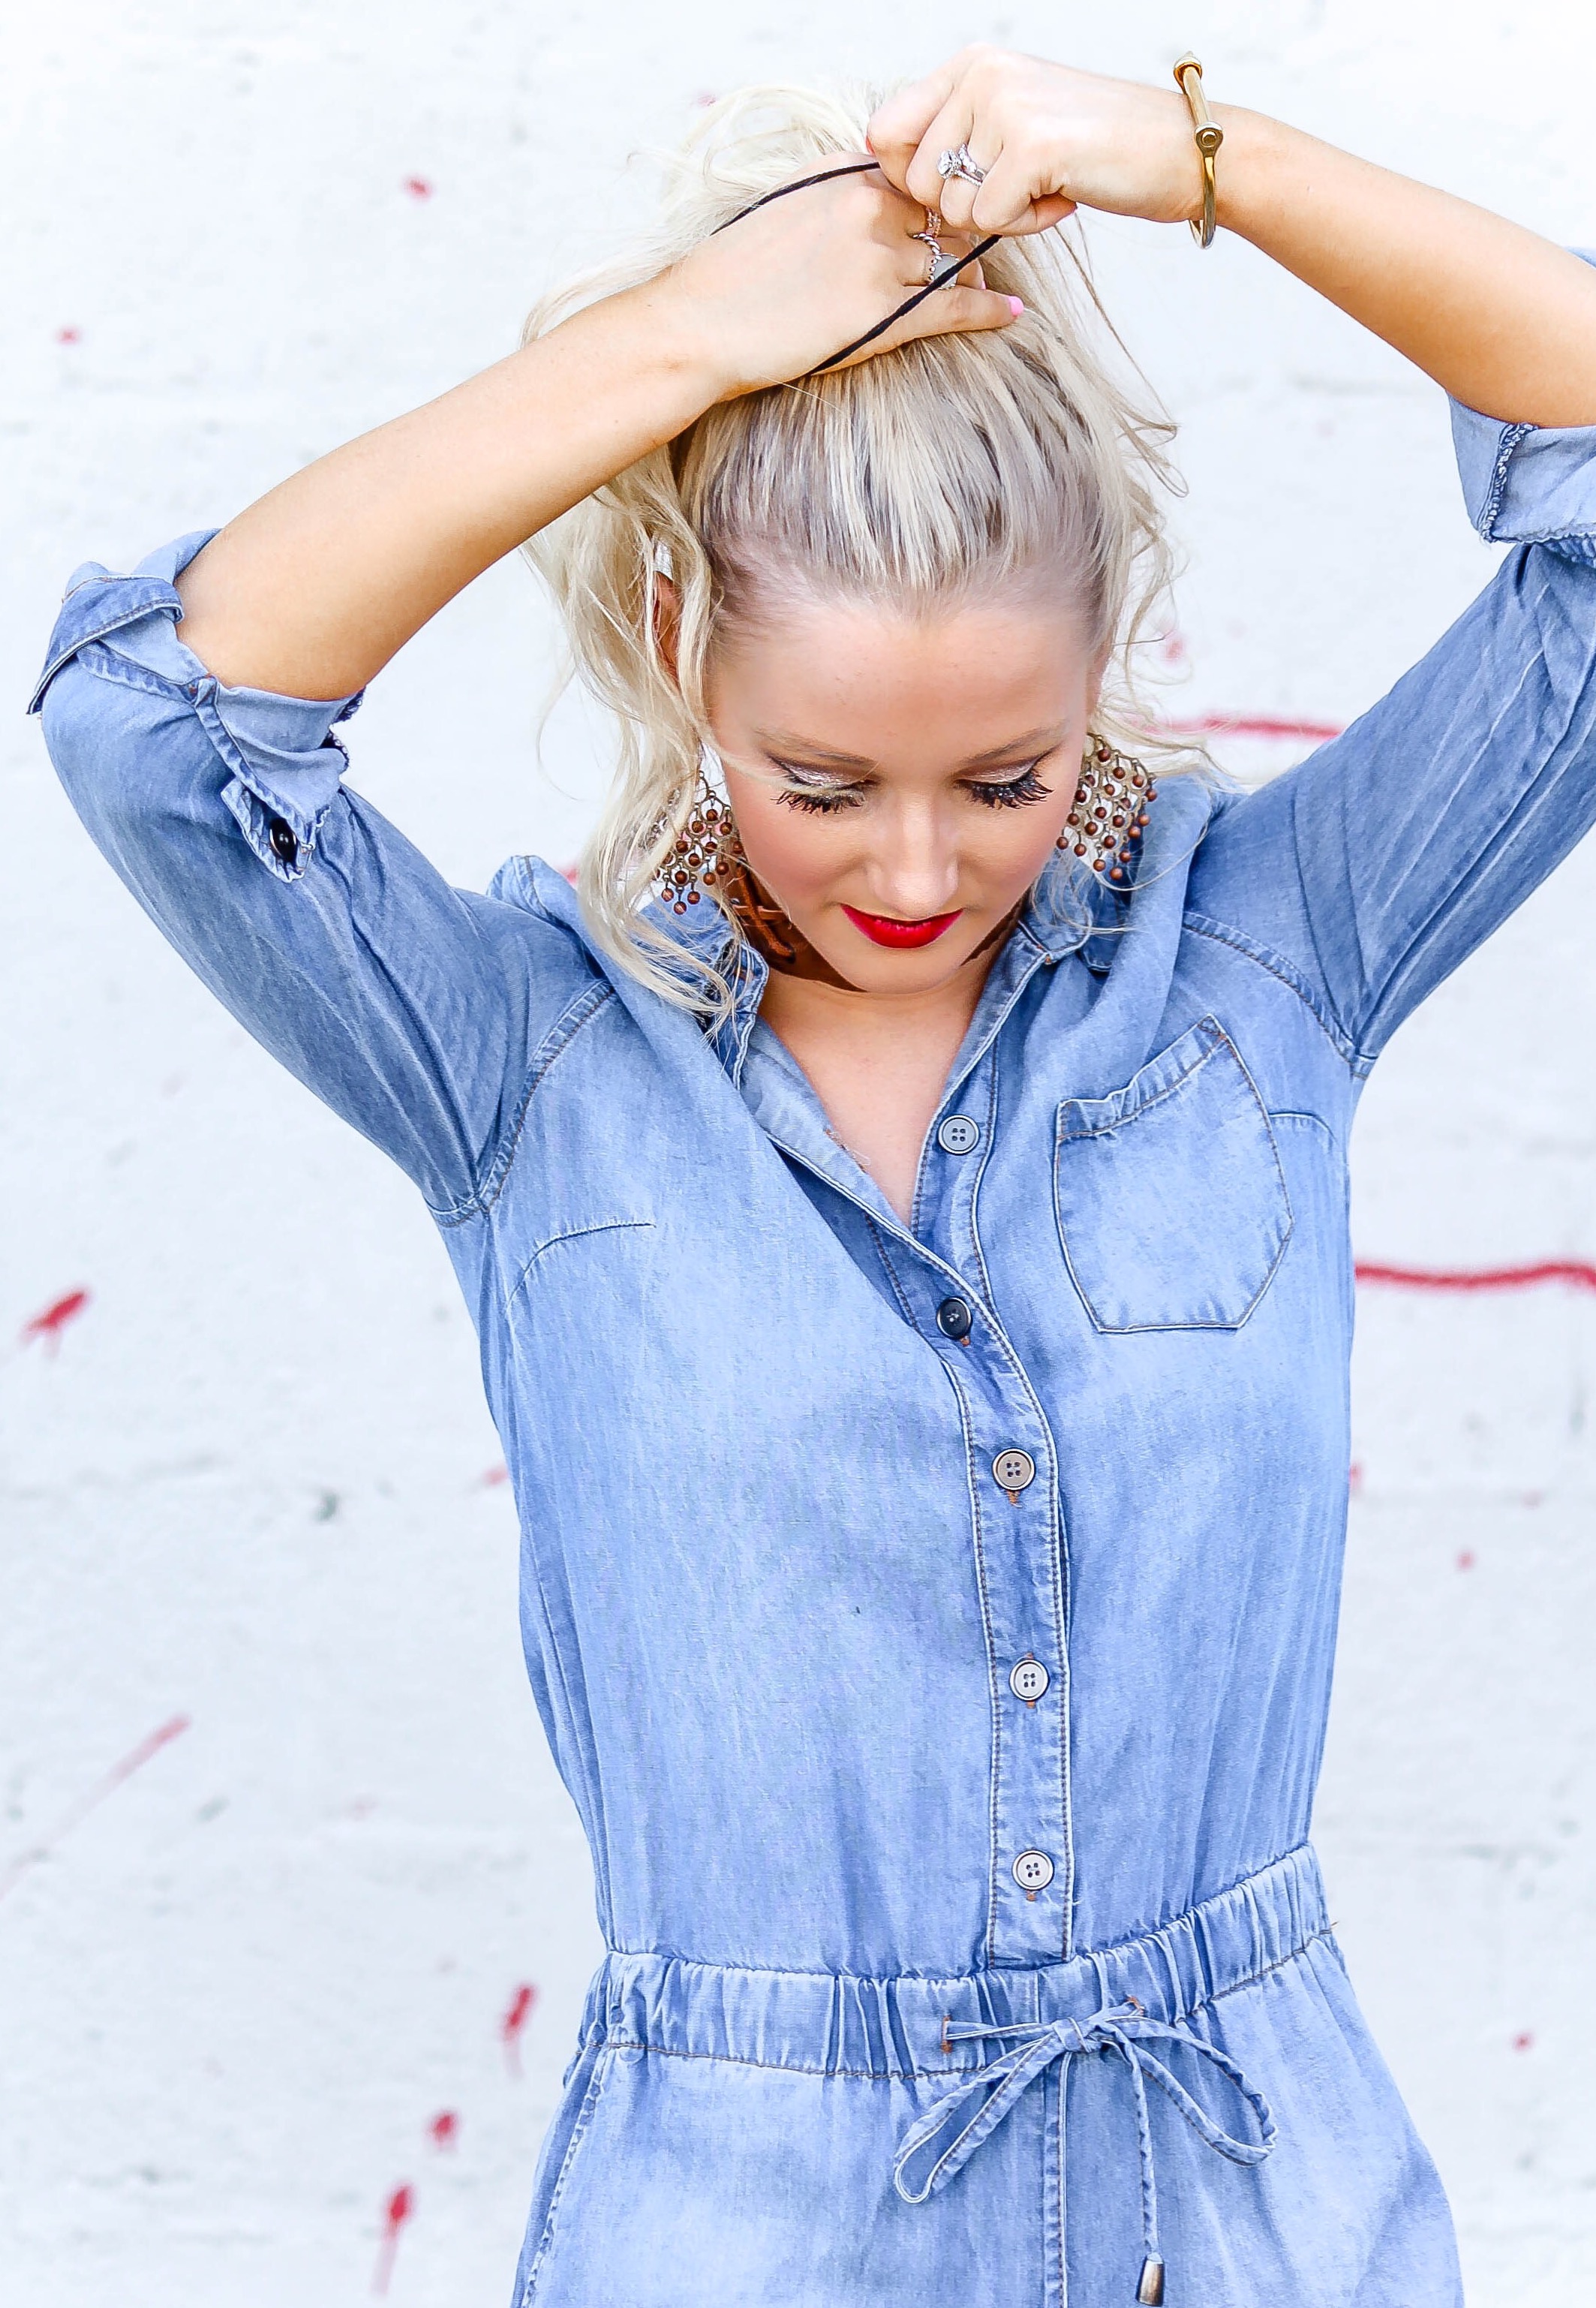
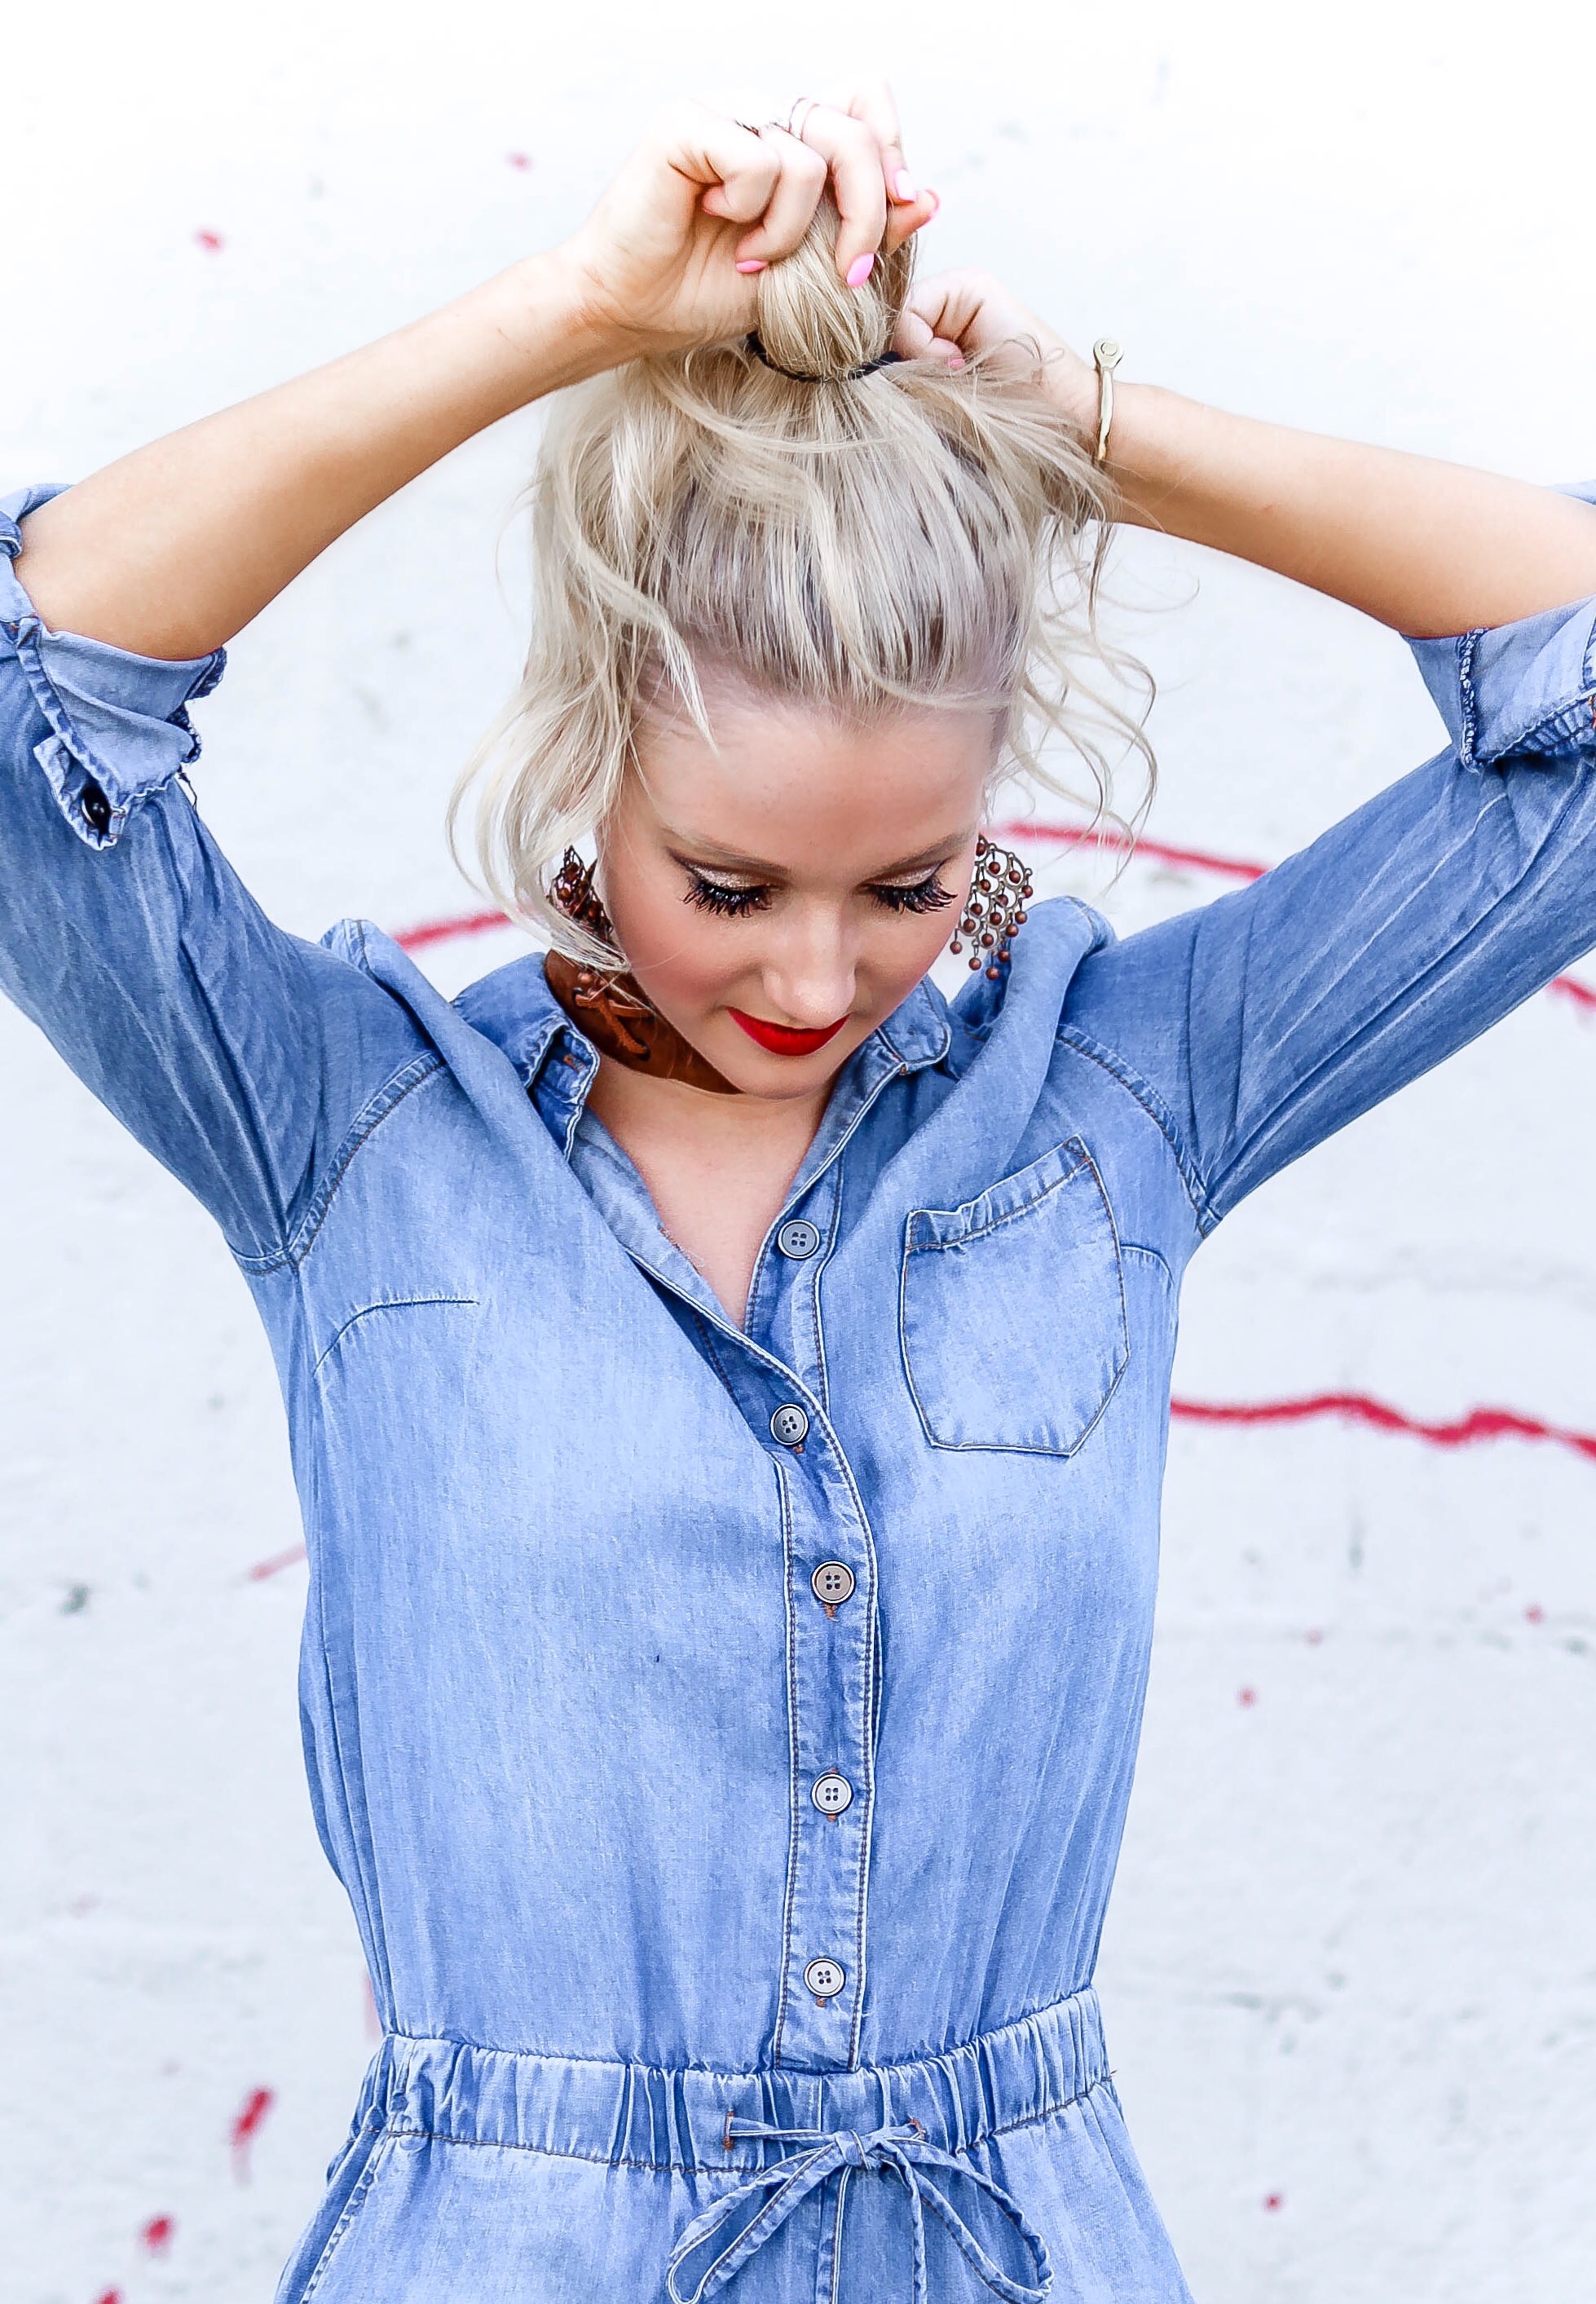
4. You will then use your hair tie to pull your ponytail through, ONLY halfway. Do not pull the entire ponytail of your hair through the hair tie. (See photo above). You should already be able to see a bun shape beginning to form. Keep holding on to the bun shape of your hair.
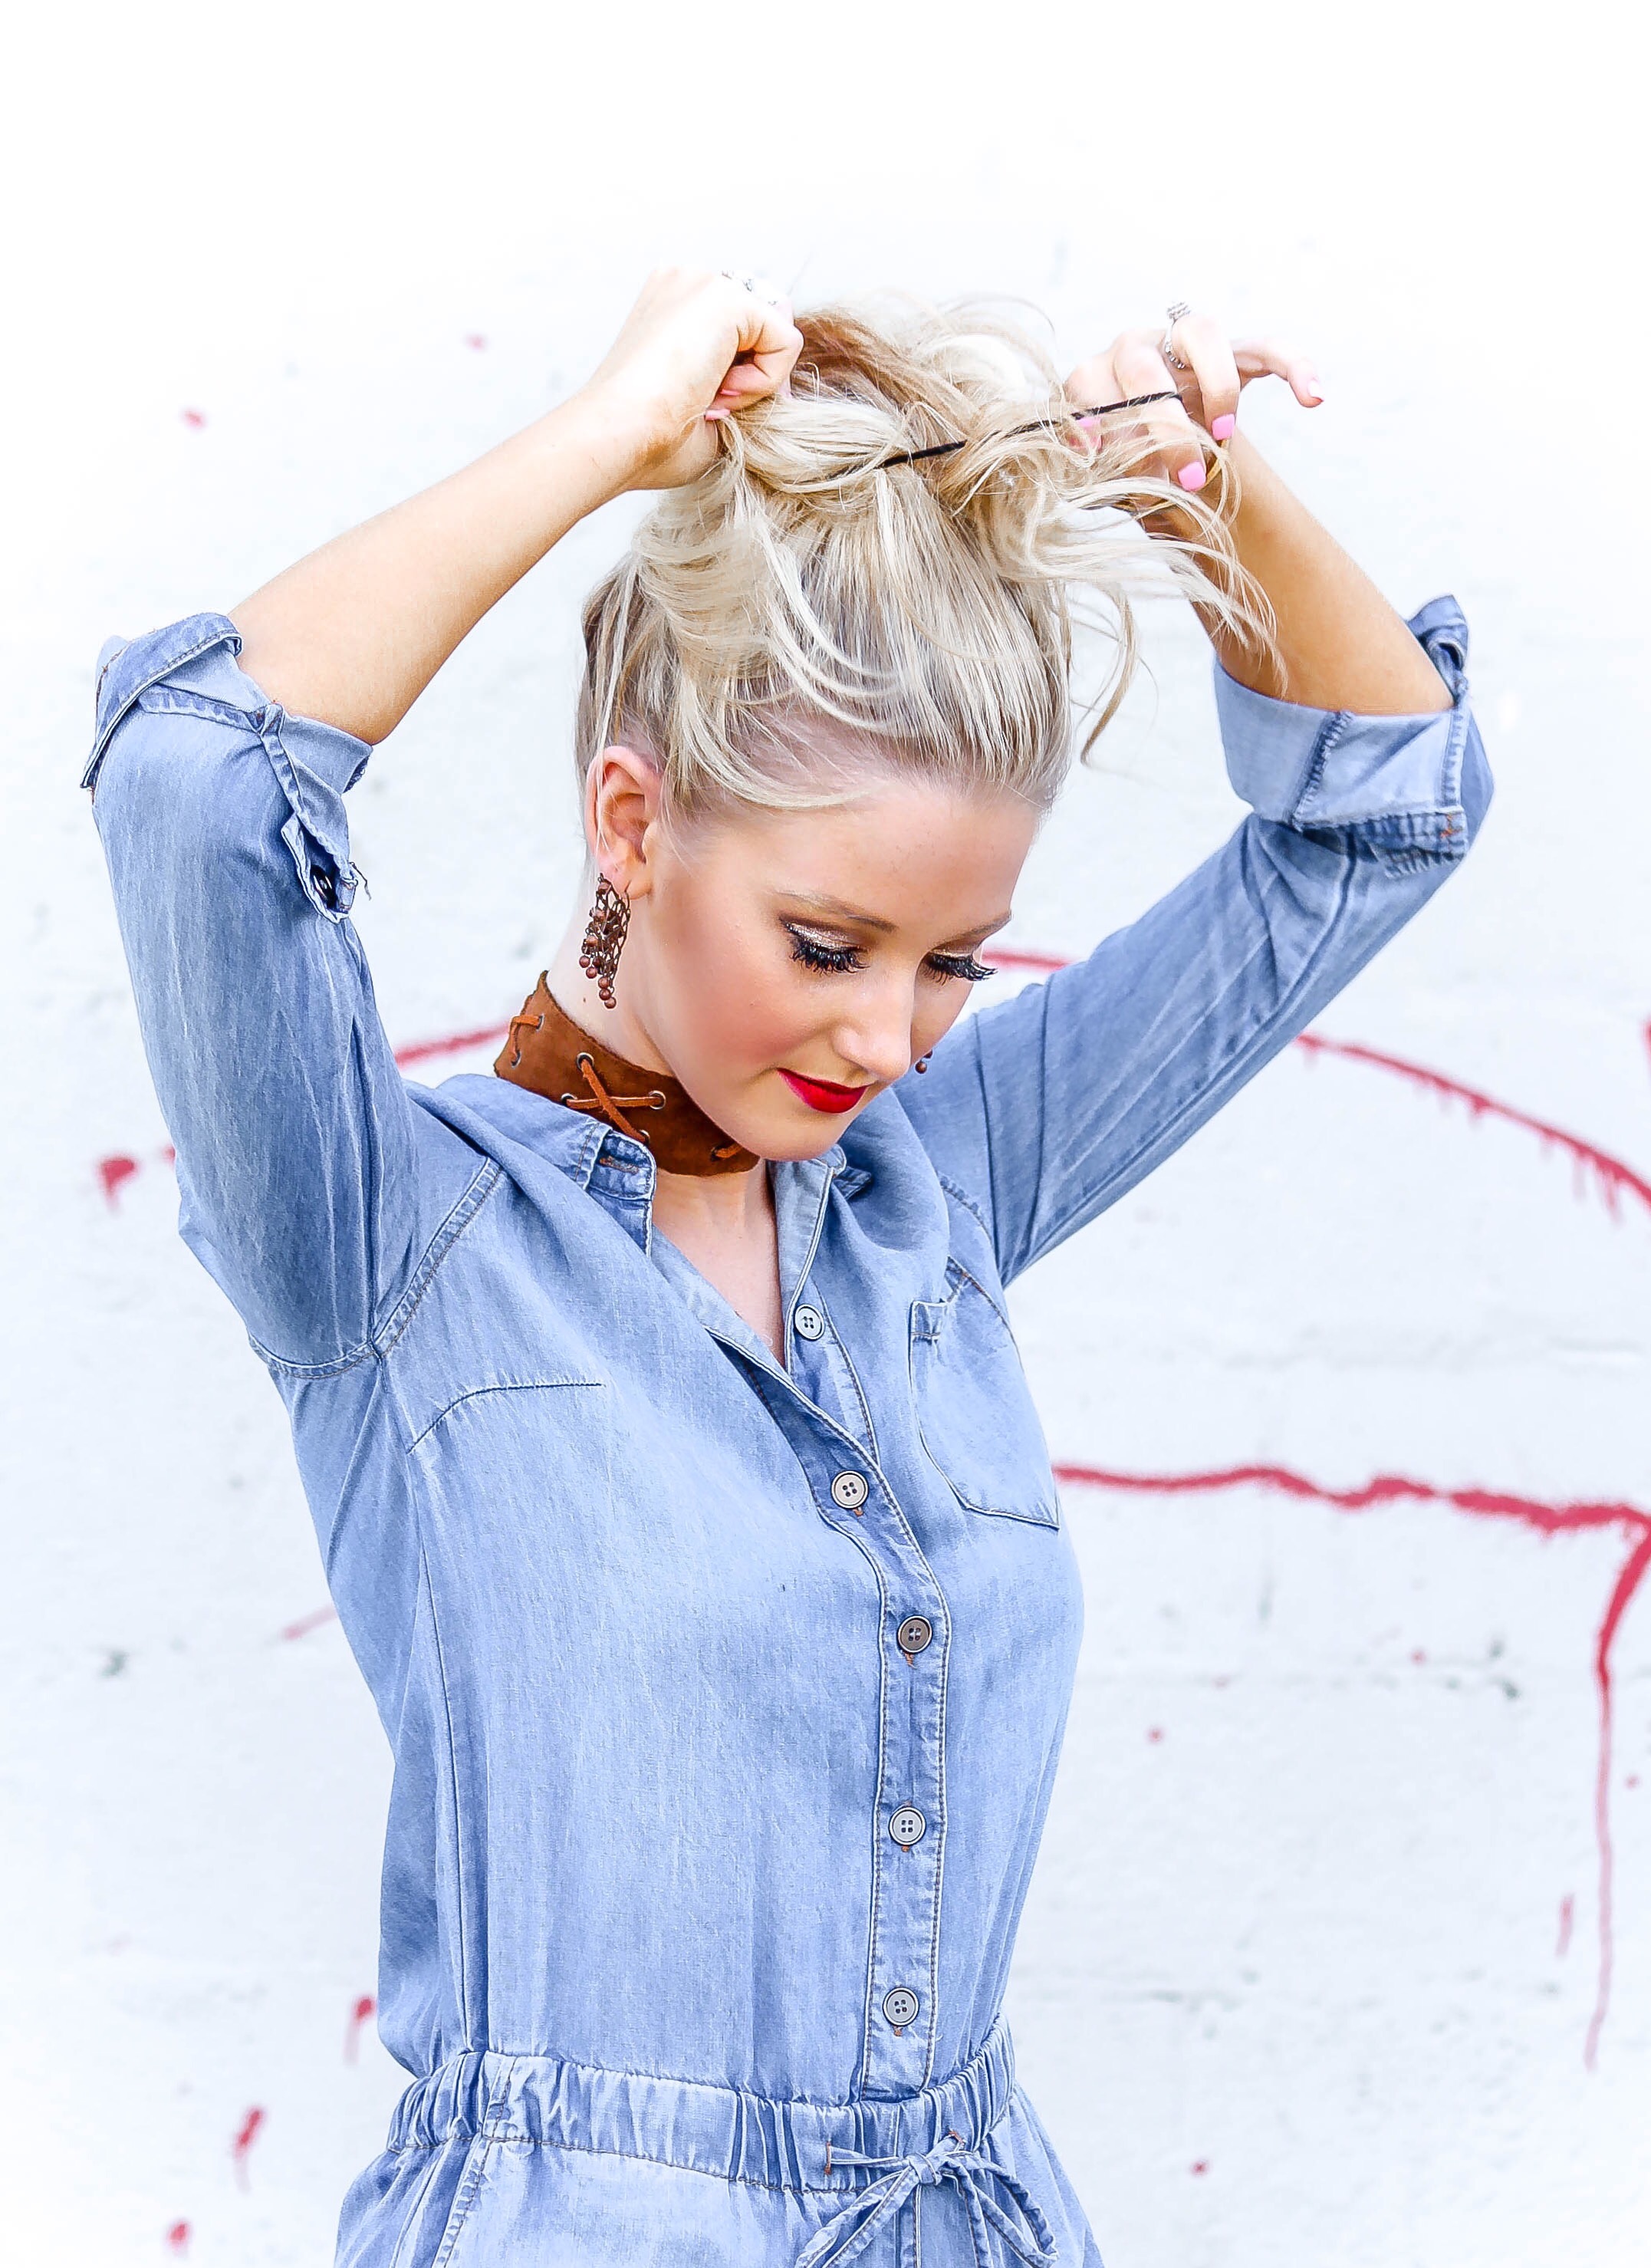
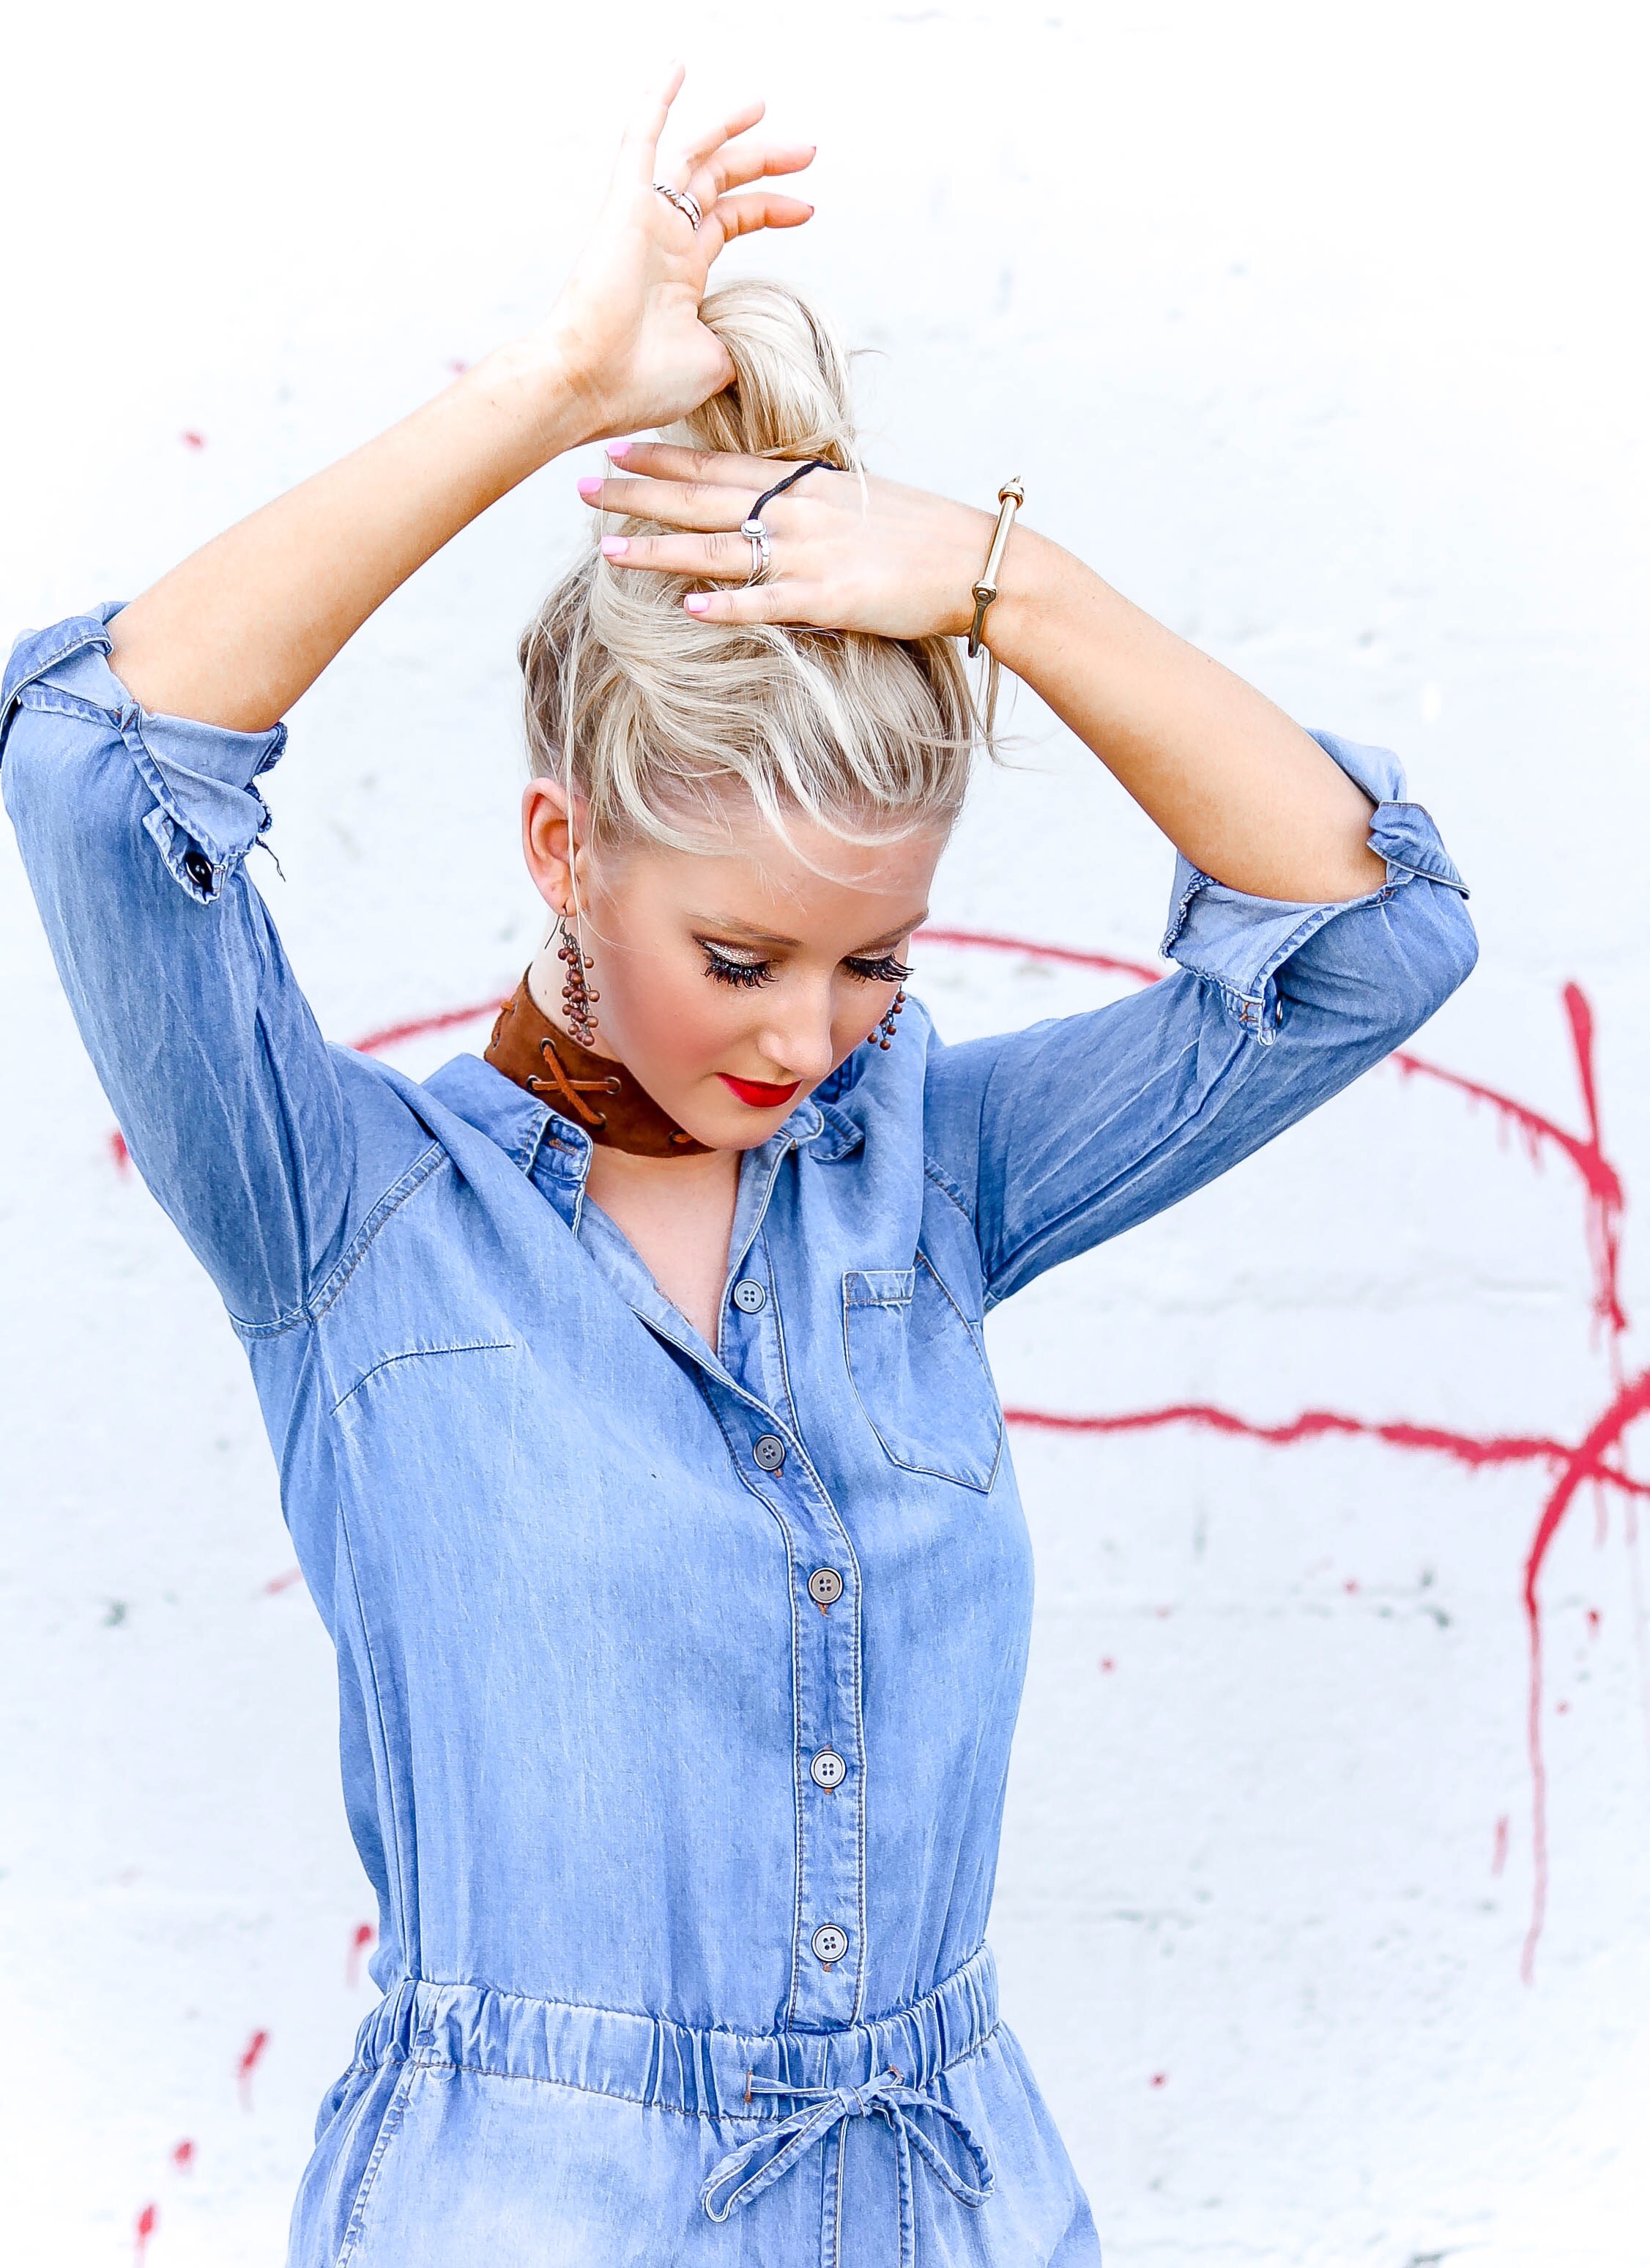
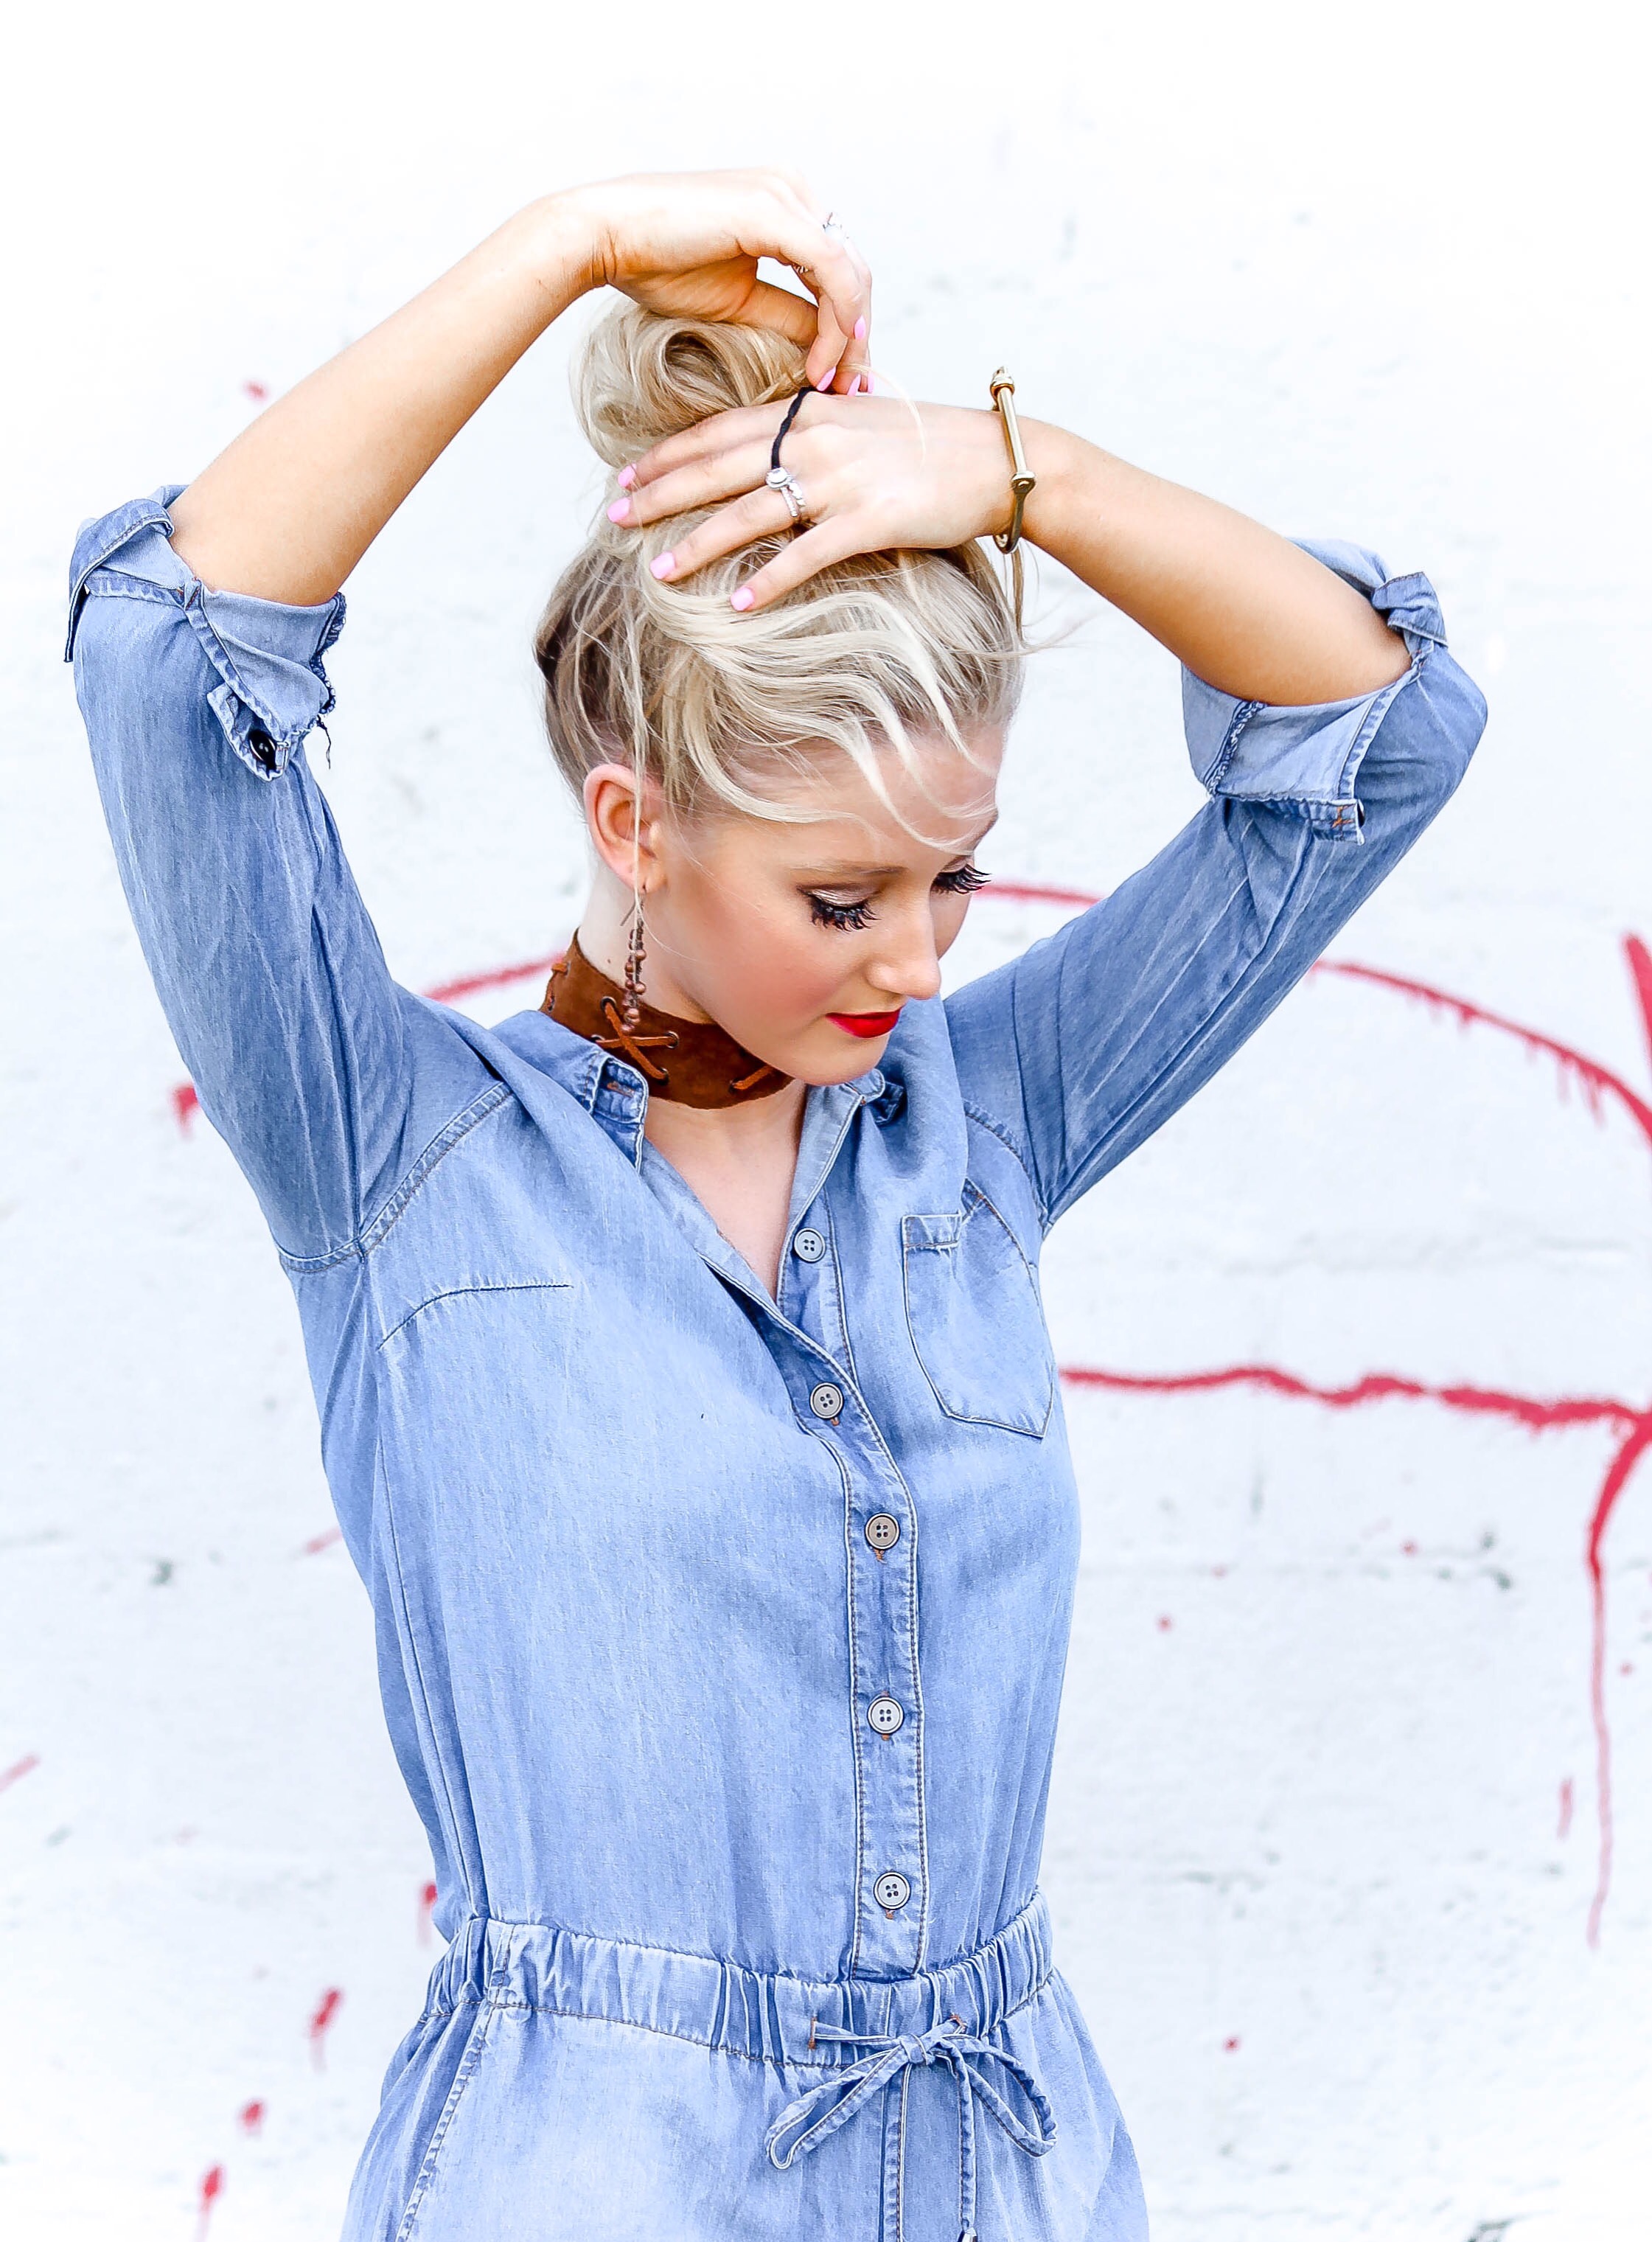
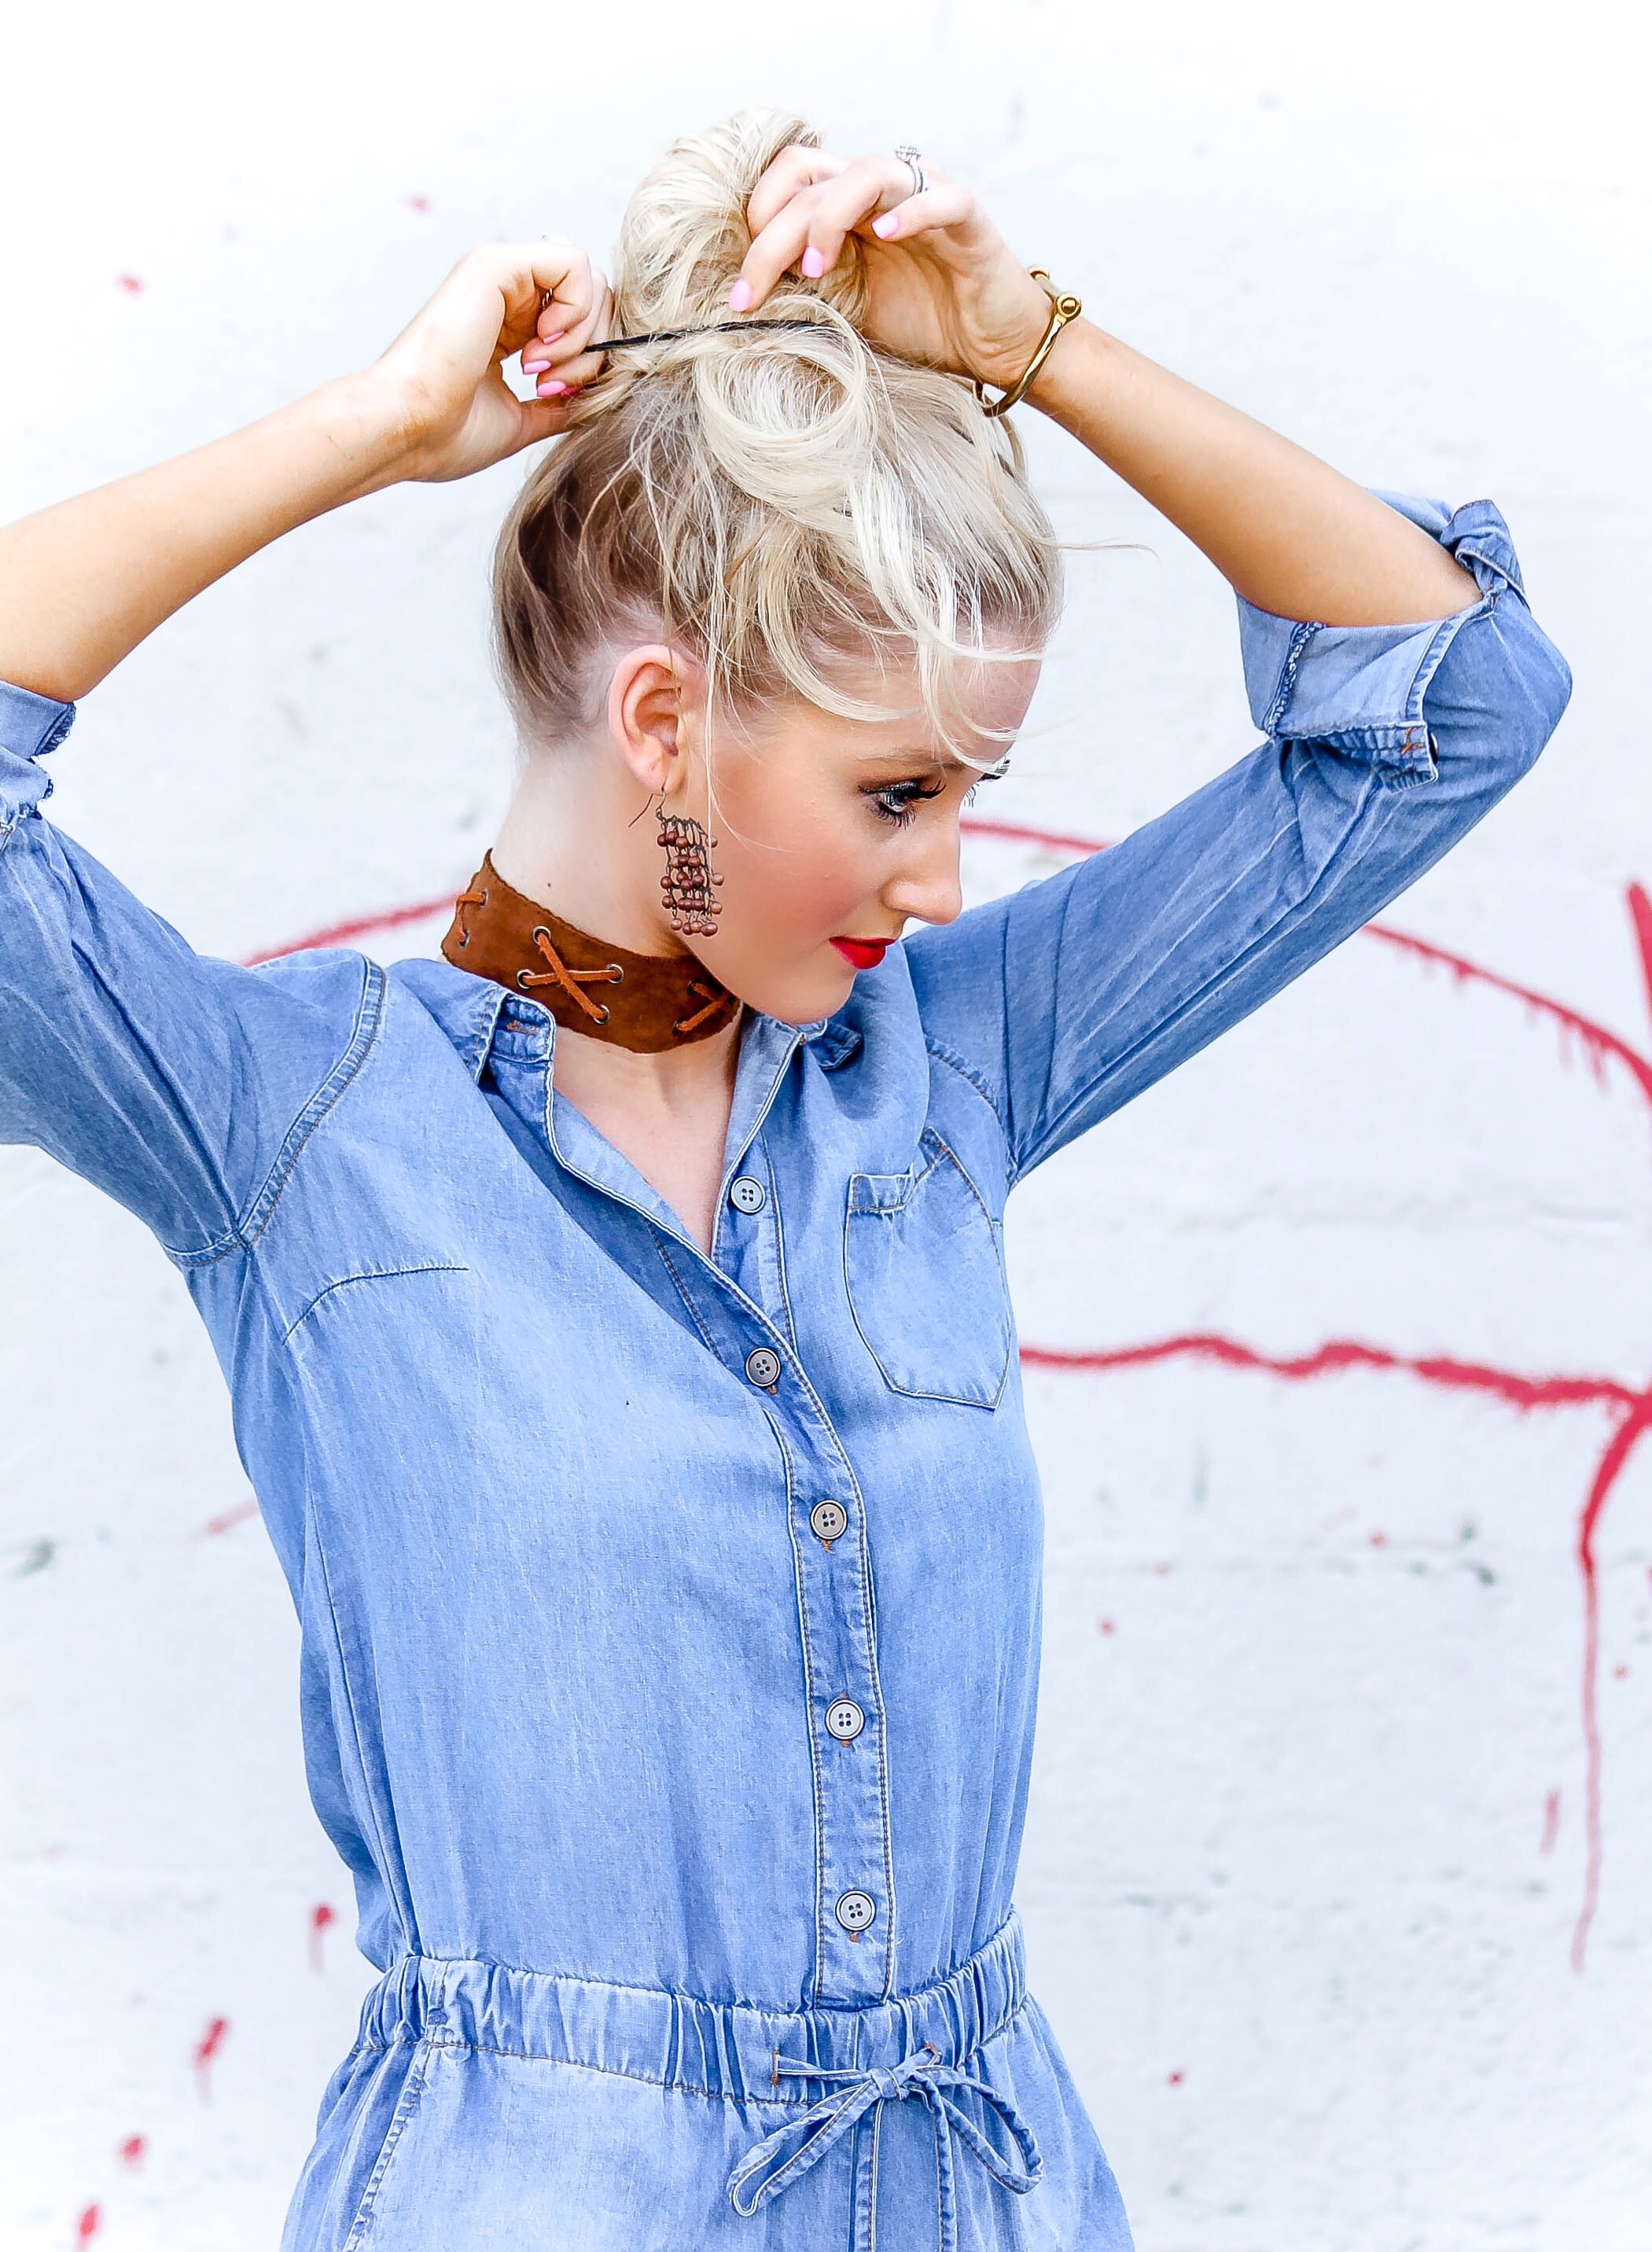
5. At this point, you will twist the hair tie with one hand while still holding the bun with the other hand. Then, you’ll basically double the hair tie over the bun again to secure the shape. (See photos above). **I only wrap my hair tie twice whenever I wear a messy bun, but if you want to wrap the hair tie a third time, you would do that here on this step.
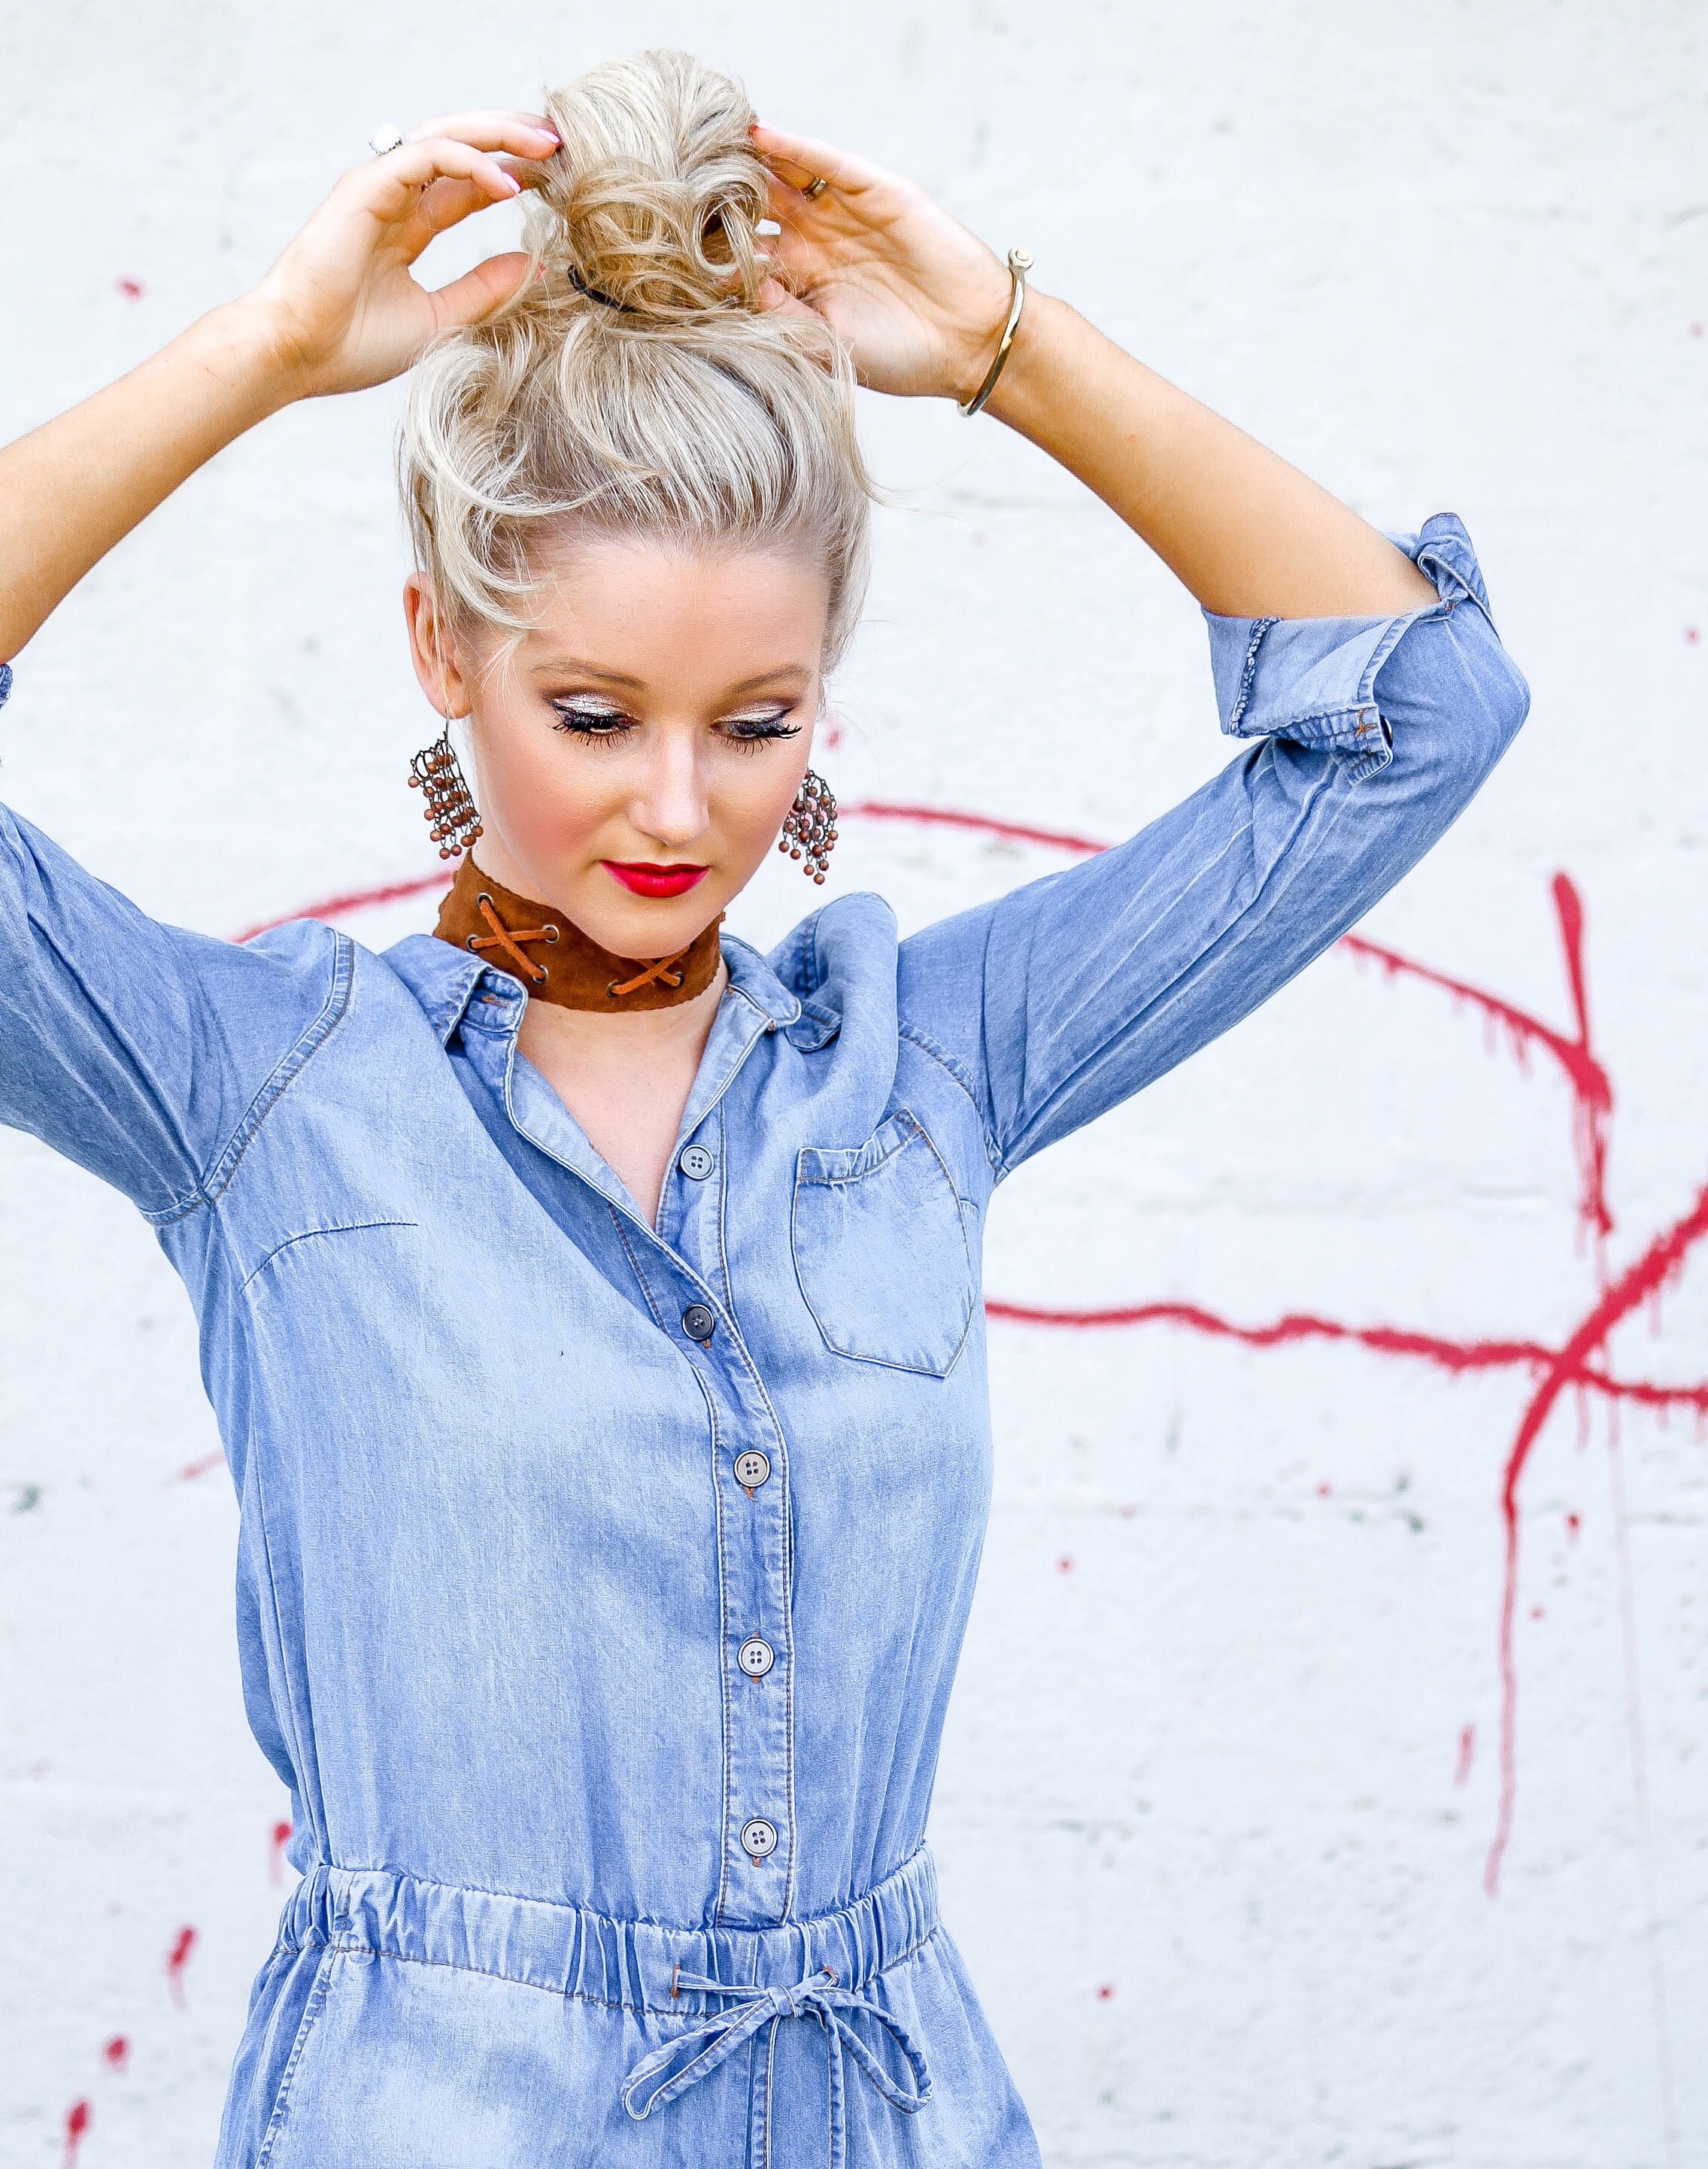
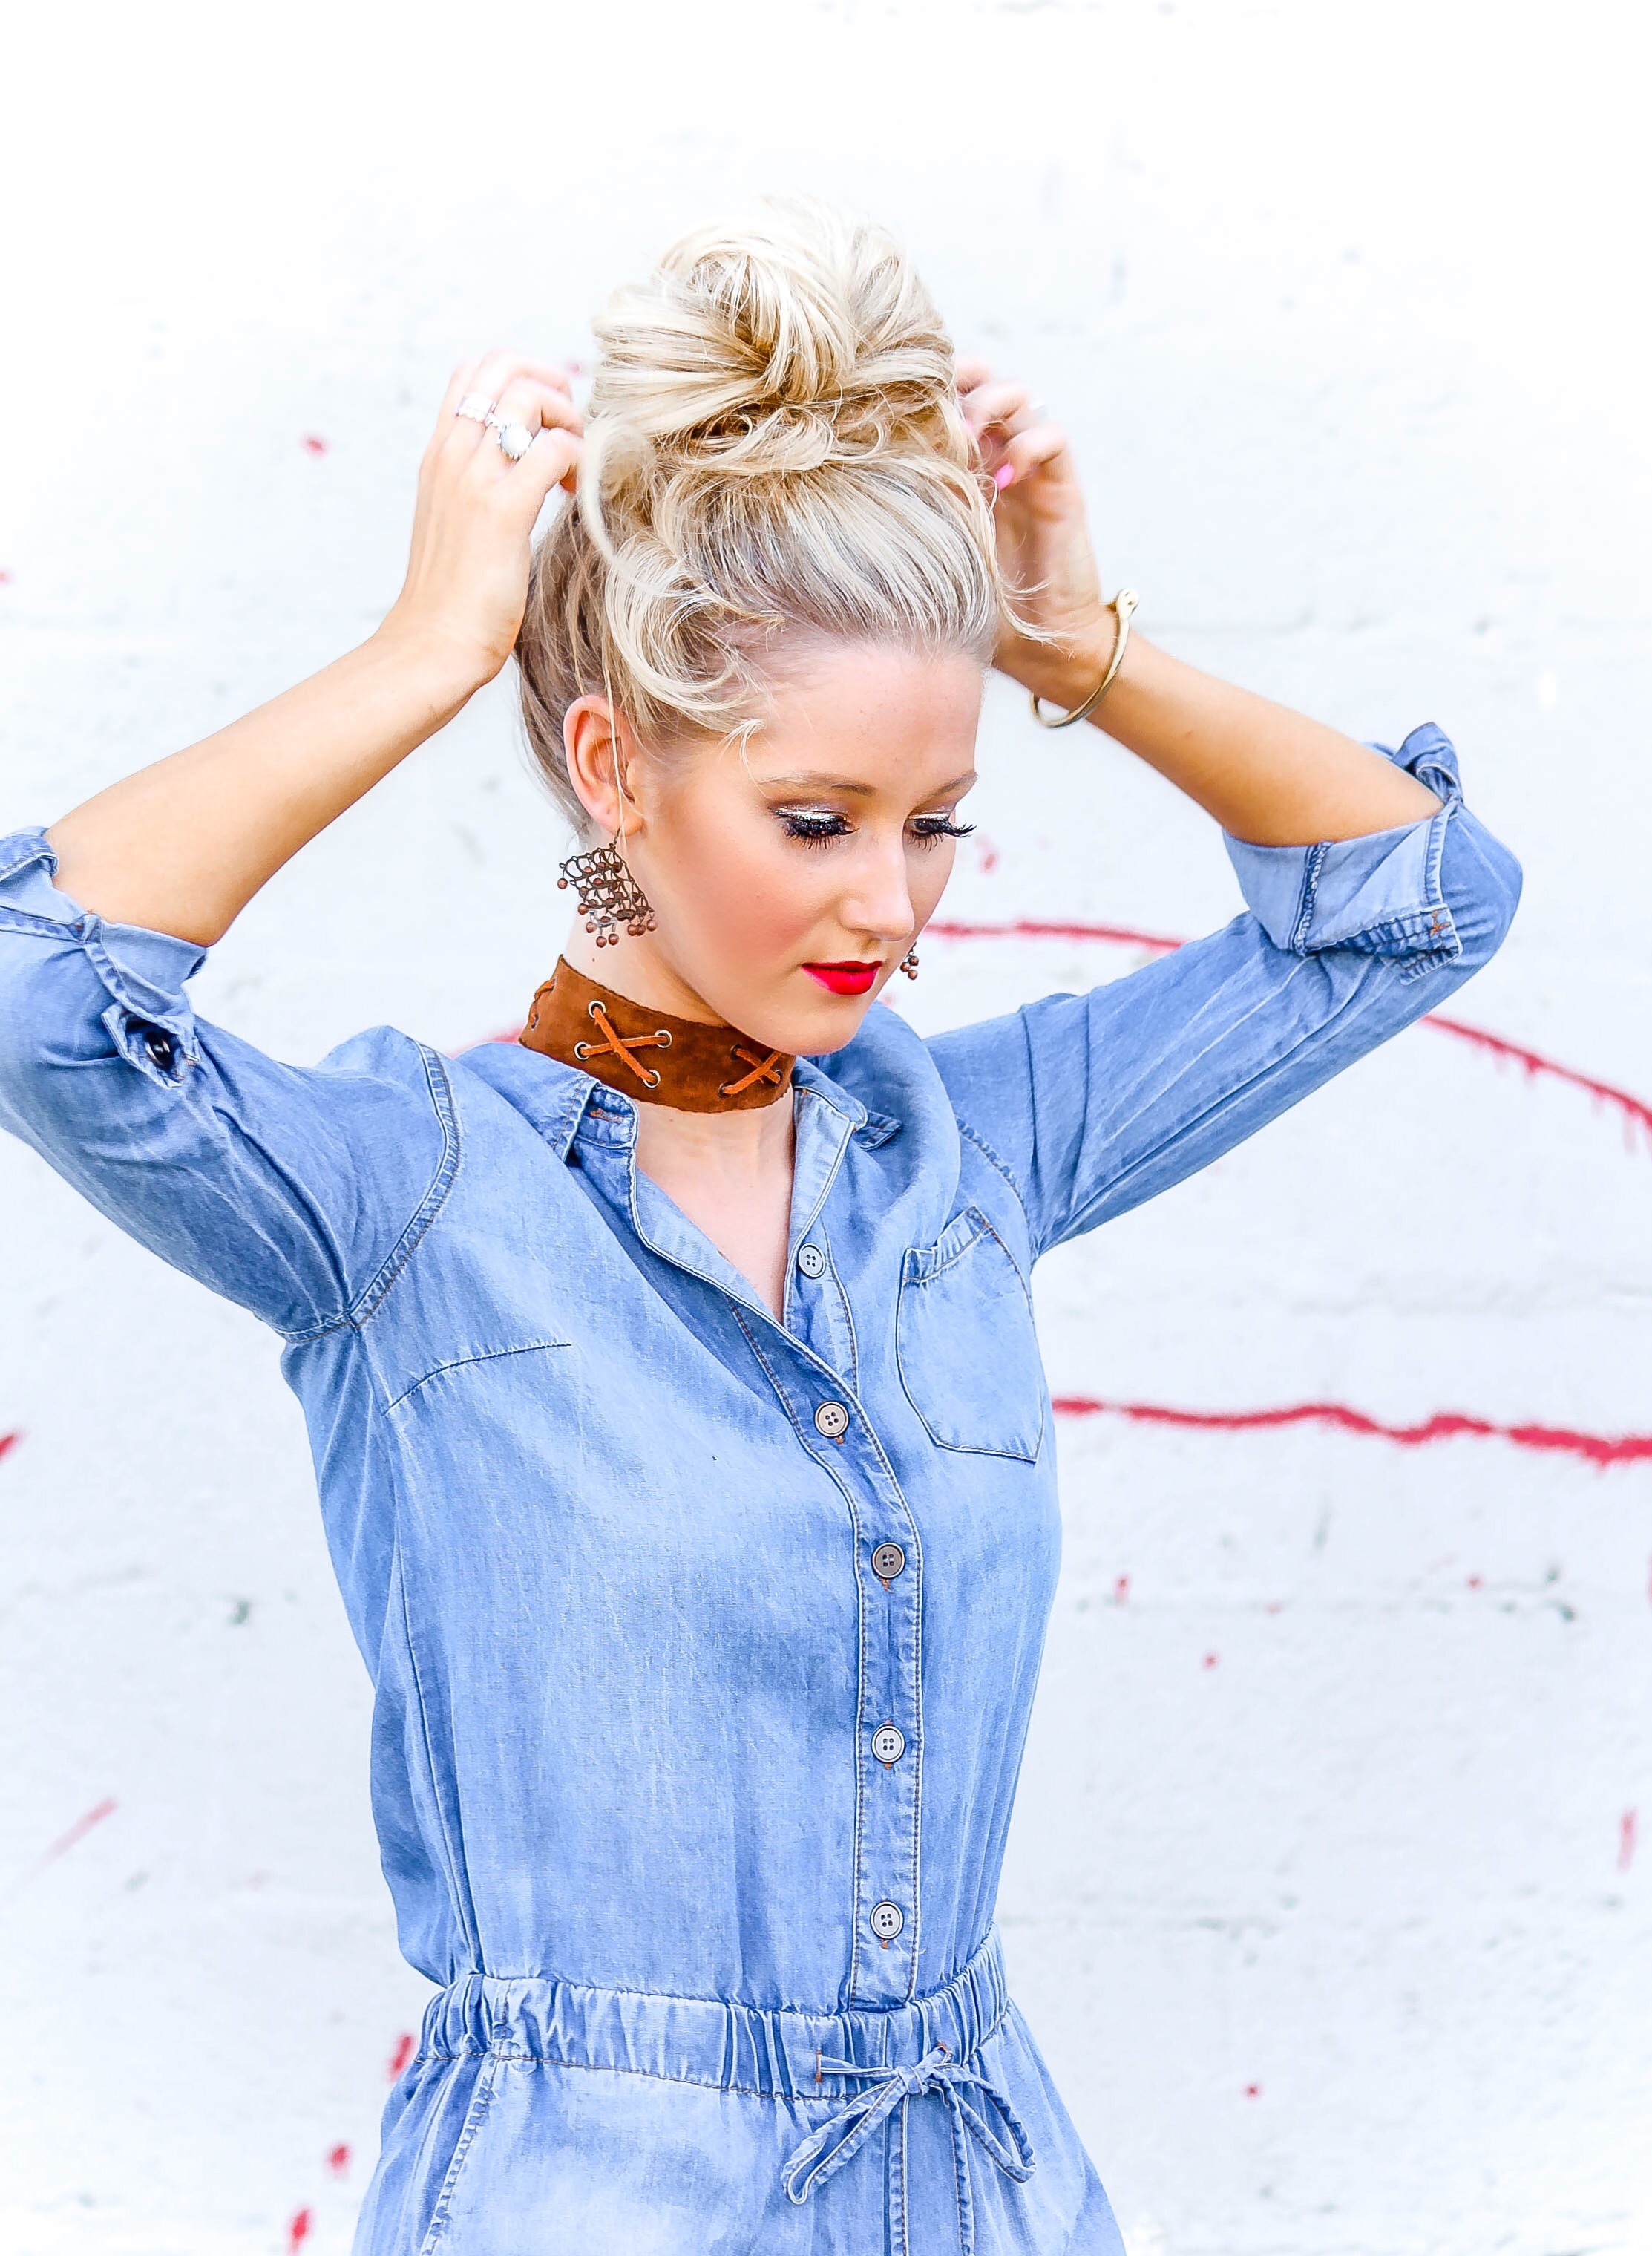
6. Once the hair tie and bun feel secure, you can let go of each. At this point, I loosen up the bun a bit to make it look more natural and messy. I pull the sides, the front and the back part of the bun apart to make the bun appear larger – aka making it look like I have more hair! This is where the dry shampoo really helps because it will help hold everything in place!
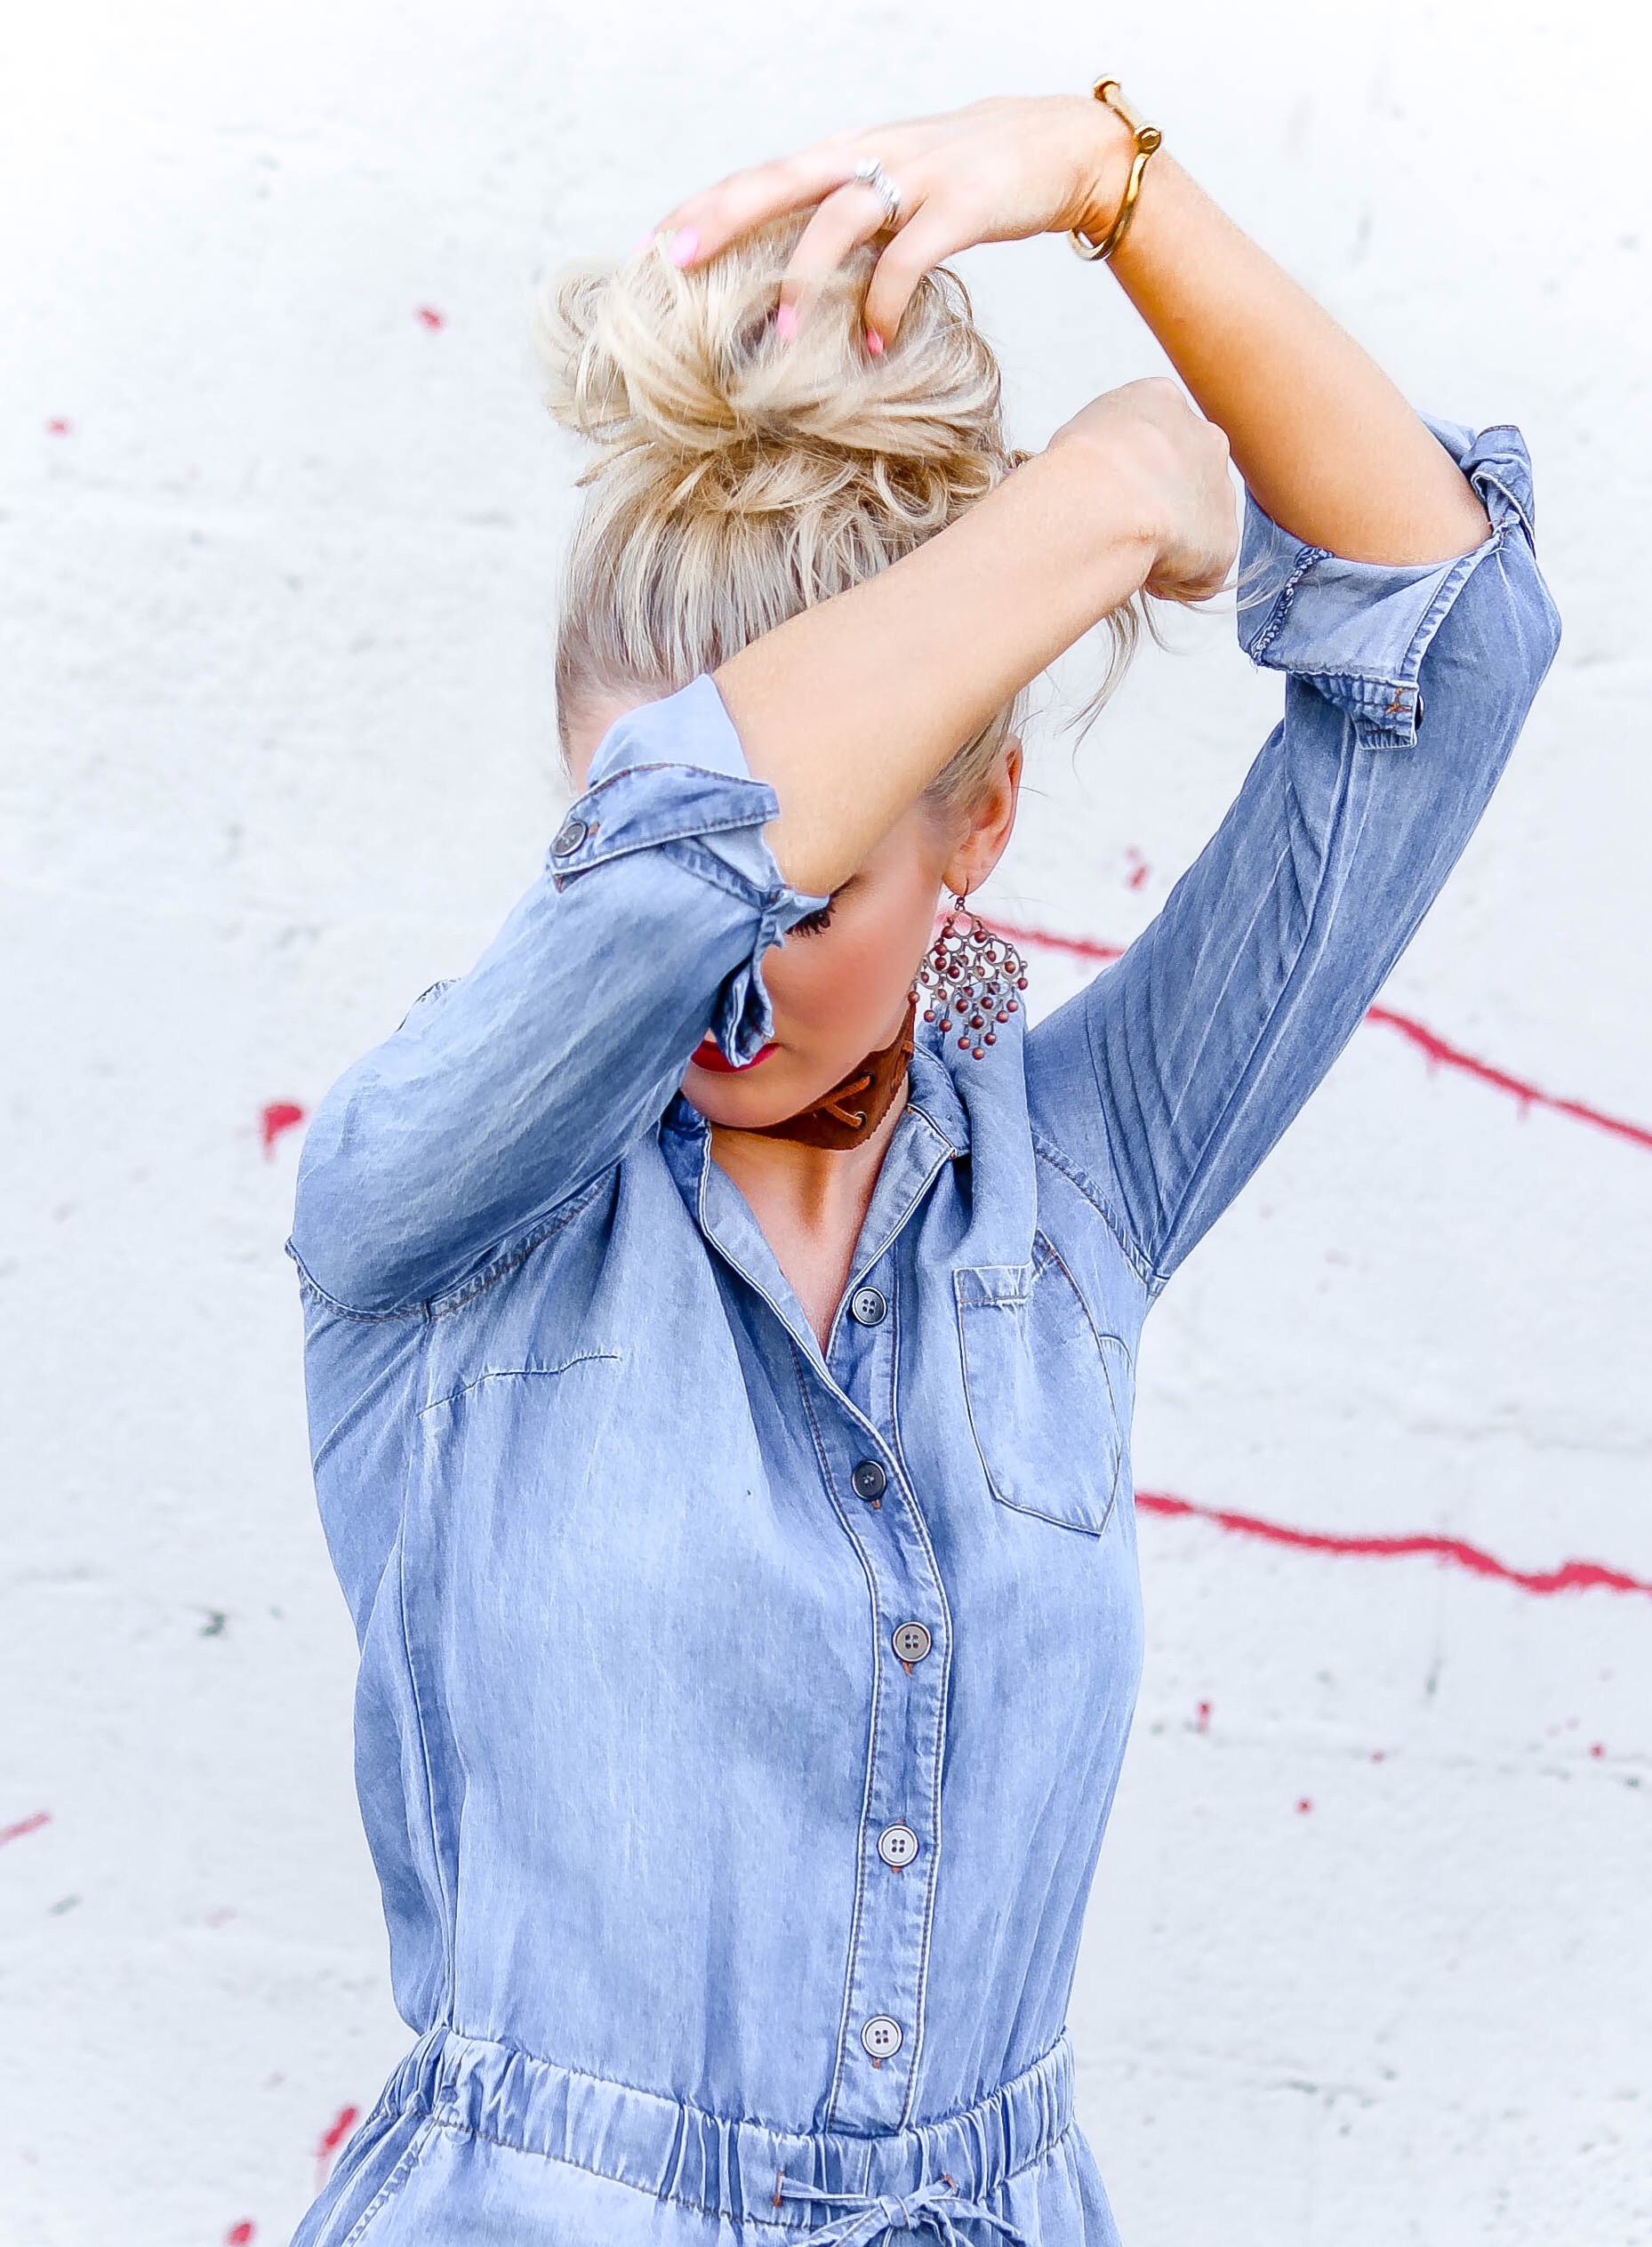
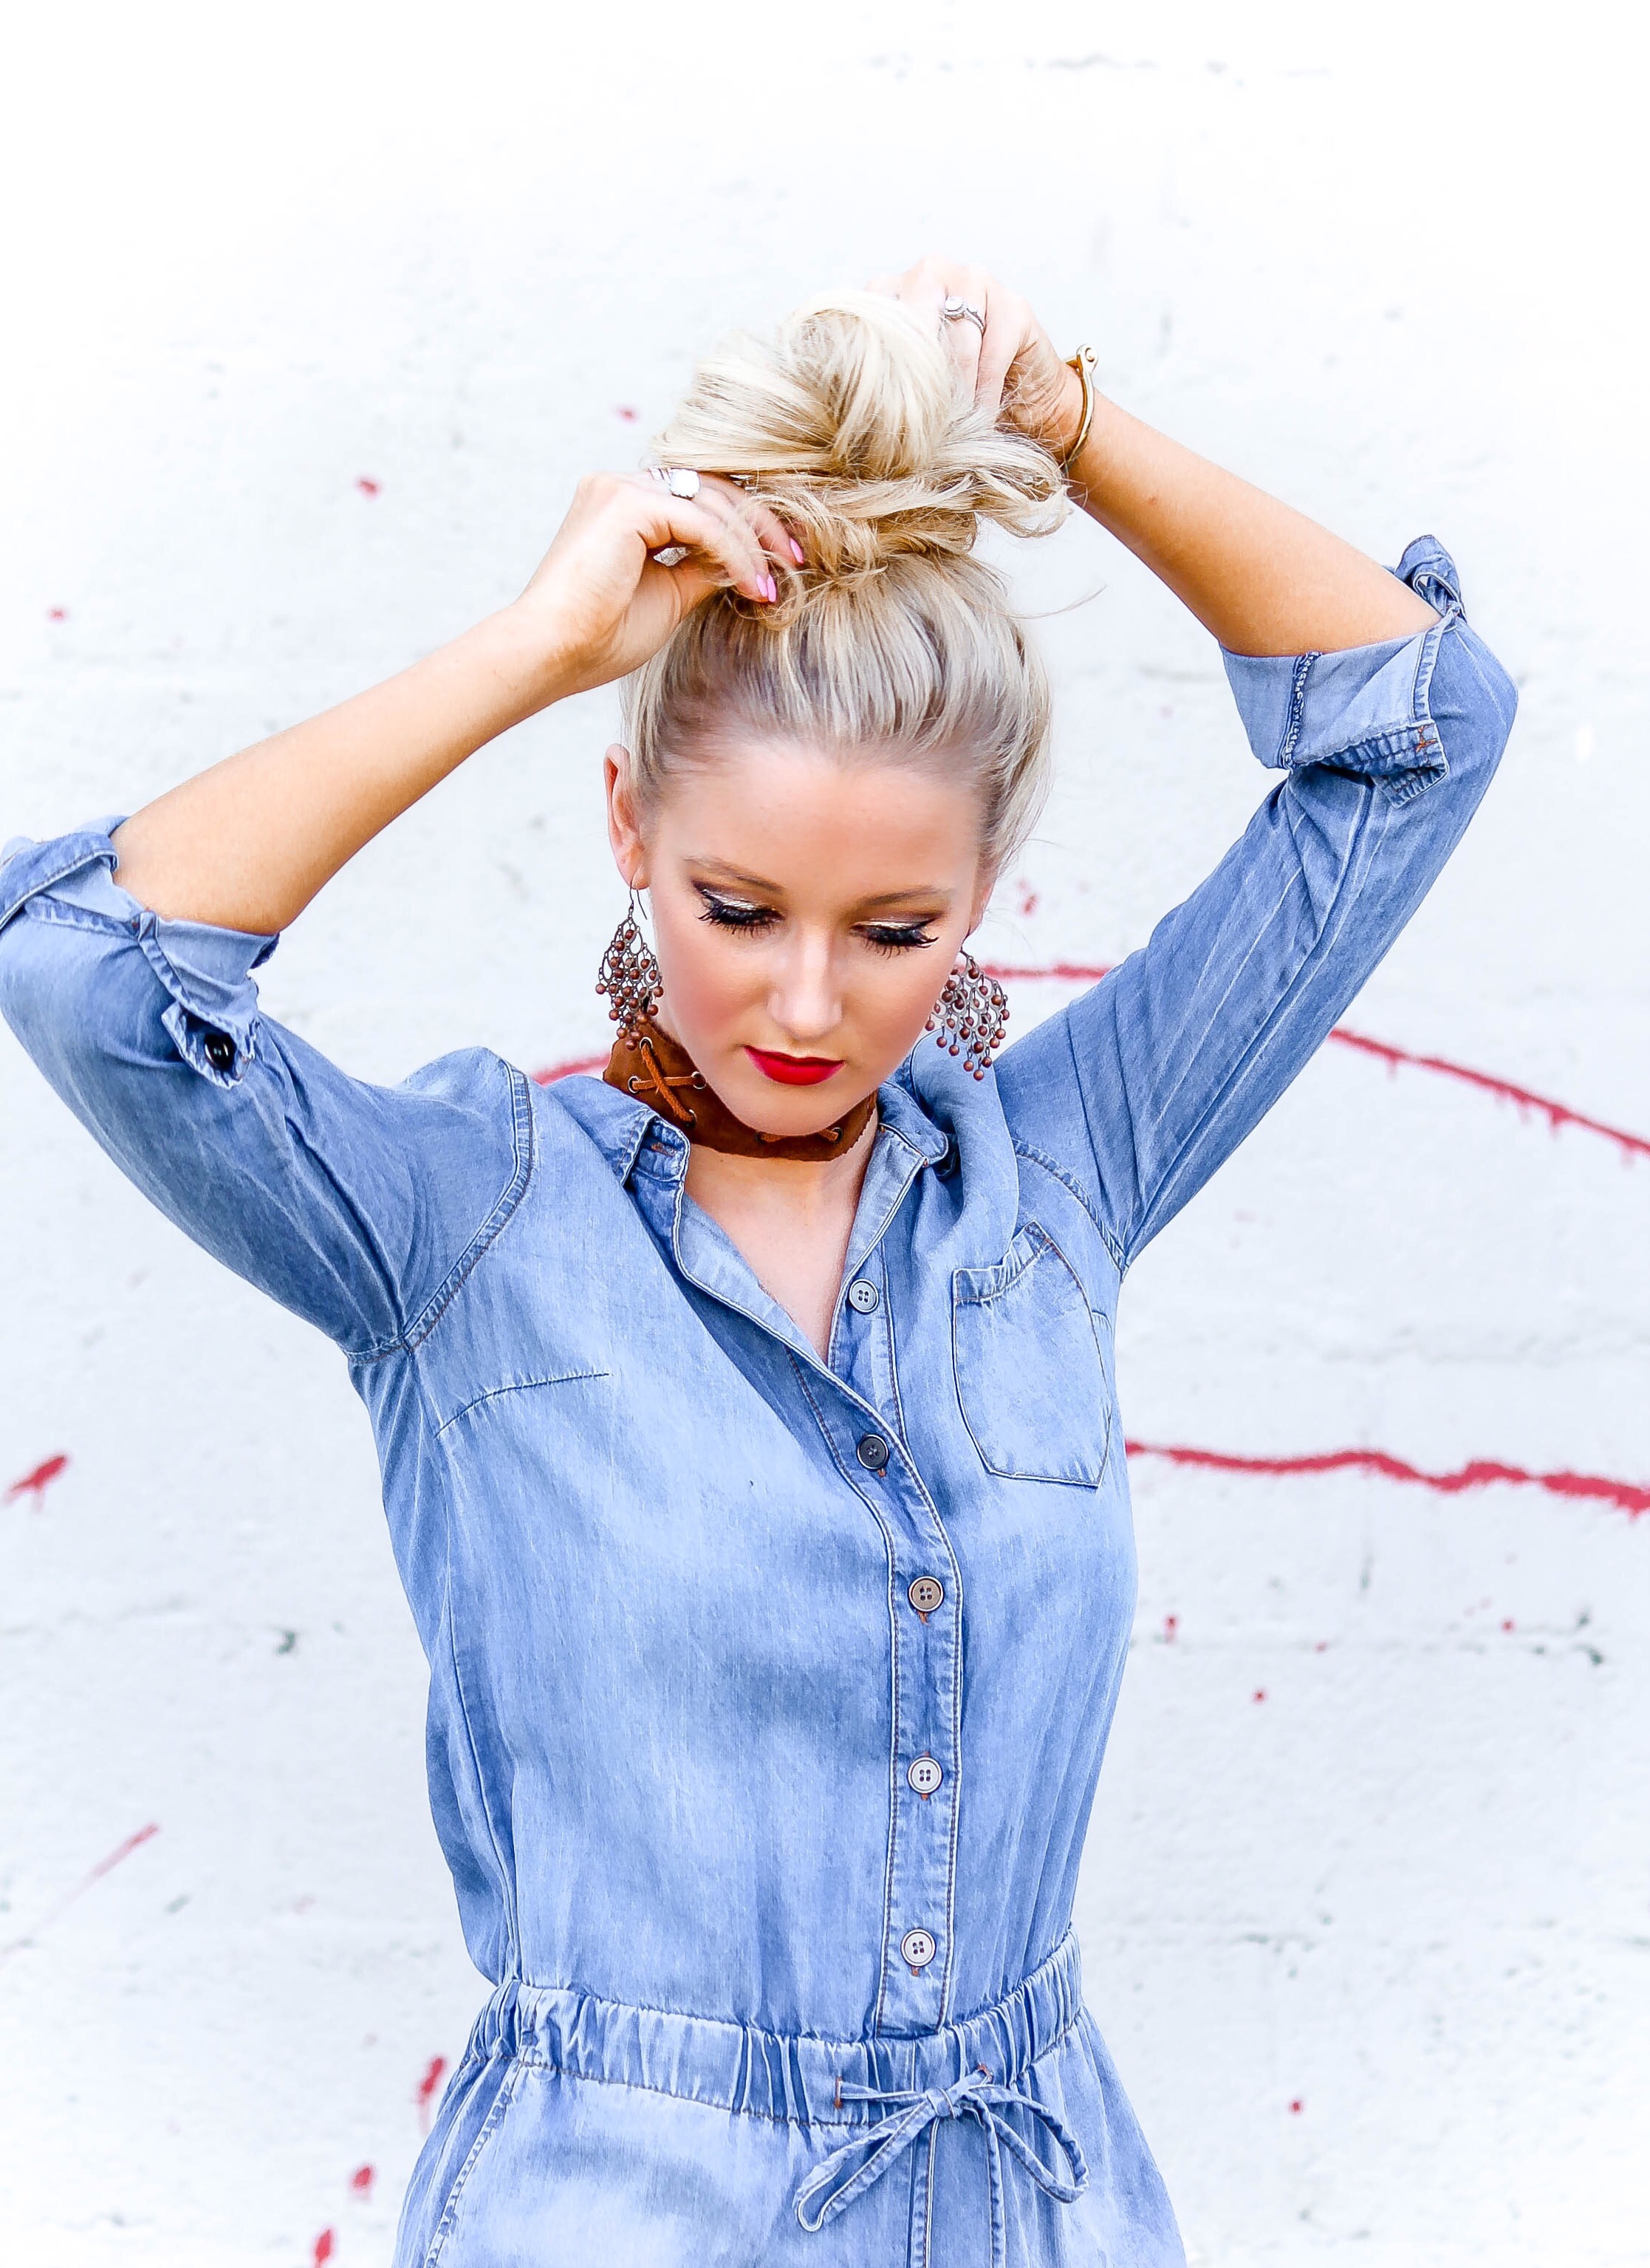
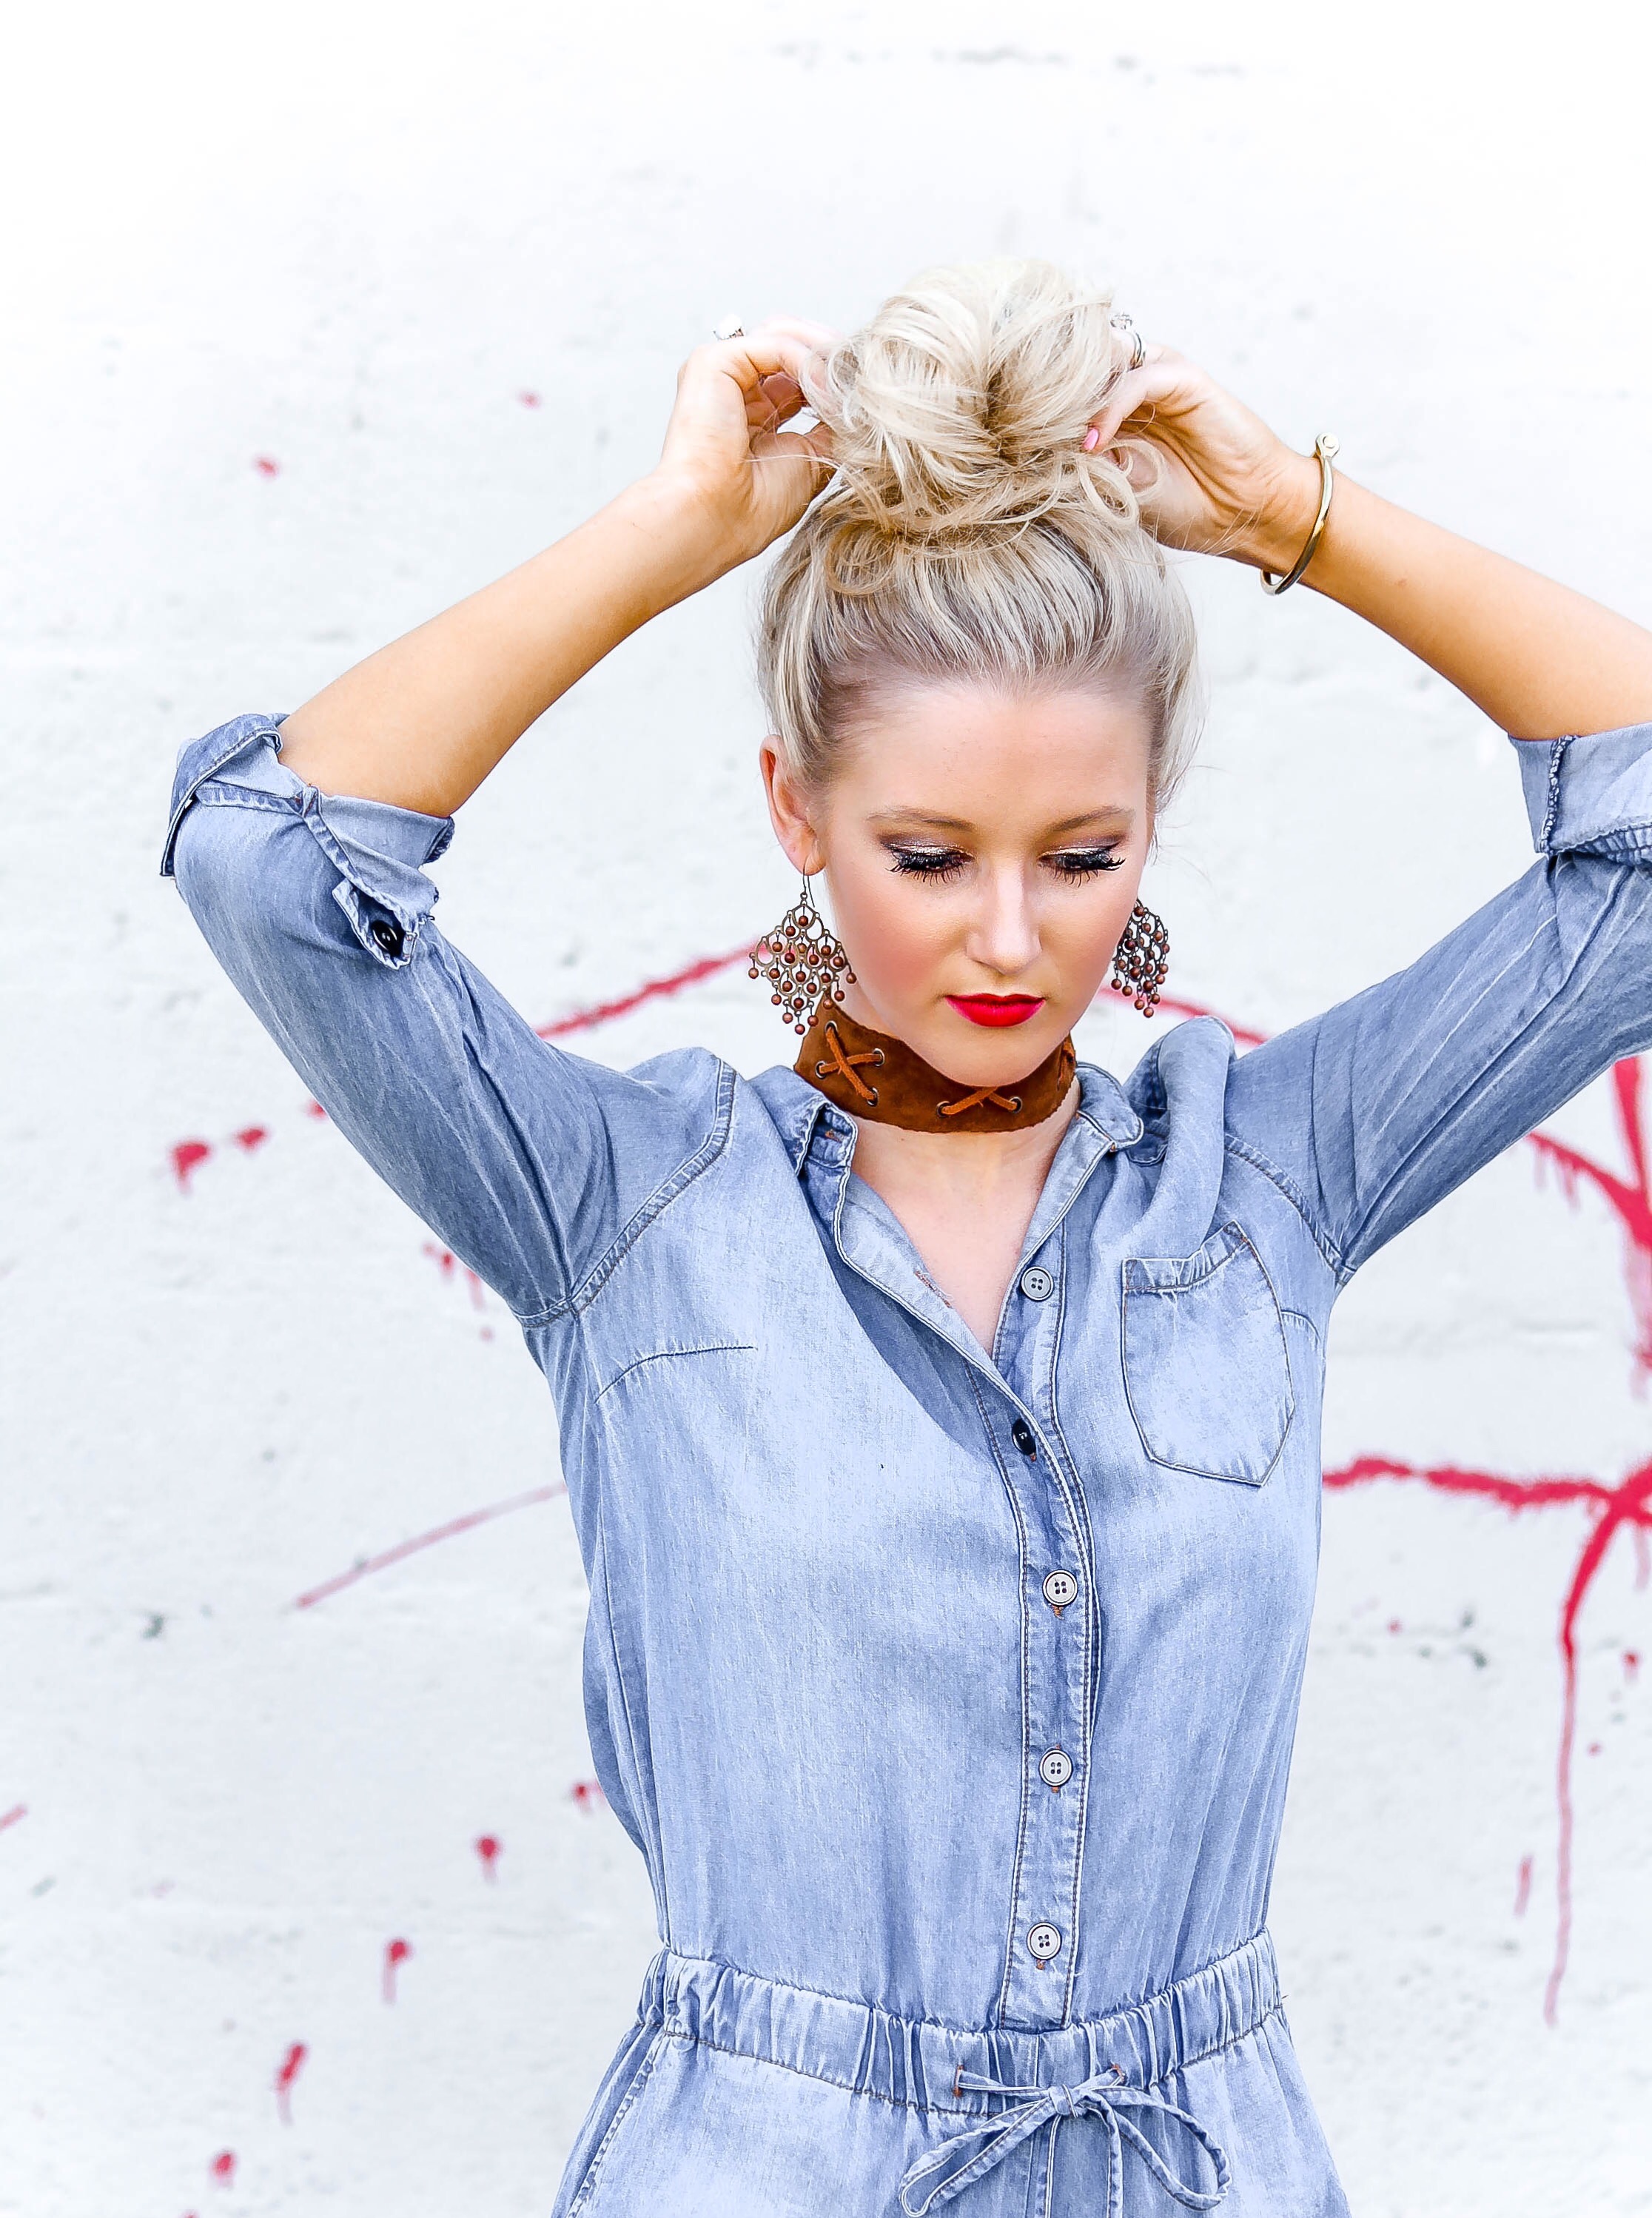
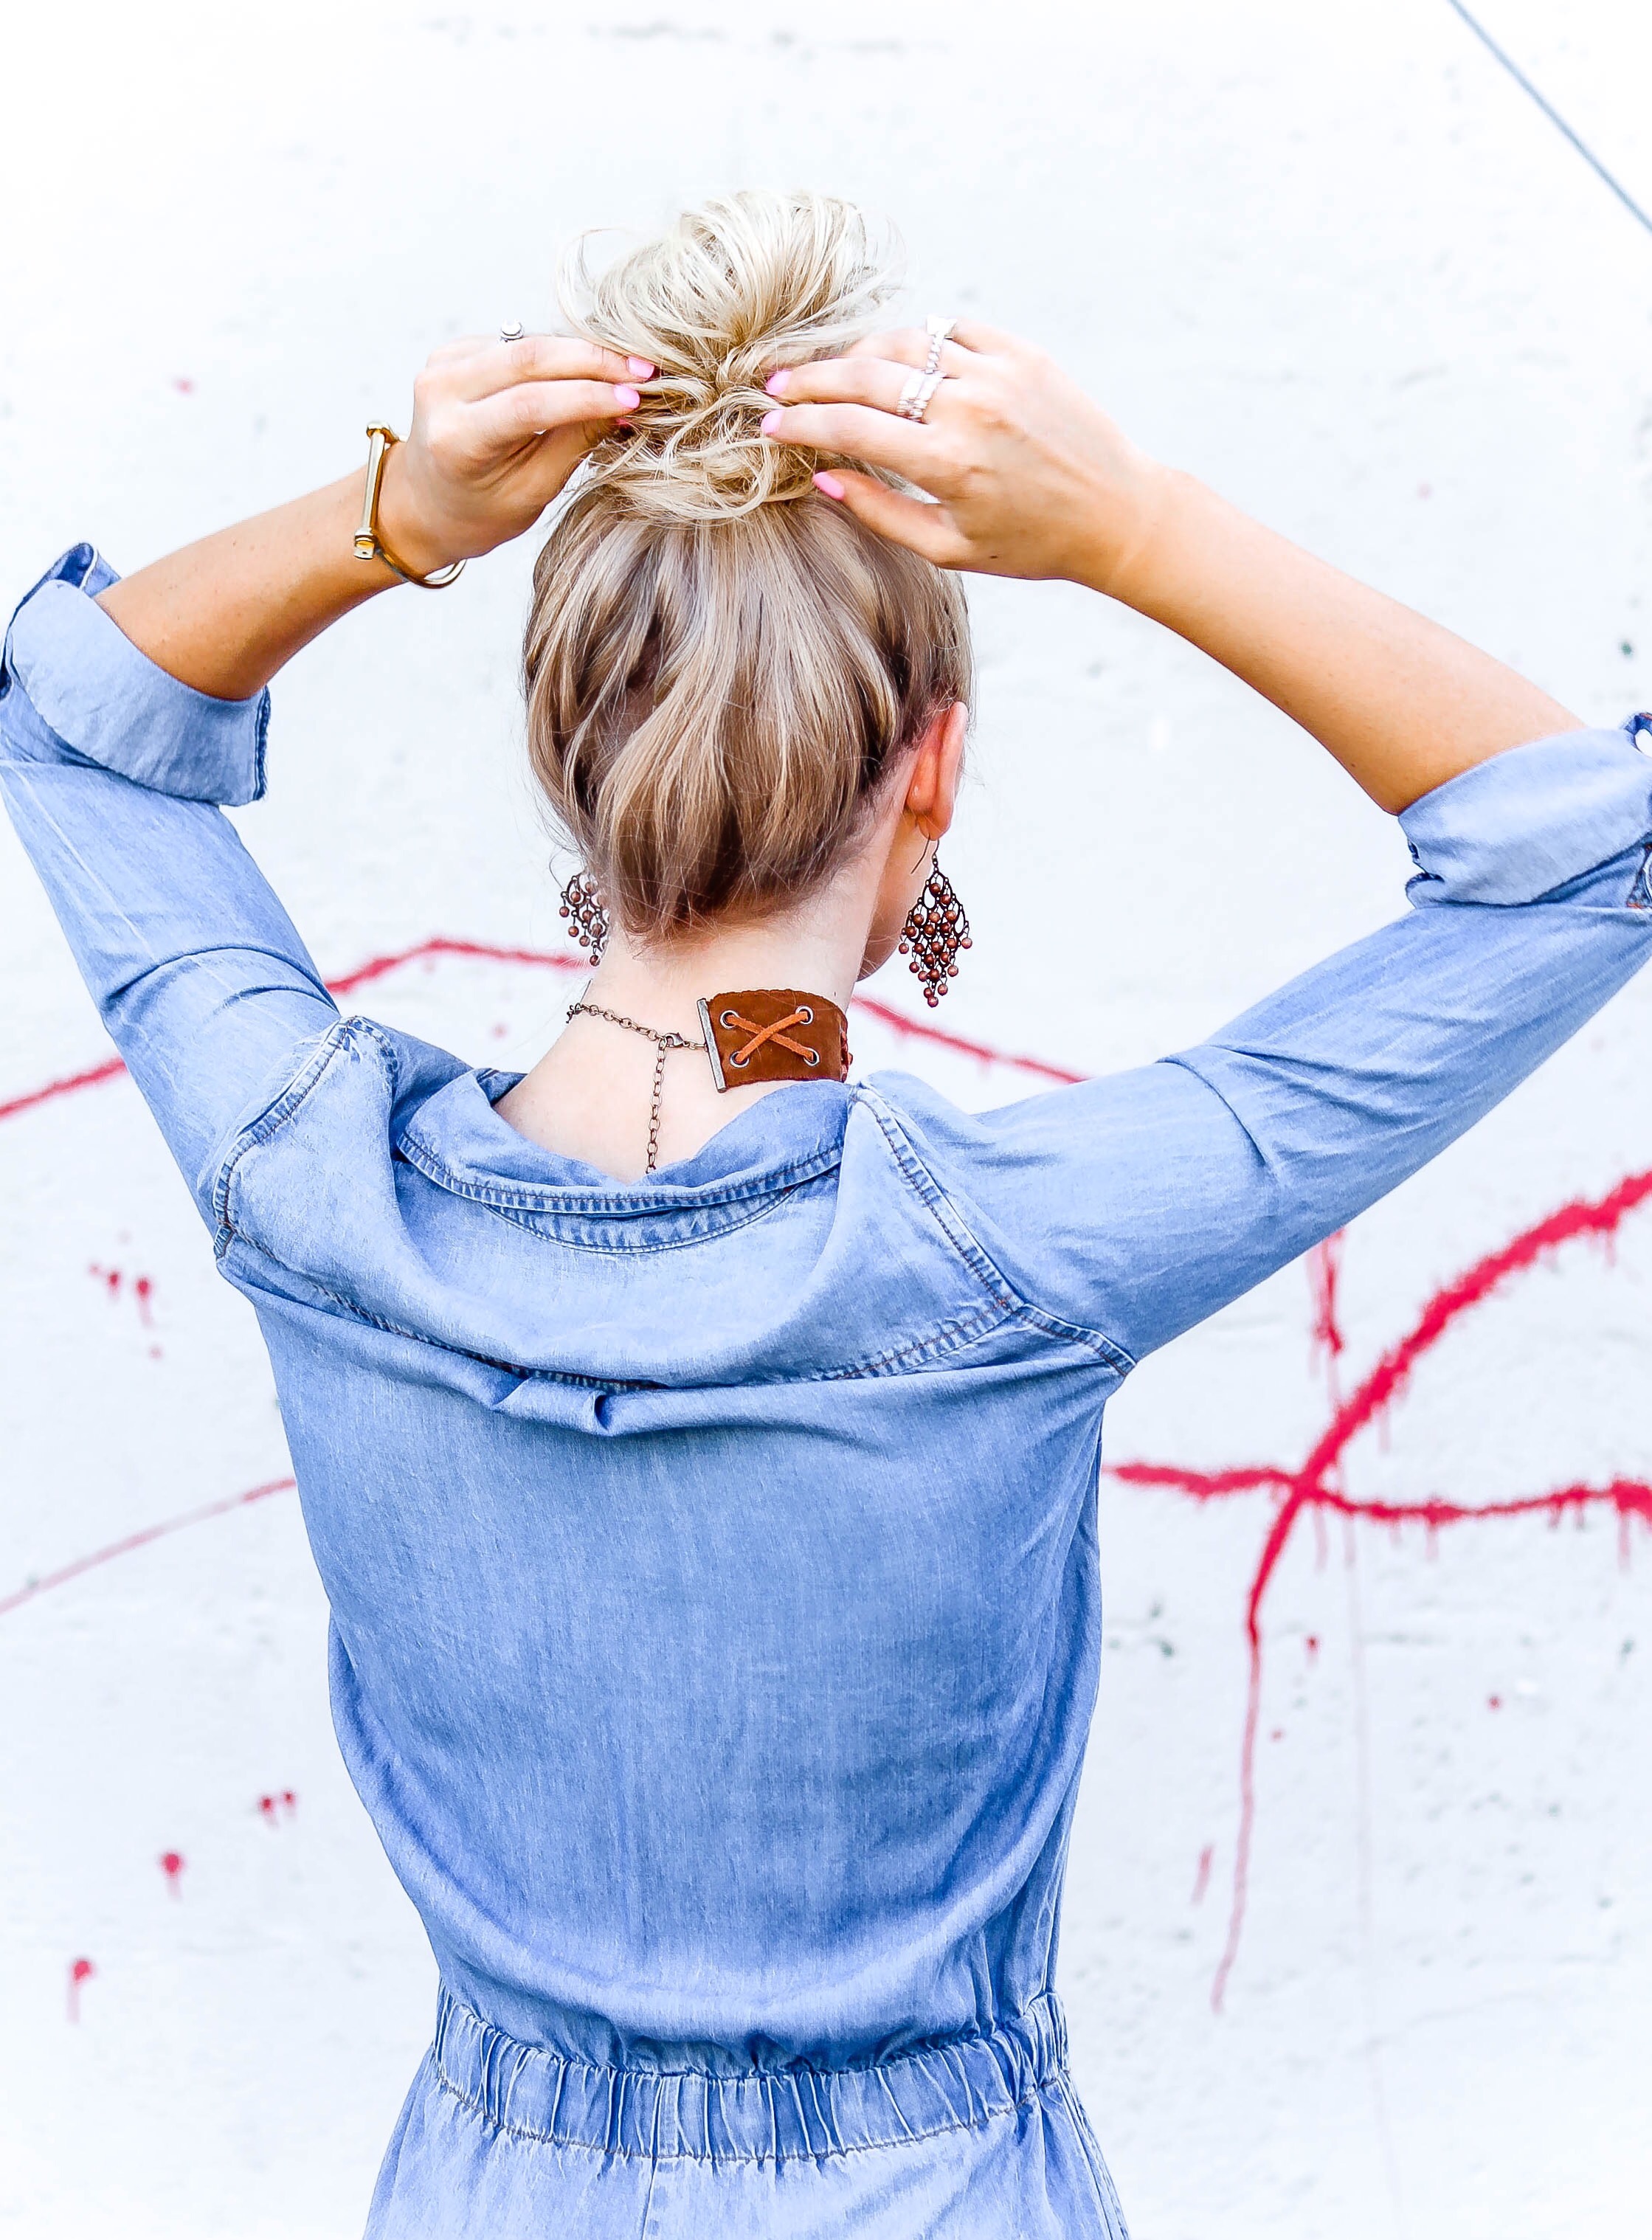
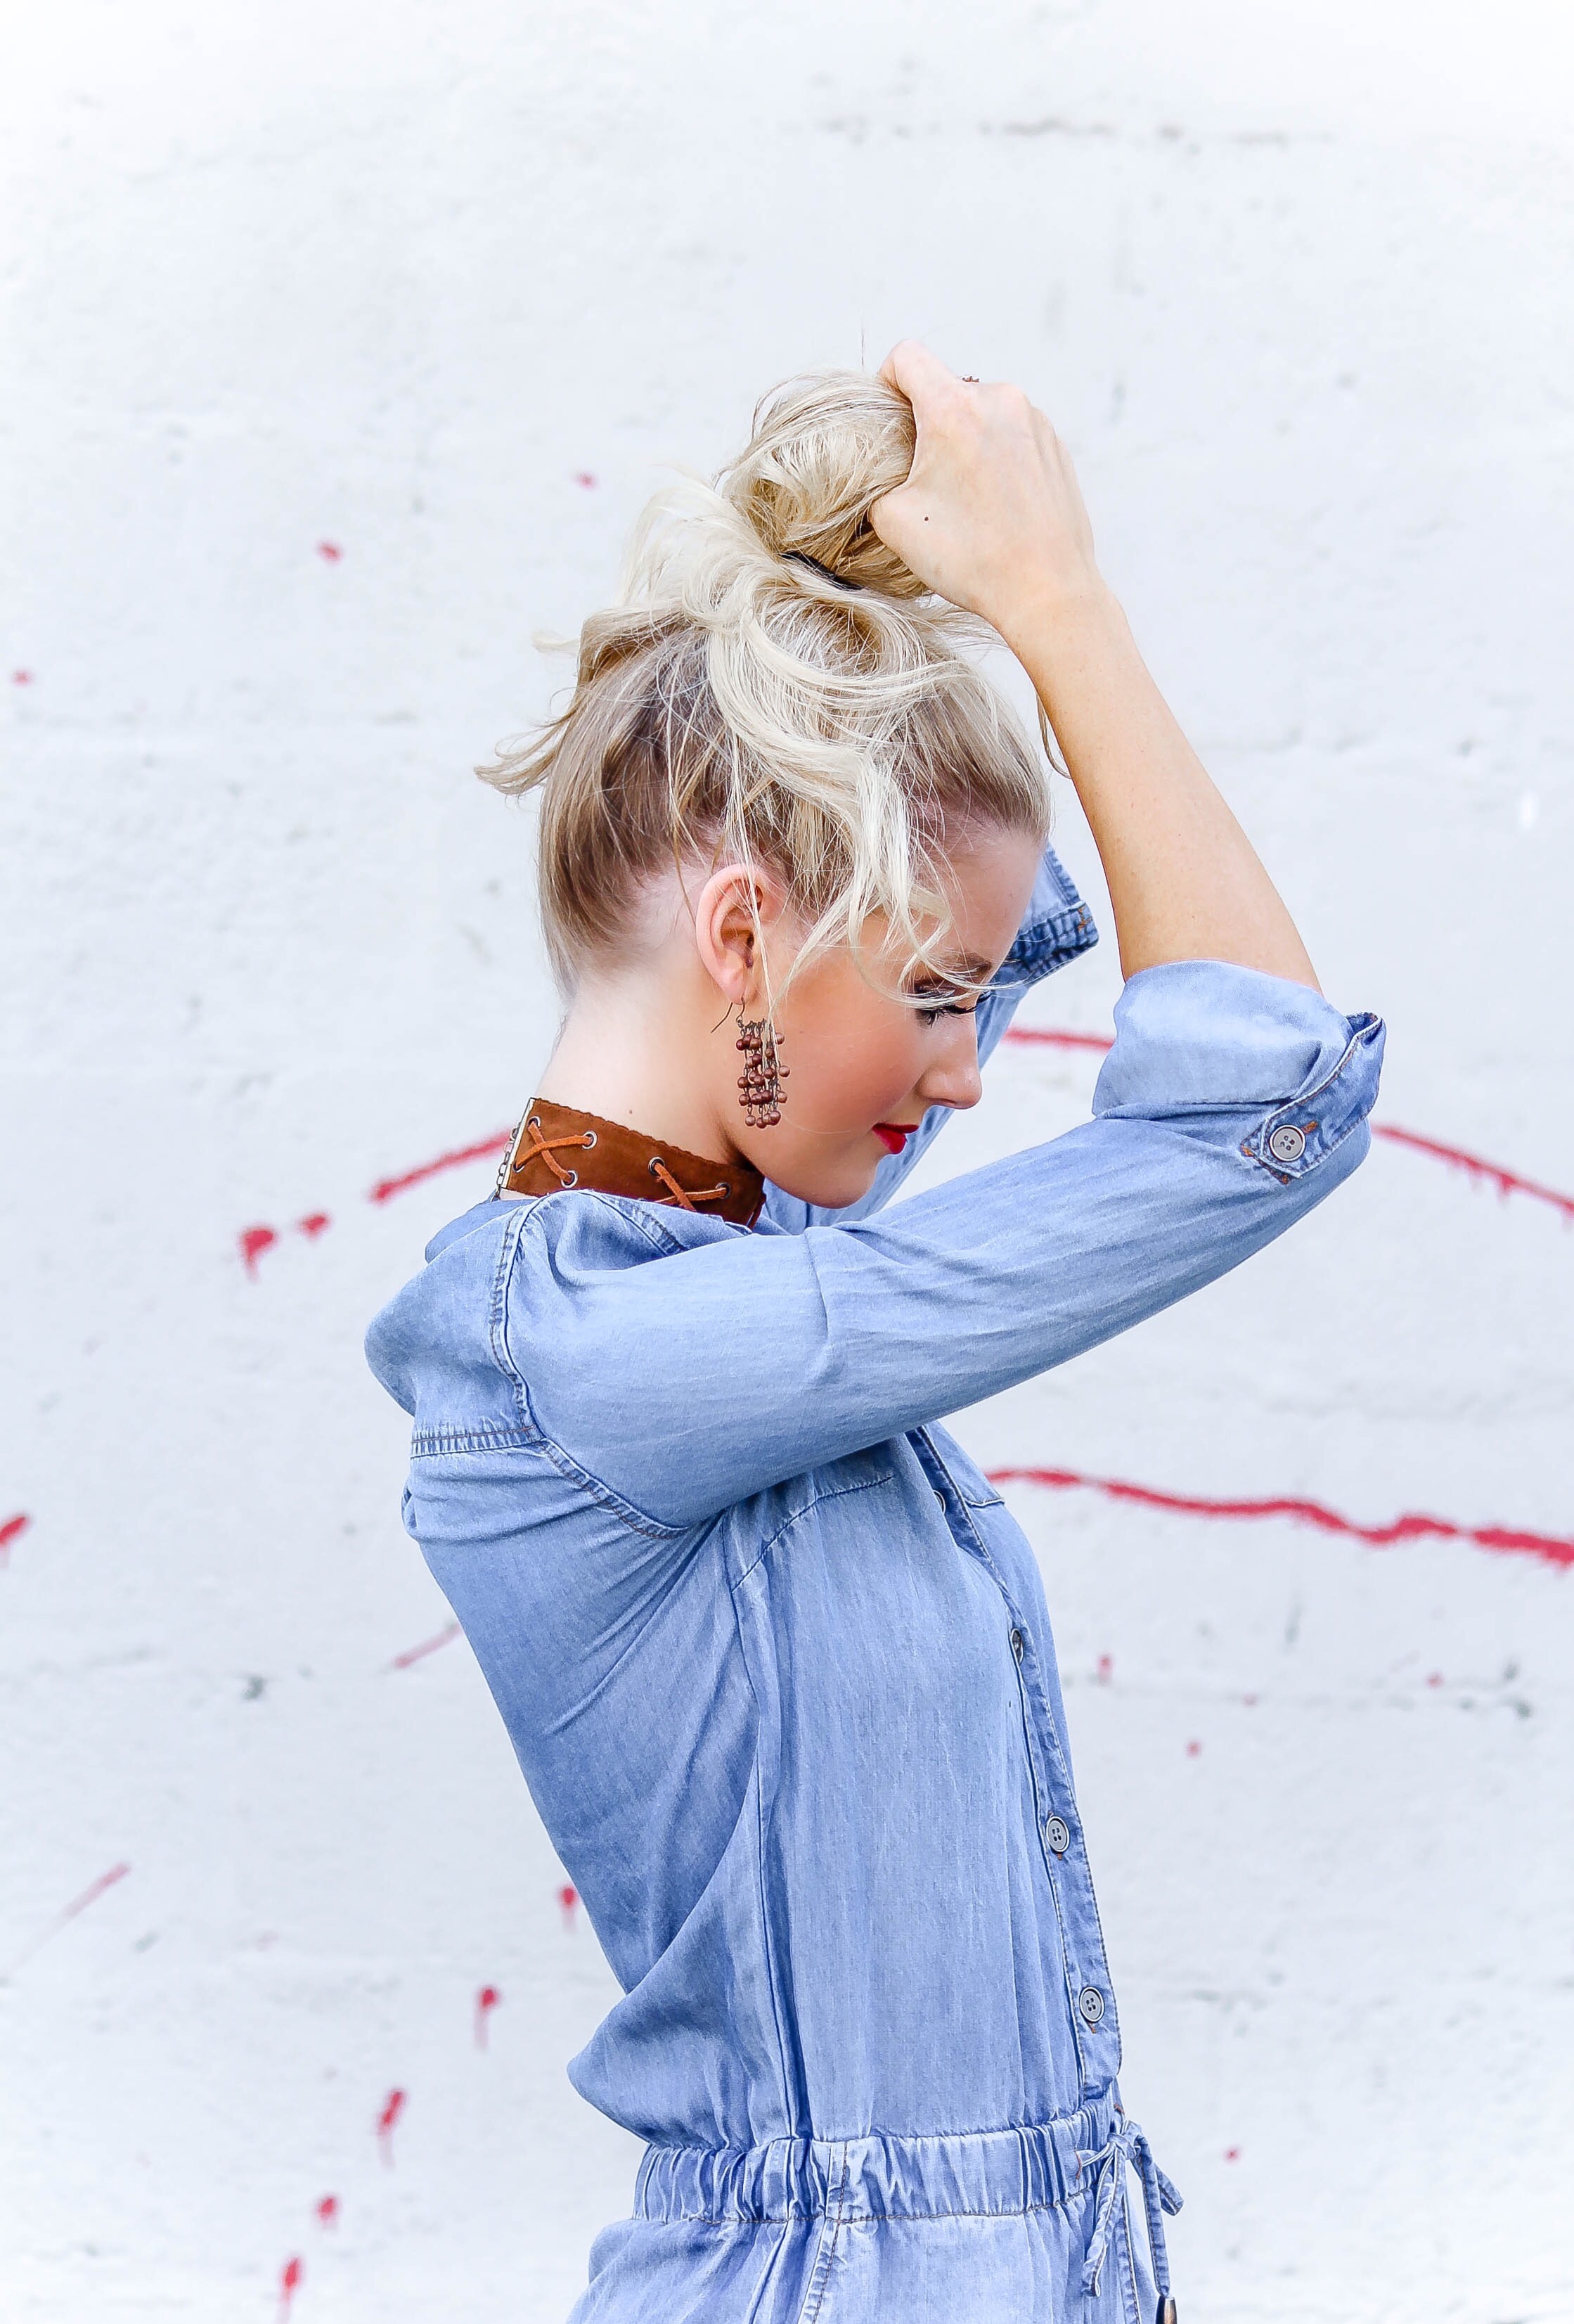
7. You’ll notice that the ends of your hair may be sticking out of the bun on either side of your head. Sometimes, I will leave these pieces out and just let them have a mind of their own, but most of the time, I wrap the ends of my hair around the base of the messy bun, and then I’ll tuck the very ends into the hair tie in the back. (Refer to photos above). You can also tuck your ends by using bobby pins if that is easier for you!
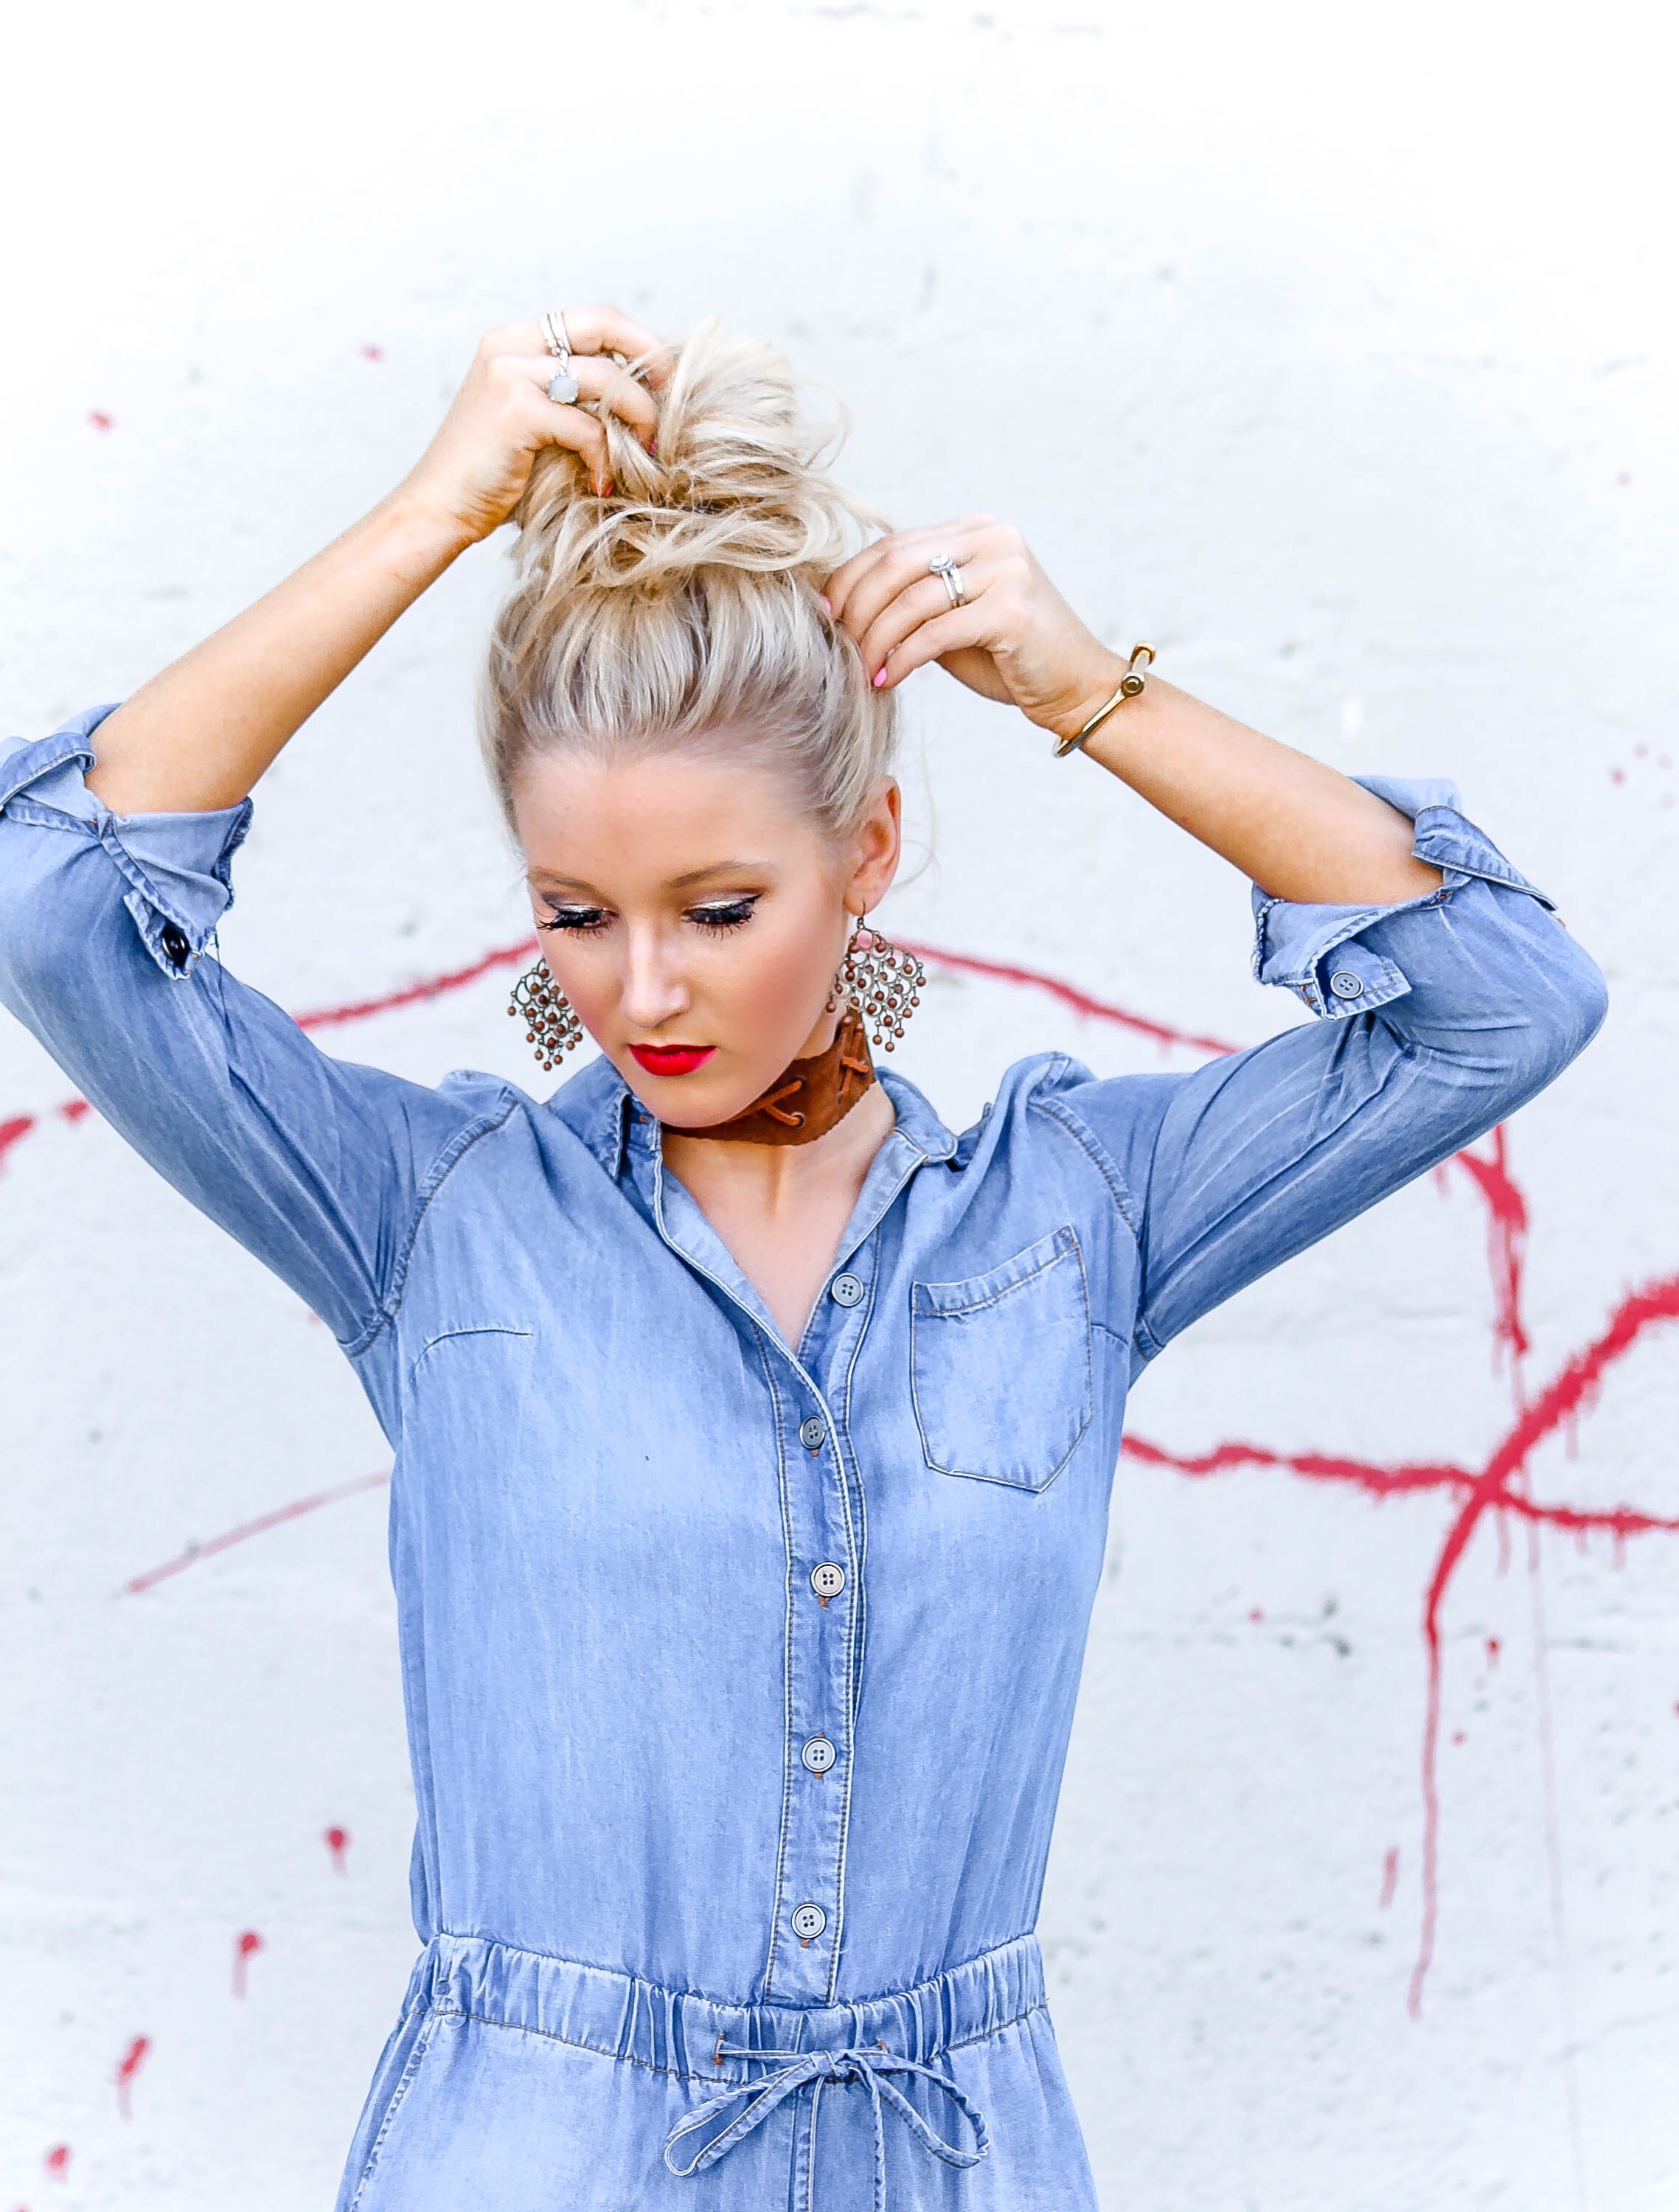
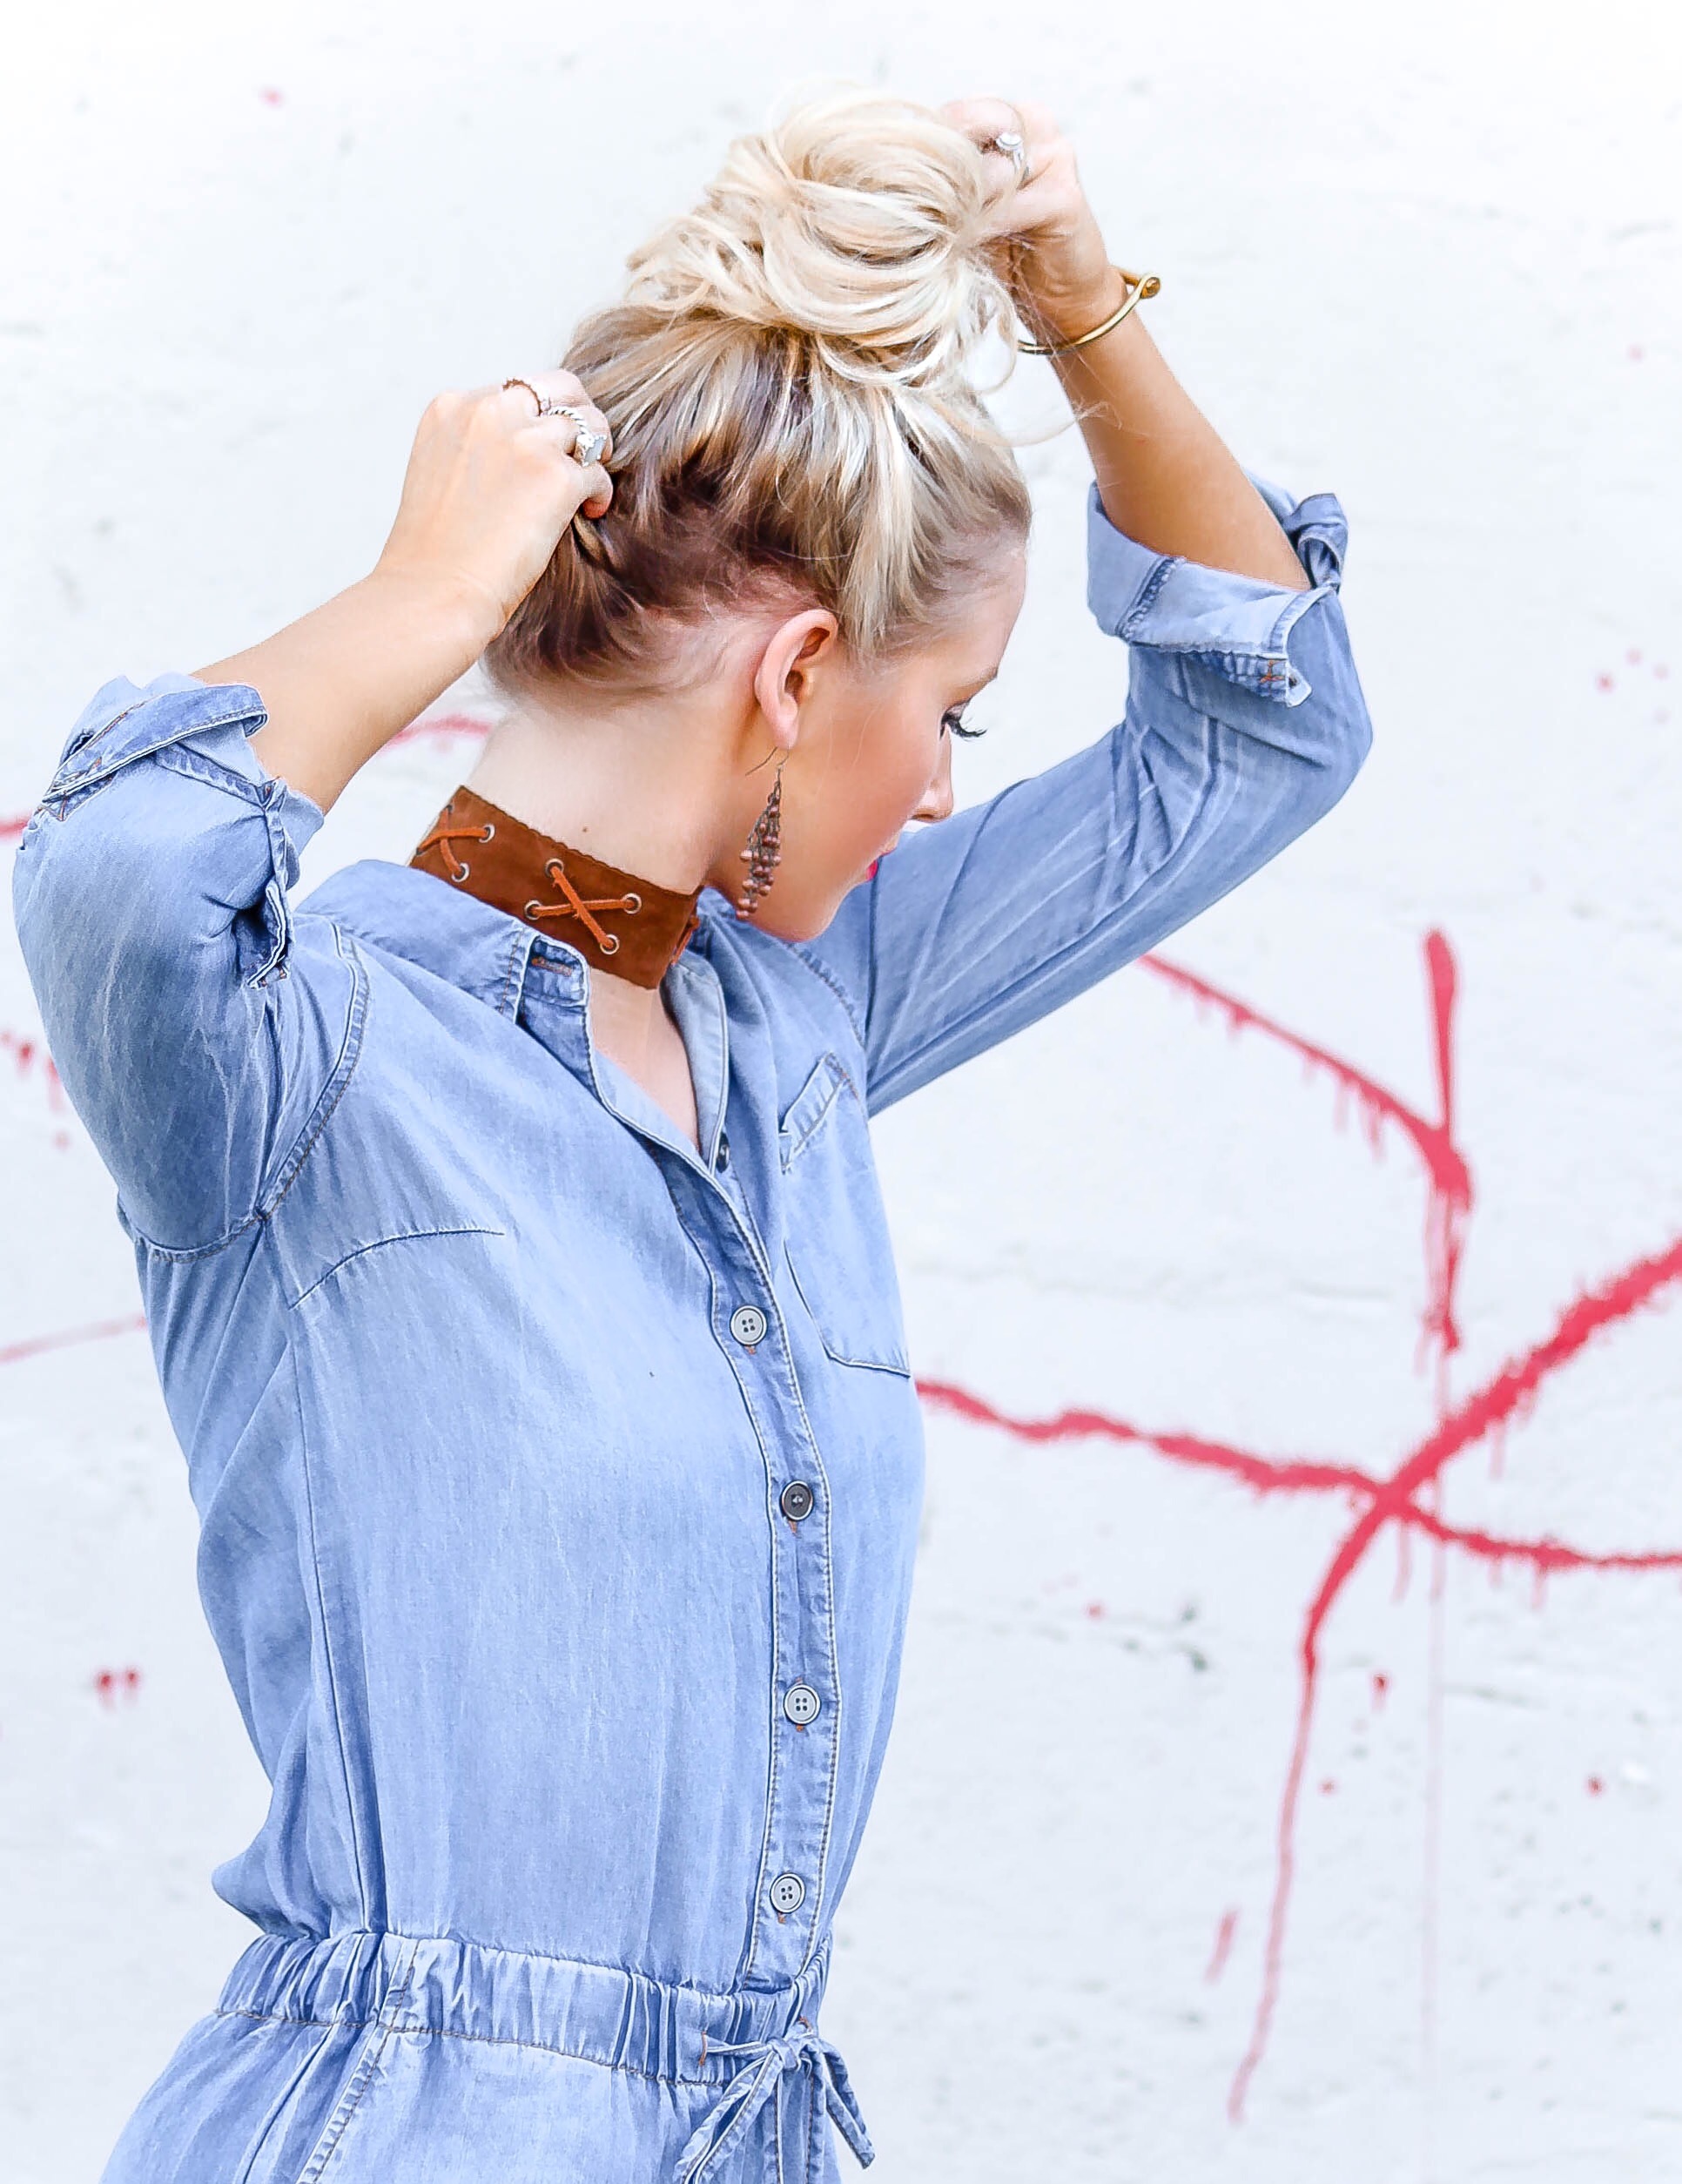
8. Once the ends of my hair are tucked away and secured, I loosen up the sides, the back and the front parts around my face and neck (not the actual bun itself). I personally don’t like a slicked back look for my messy buns, so I just pull everything out away from my face a little bit to create a messier look overall.
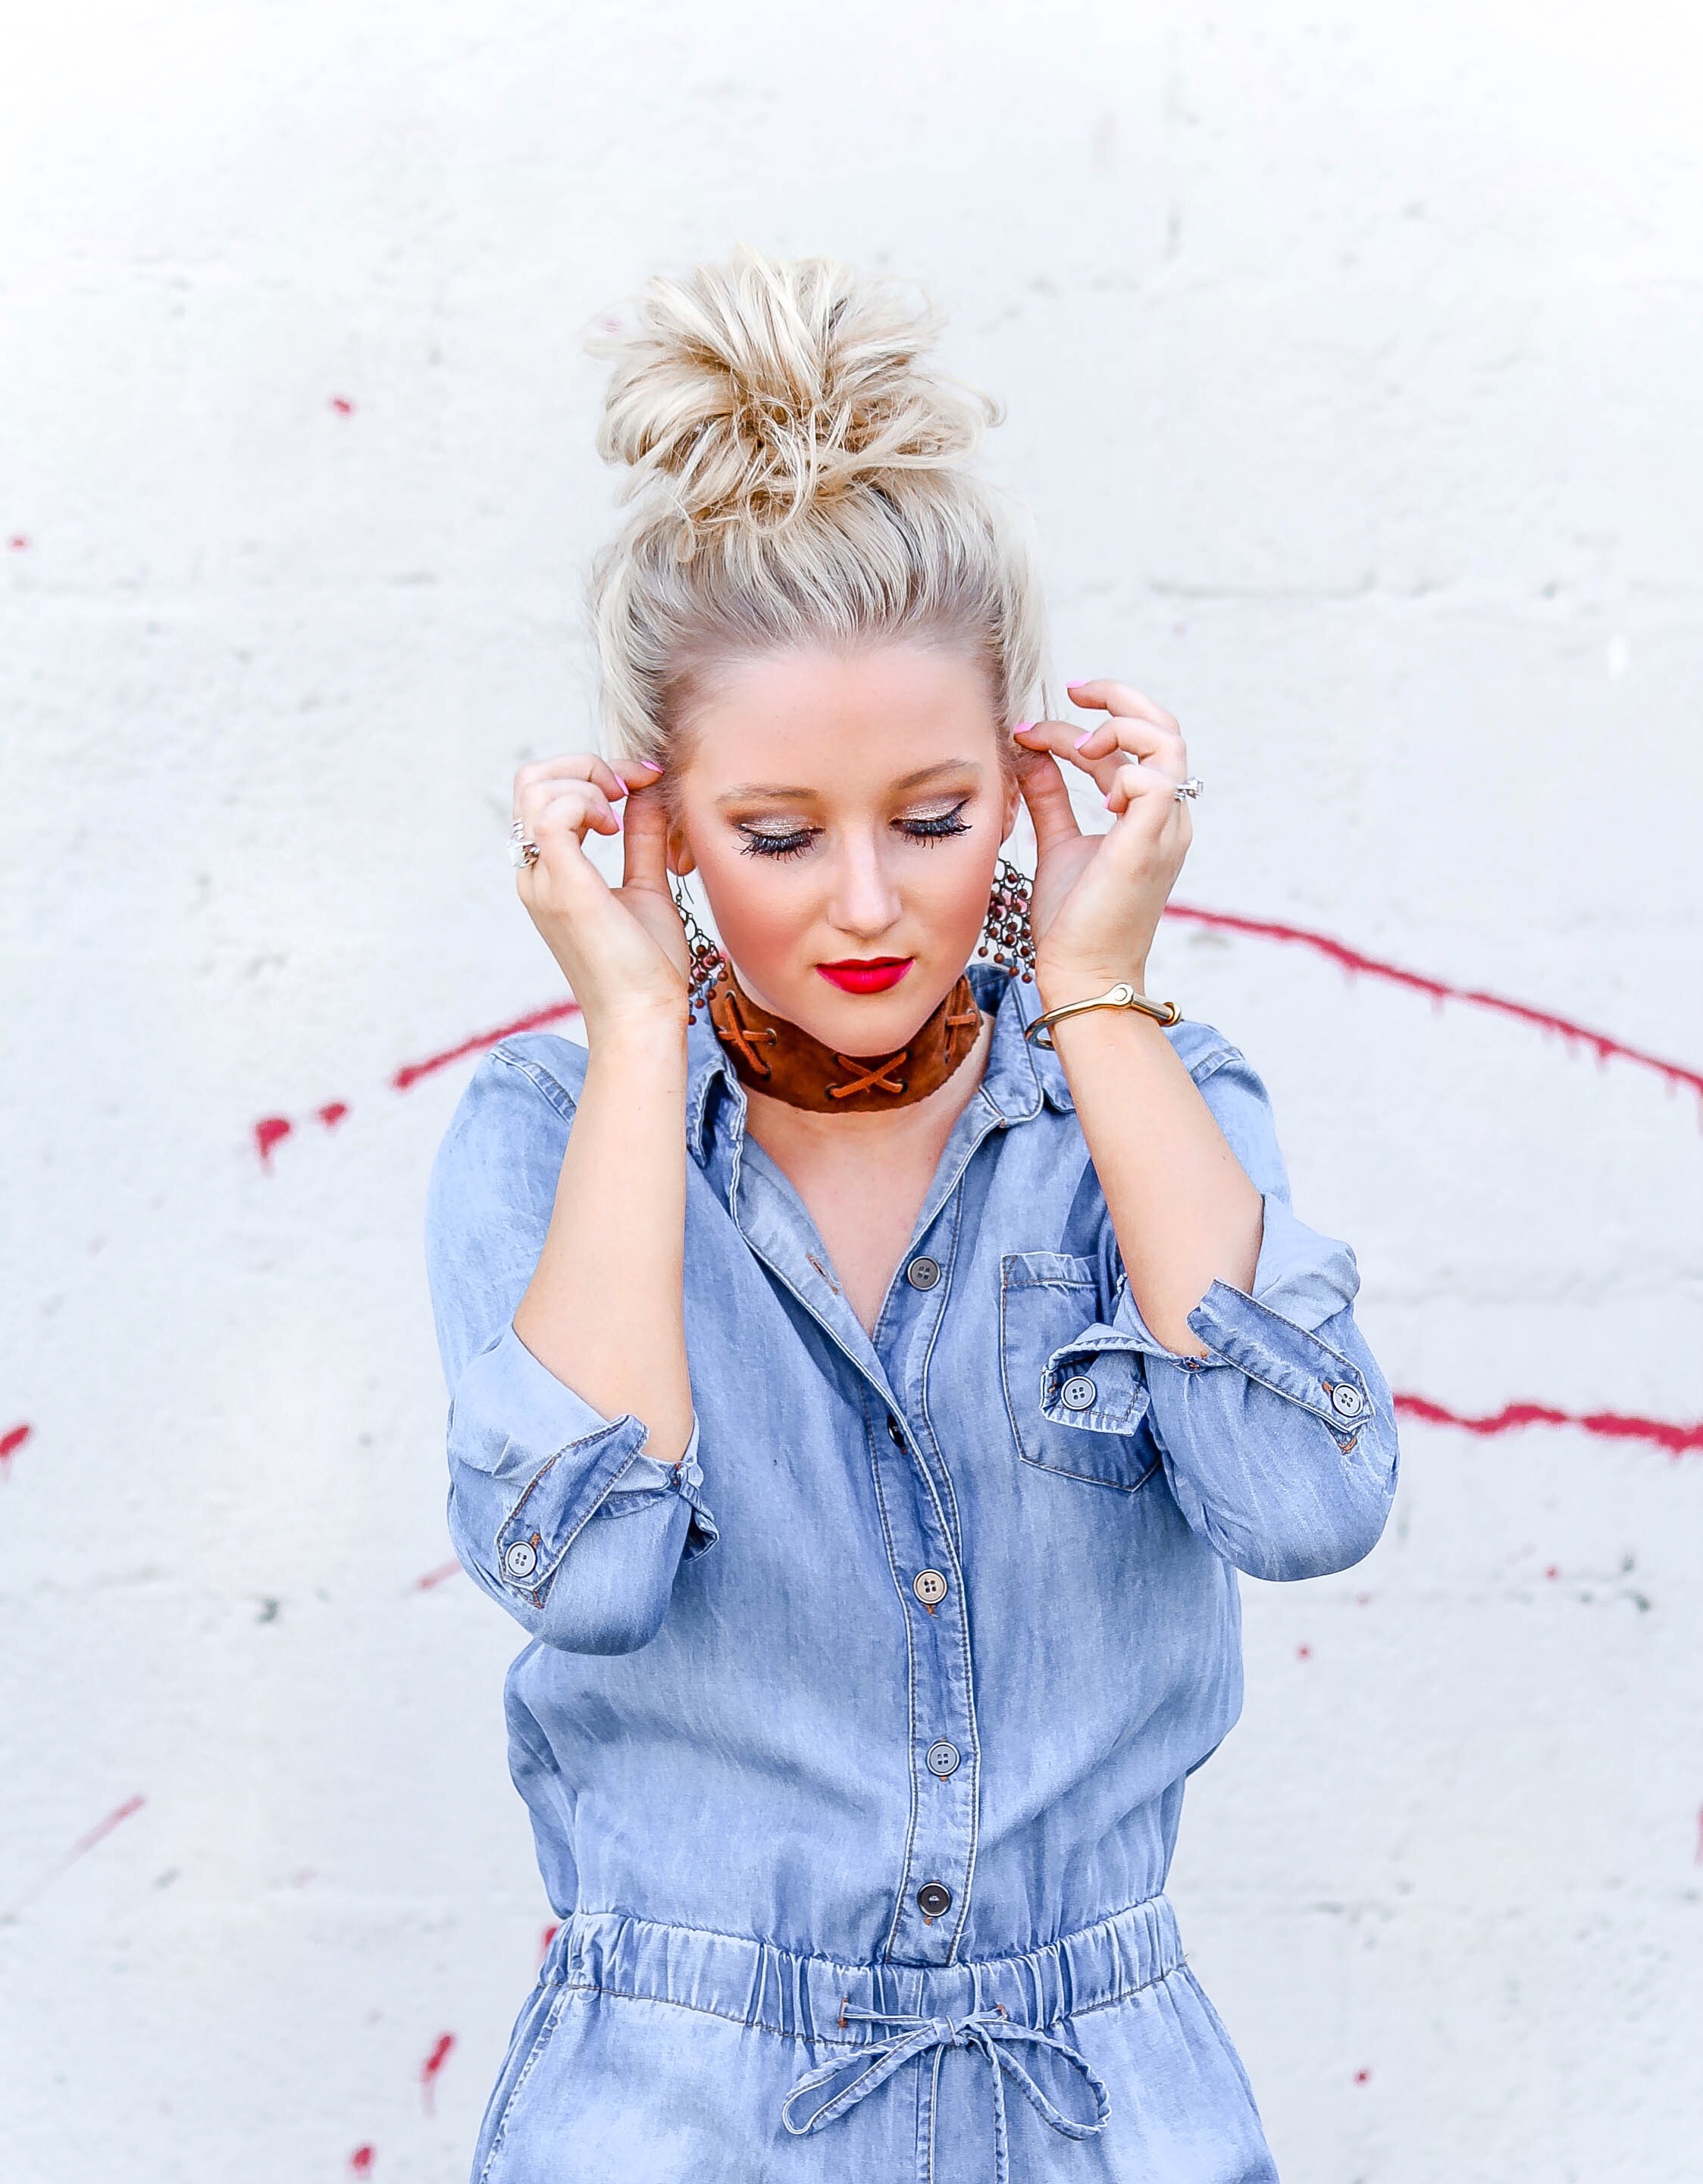
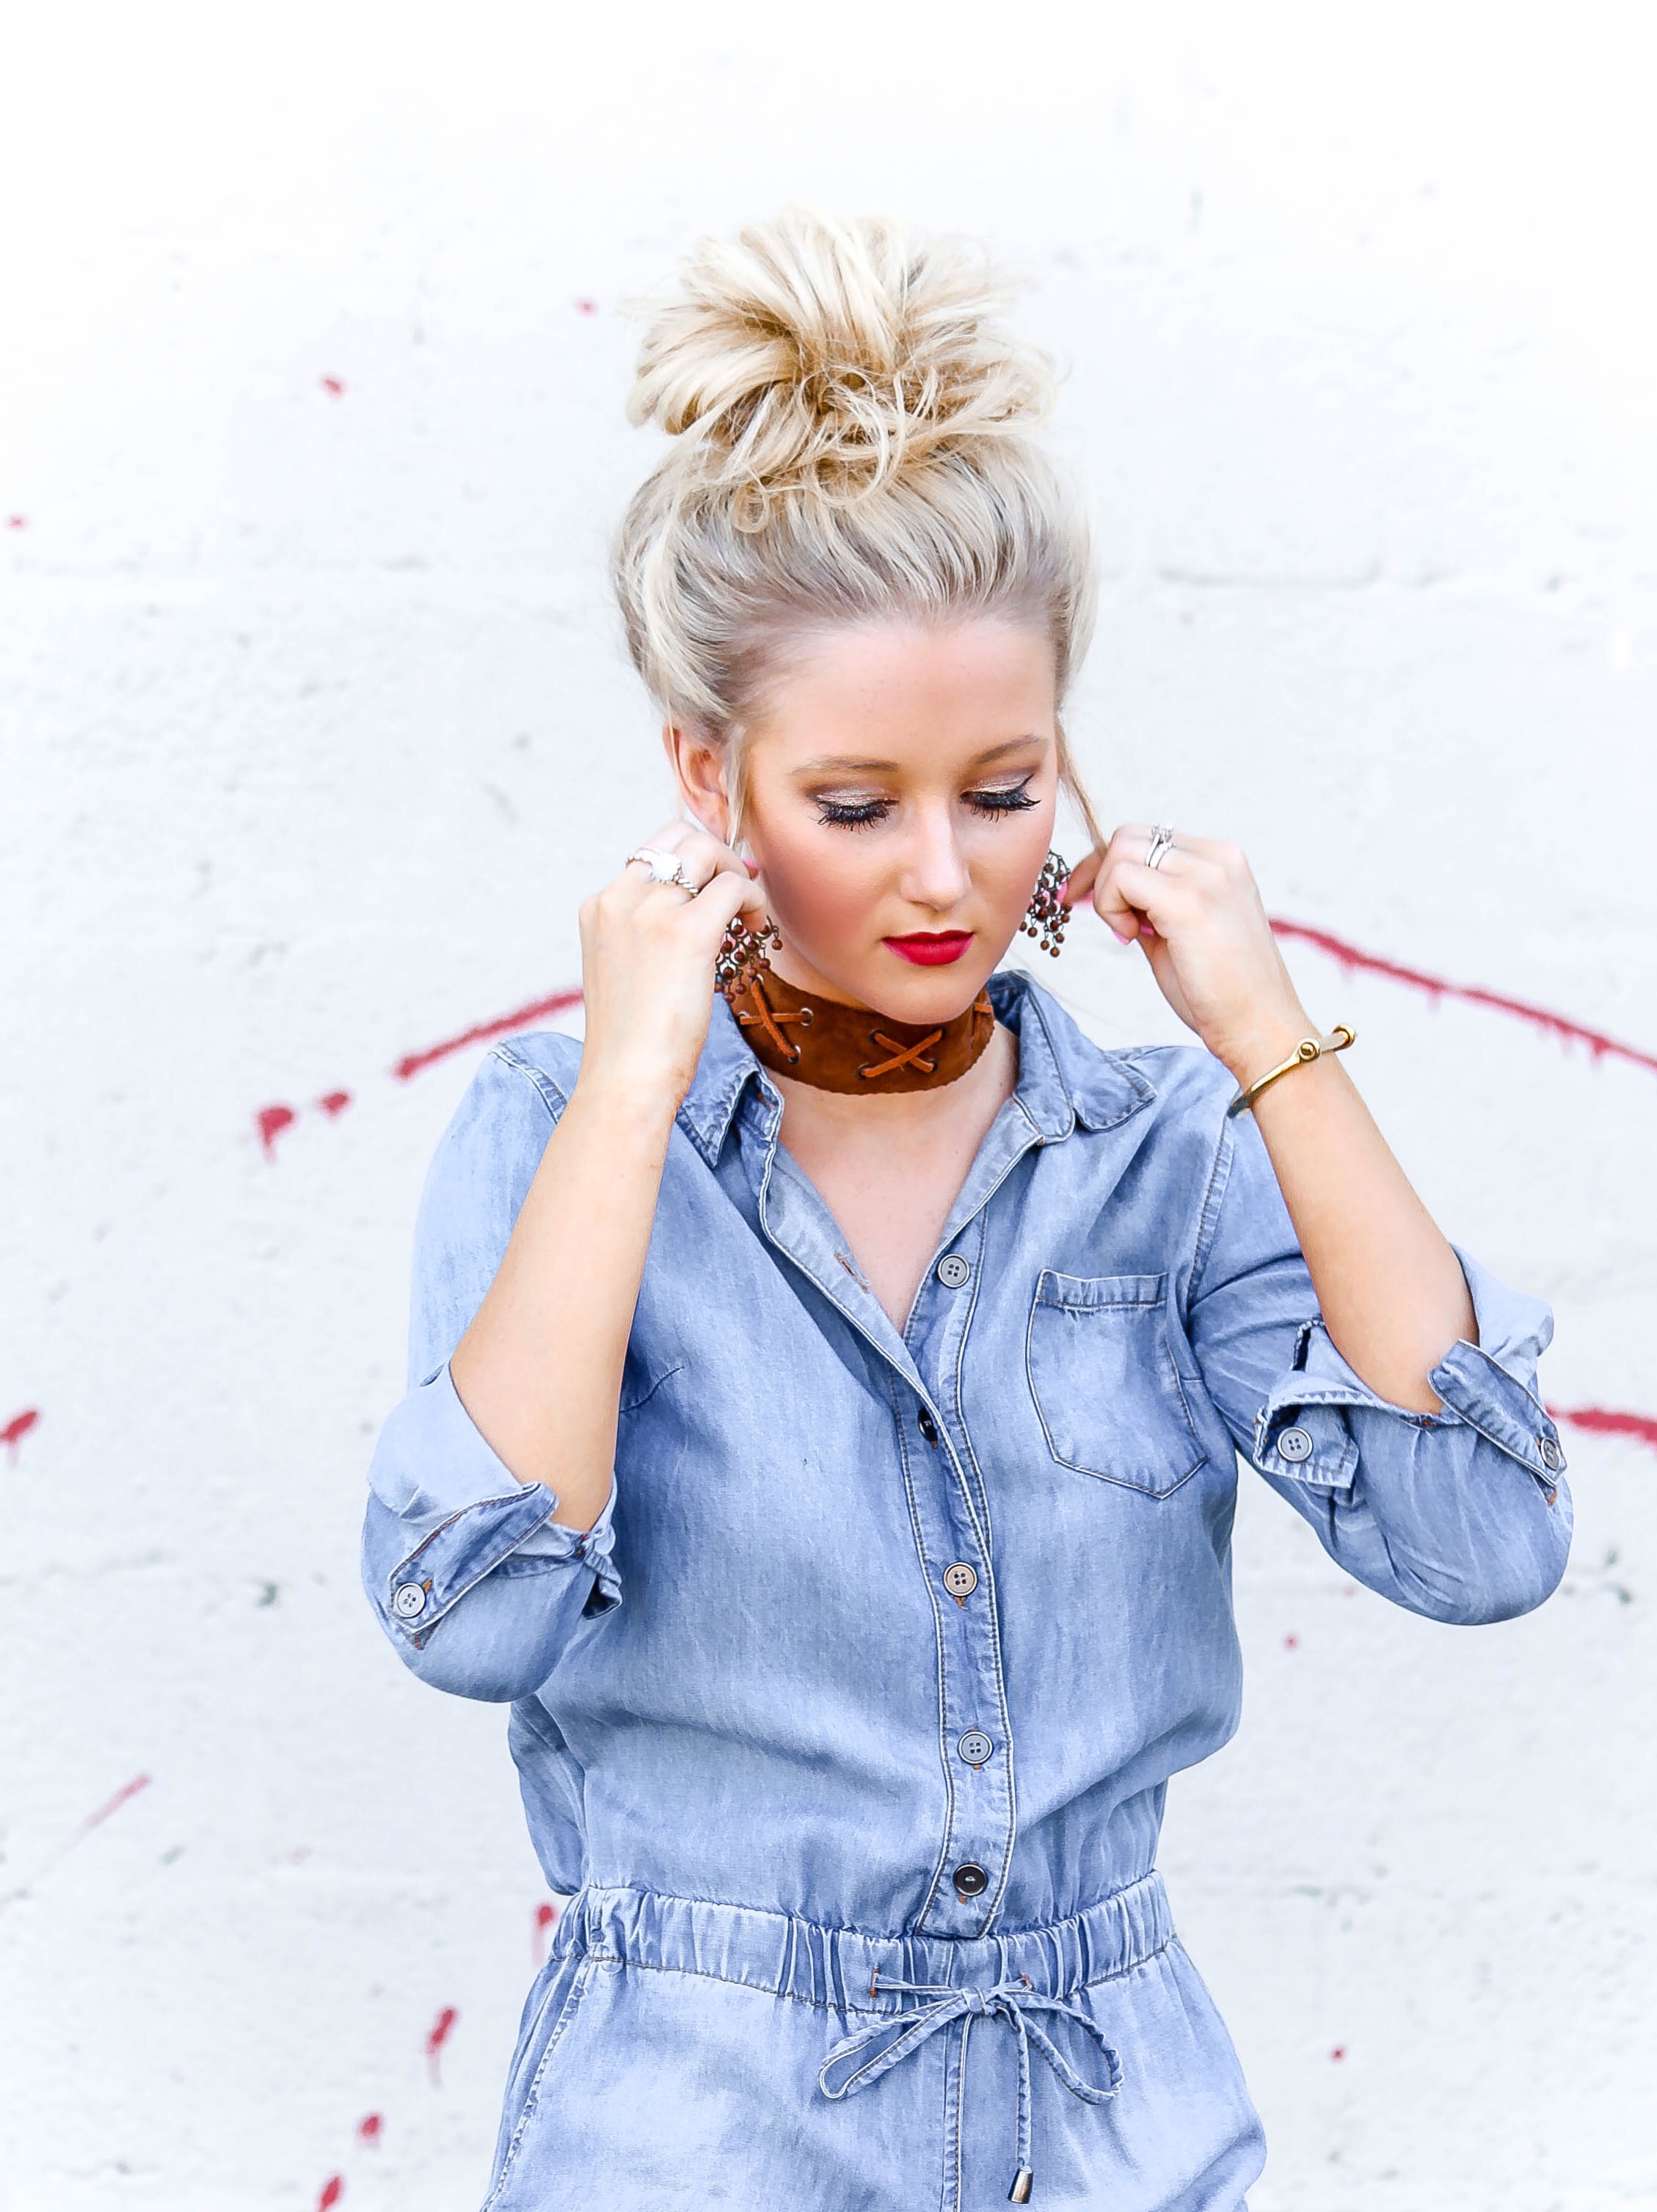
9. After I get the parts around my face to the desired look that I like, I pull out a few of my baby hairs and the fly aways around my face.
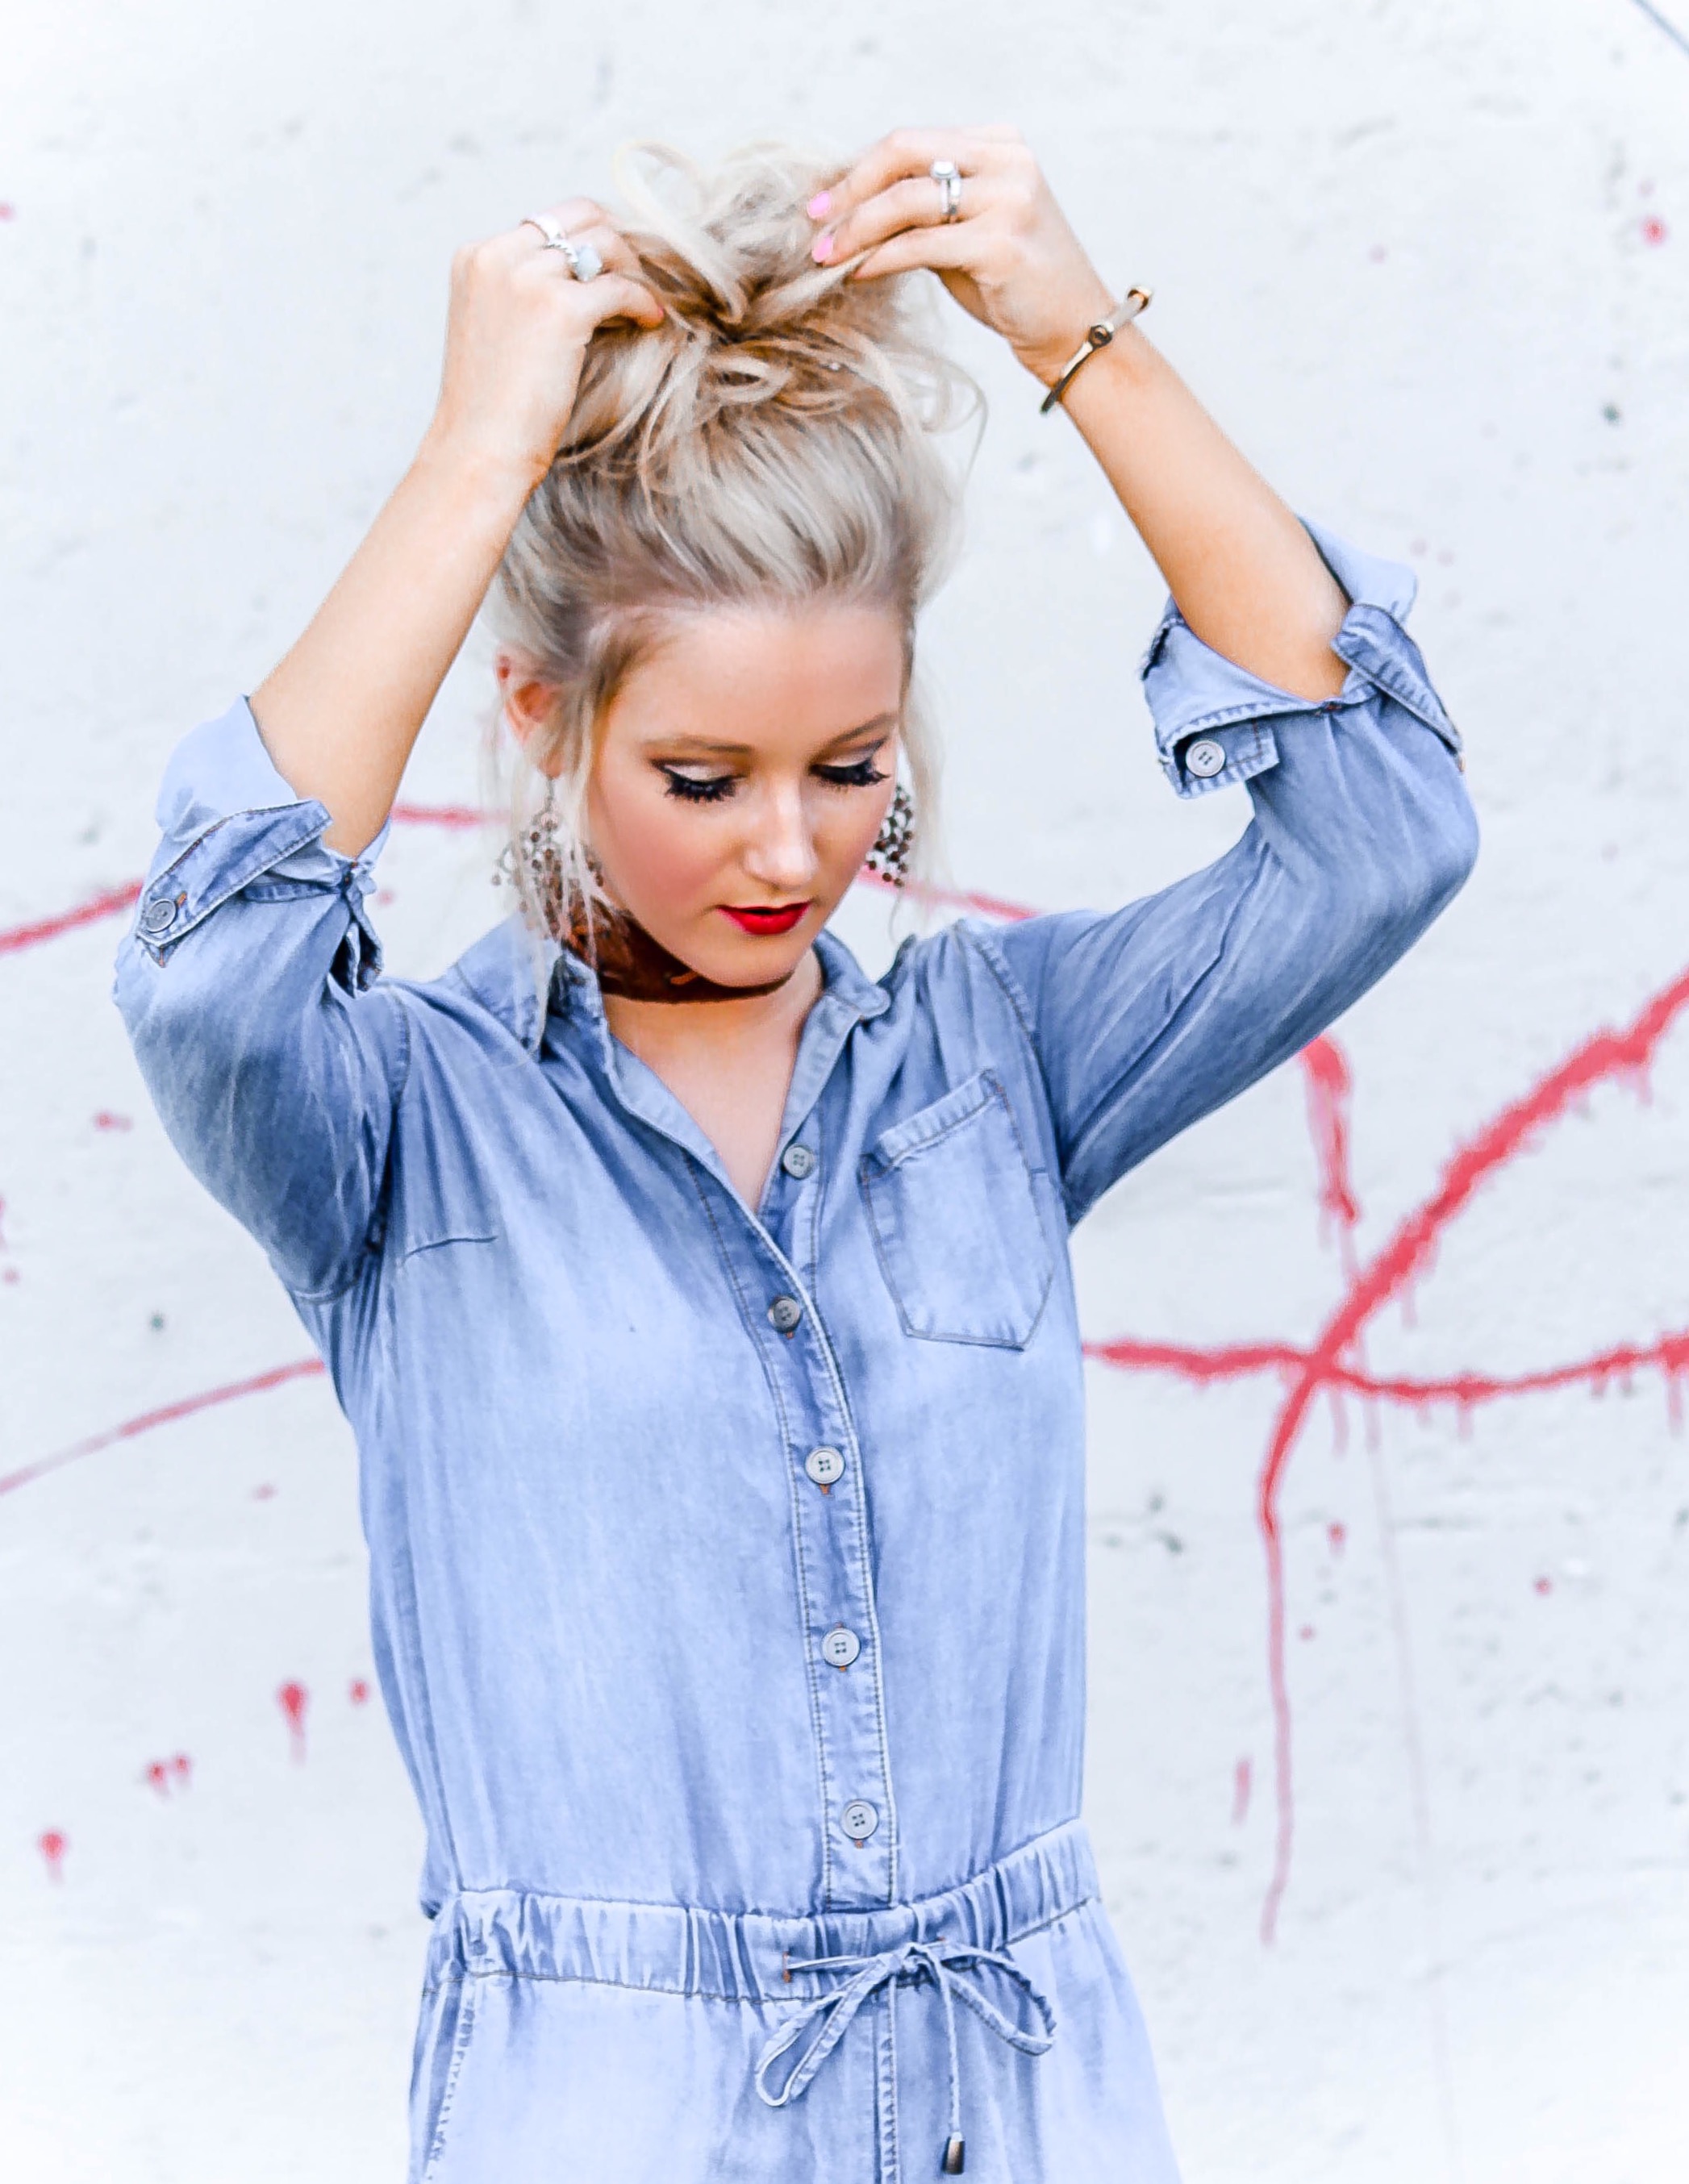
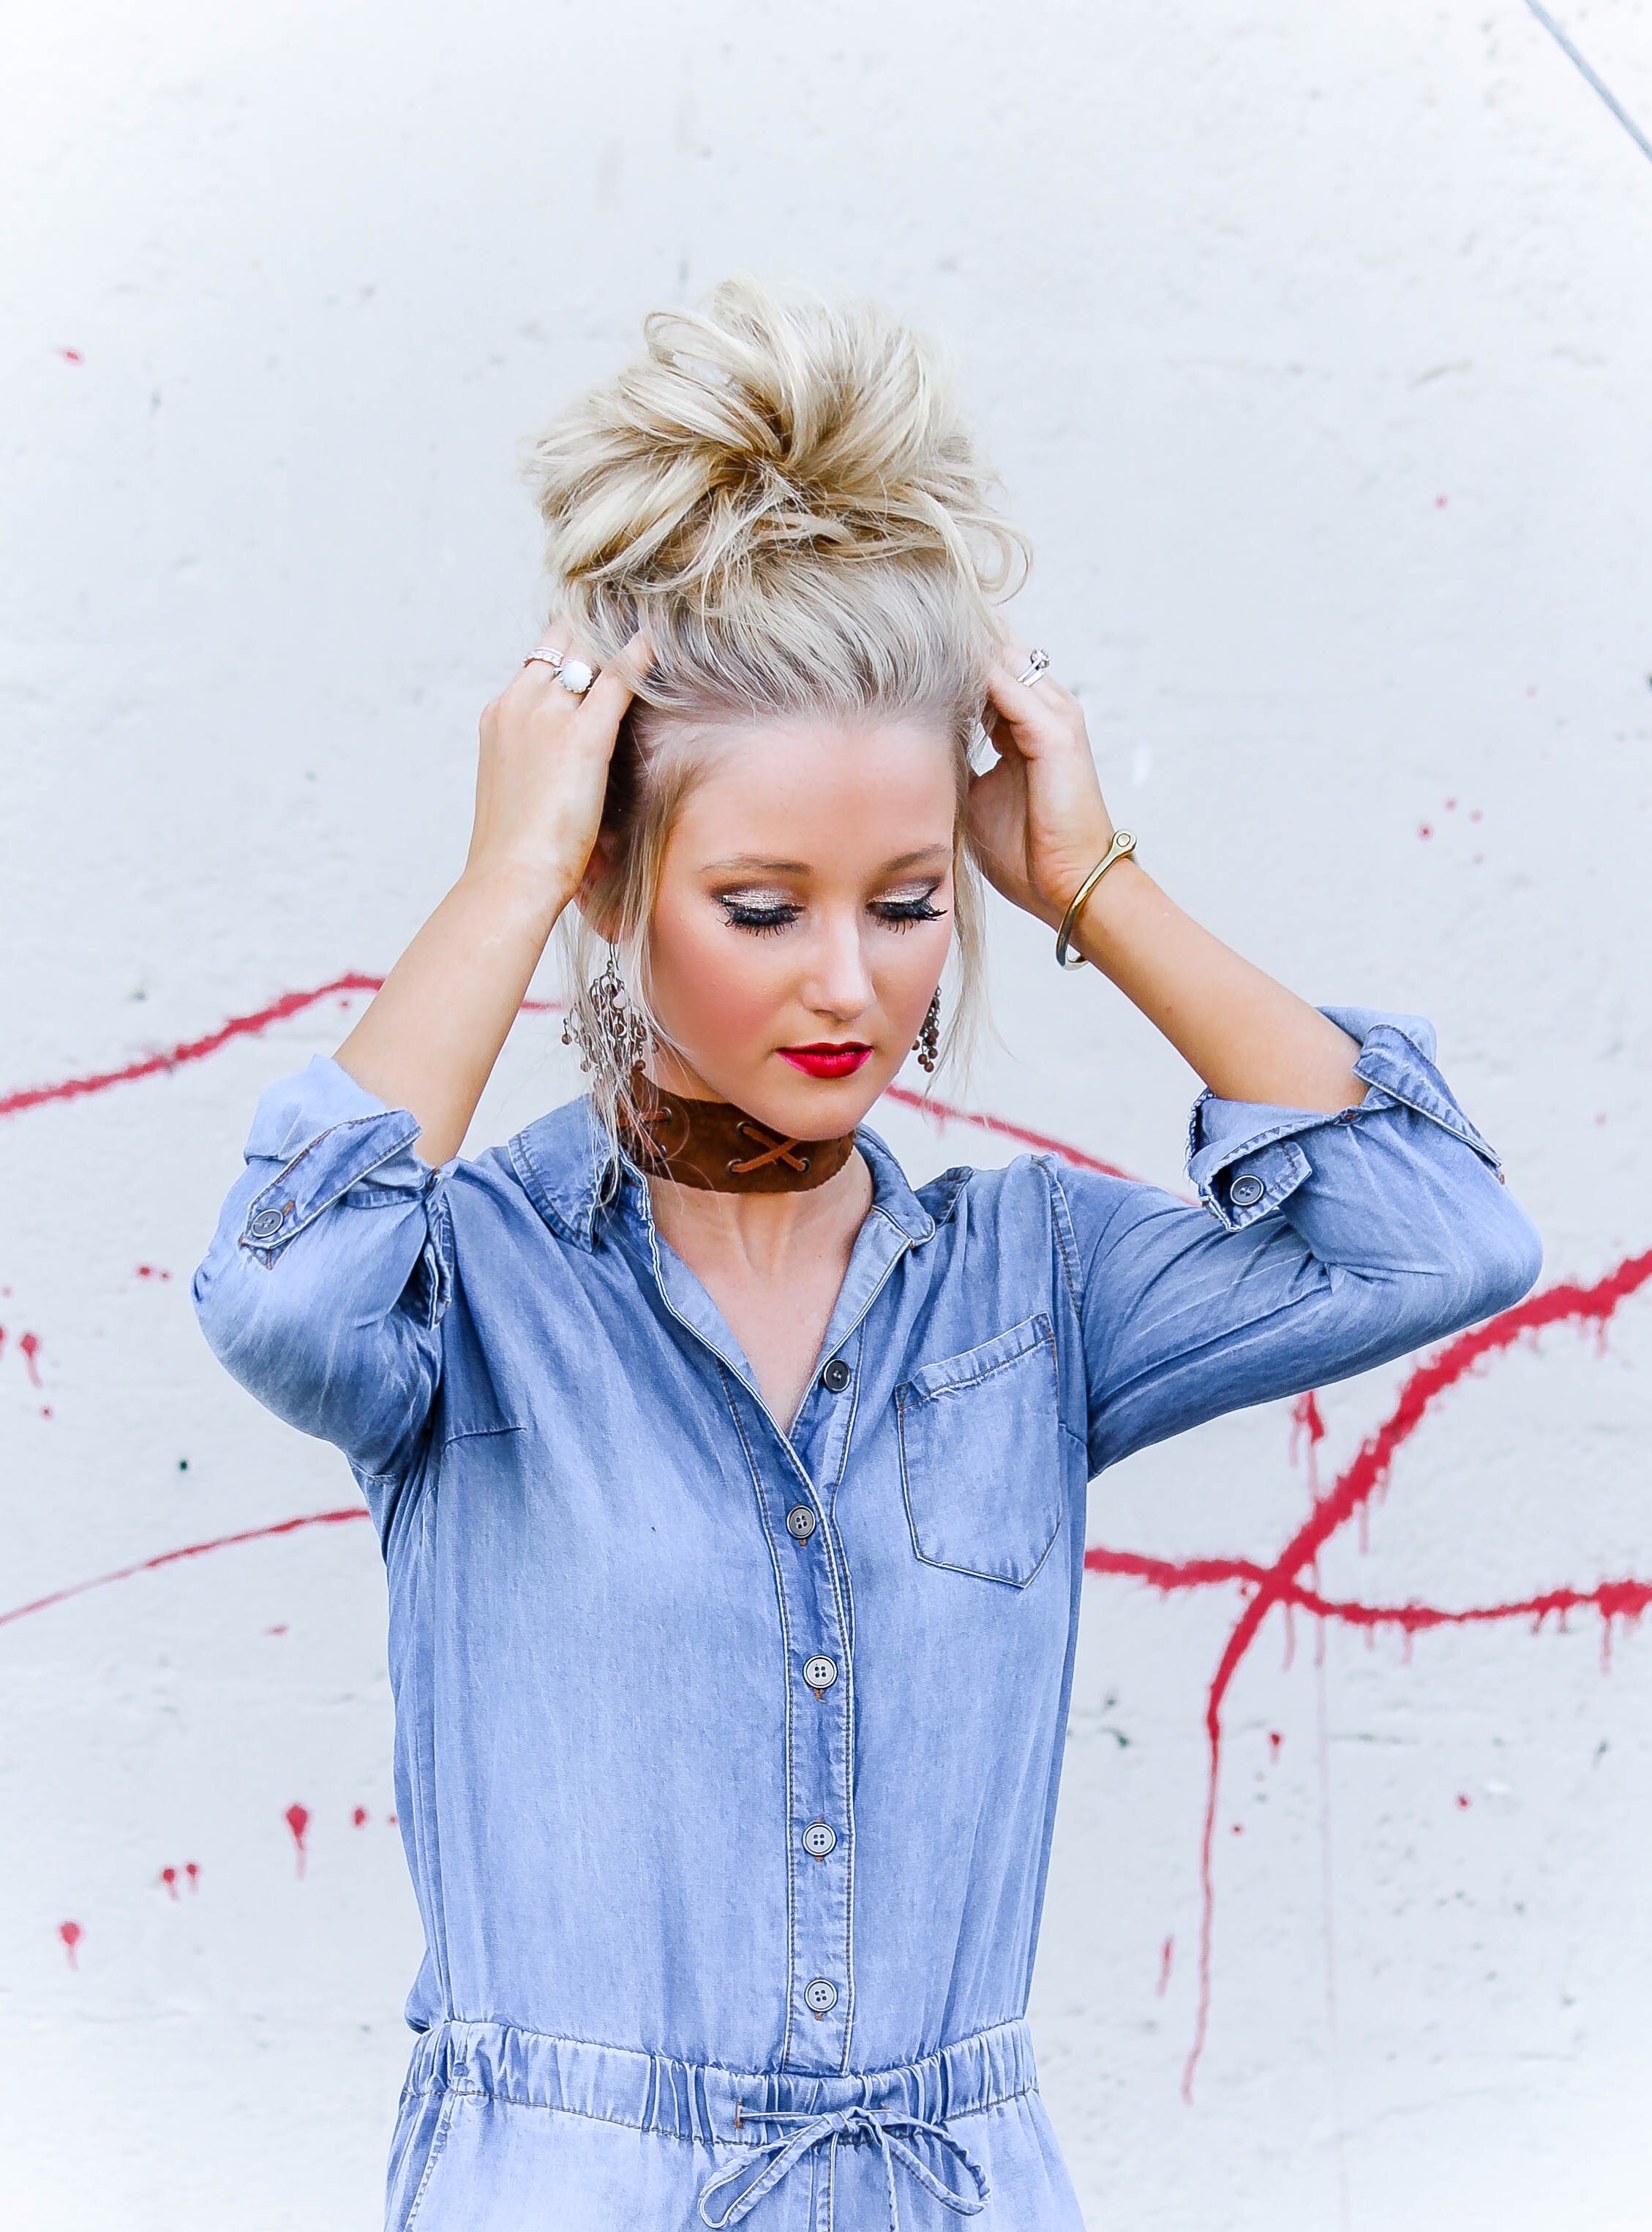
10. Lastly, I’ll just loosen up my bun and tuck in any misplaced pieces until I achieve the desire look. I basically just mess around with everything pulling and tugging on certain pieces of hair until I’m happy with the outcome, and then, I’m all done!
VOILA!
If you all have anymore hair tutorials that you would like to see, please let me know in the comments below! I may video one for you guys 🙂
Have a fab weekend, beautiful!!

in your Labor Day blog, you have a super cute pony in the picture with the cheetah scarf.. how do you get your actual pony to not droop?
My hair type definitely helps because it has a lot of frizz/texture and holds curl well. However, I will say that spraying some dry shampoo or texture spray at the top of the pony and teasing there underneath definitely helps mine stay in place!
XO, P